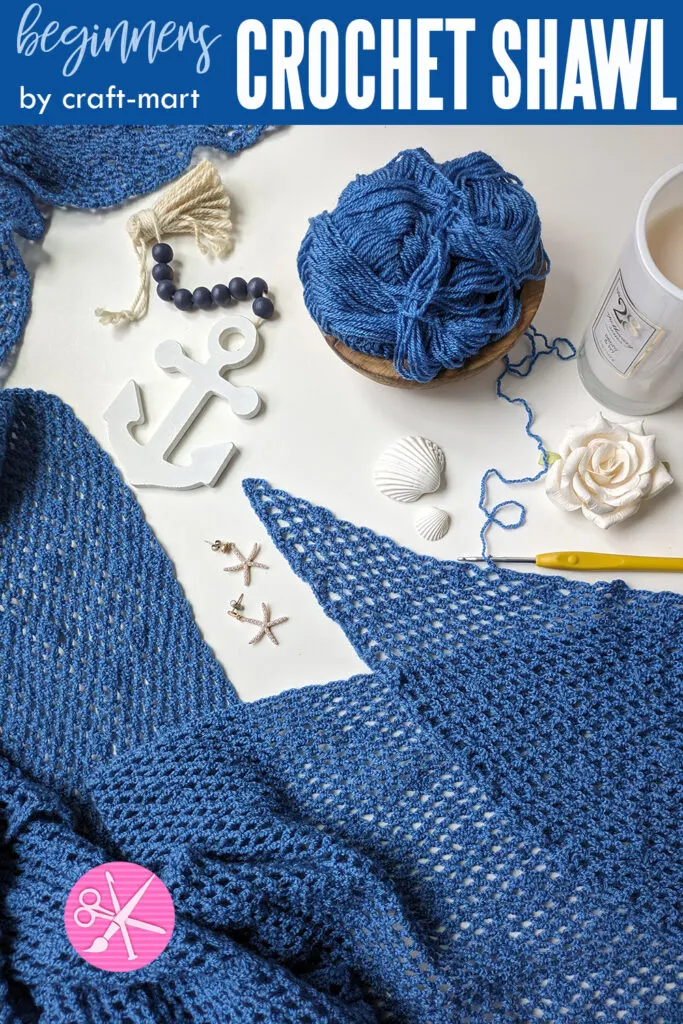
Today we are sharing a beginners crochet shawl pattern that uses only basic crochet stitches. It is a lightweight shawl that you can crochet in different colors.
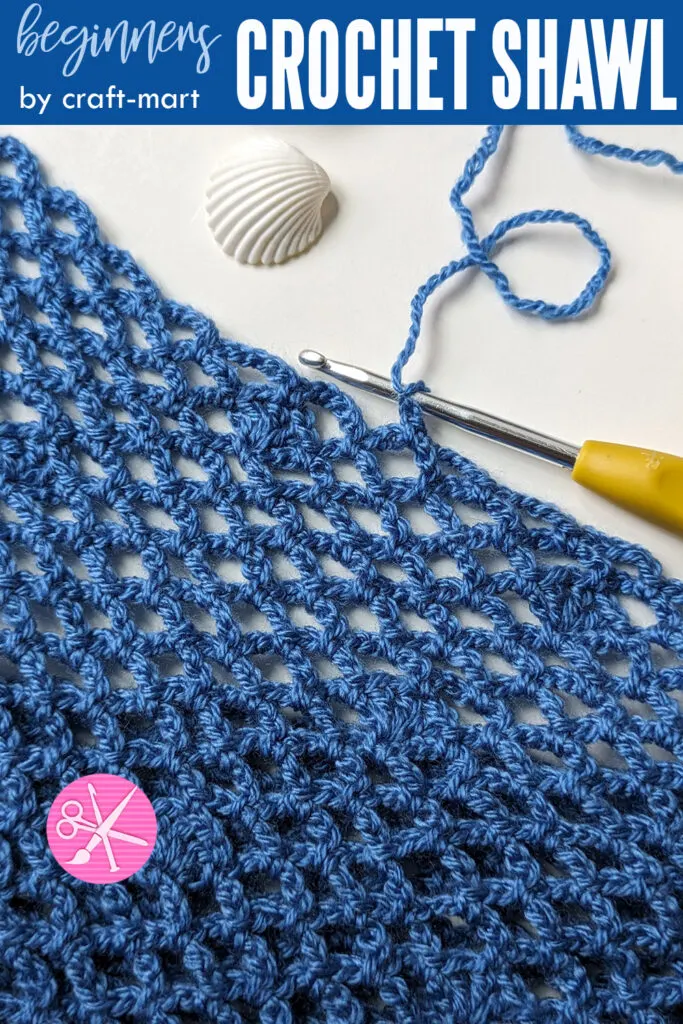
In fact, if you are an experienced crocheter, this simple pattern would be a breeze for you. But if you are a beginner crocheter, it is a great pattern for an easy crochet triangle shawl to try.
No matter your skill level, you will enjoy this easy project with lighter-weight yarn. Using this free crochet pattern, you can crochet a great summer shawl!
And the best part about this easy pattern? It’s a super easy repeat! As a matter of fact, you will repeat rows and simple stitches to crochet this beautiful shawl!
Type of yarn for this easy crochet shawl pattern
While this free pattern for this simple shawl was in the works, we realized that the beautiful yarn that was used for this great project was discontinued. No worries, though! Substitute it with any fine #2 or light #3 weight yarn.
Check out these simple crochet patterns using lightweight yarns:
- Modern Crochet Shawl Summer Nights
- How to Crochet a Triangle Shawl Using a Granny Stitch
- Crochet Mesh Stitch Summer Wrap
Advanced crocheters will tell you that bulky yarn is easier to work with. But in particular, anything bulkier than worsted weight yarn will not create a perfect shawl with this stitch variation. Learn more about different yarn weights and crochet hook sizes for different yarns here.
Any DK weight yarn or even fingering weight yarn will work perfectly with this easy shawl pattern.
Another best part of this lovely pattern: no color changes! This simple crochet project looks best made with the same color yarn start to finish.
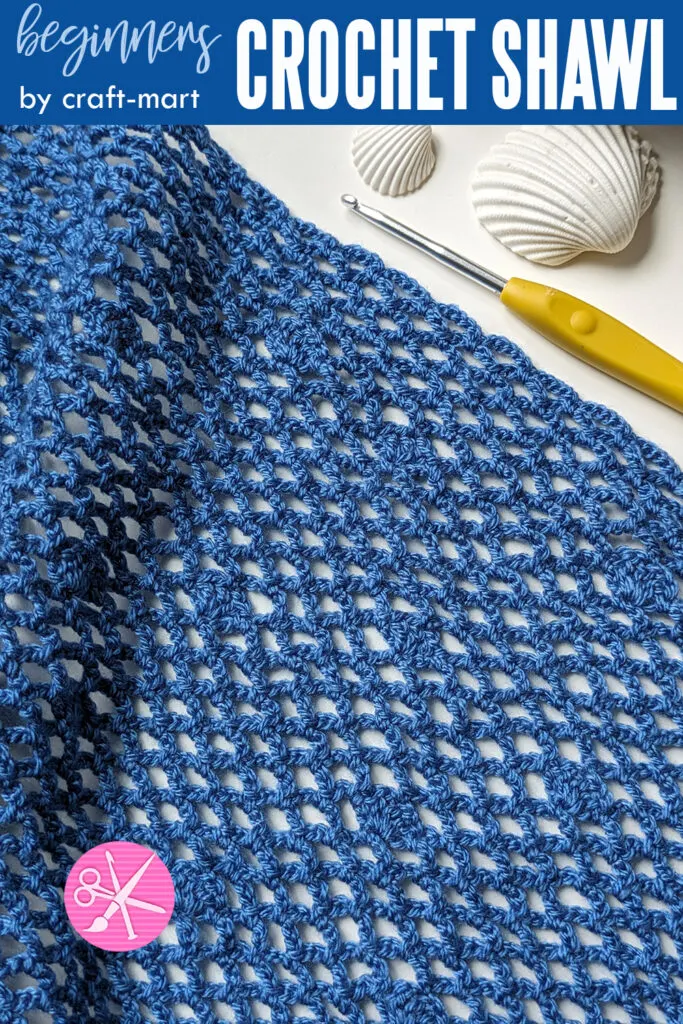
Basic Stitches Used in this Shawl Design
If you are a beginner, you probably know different crochet stitches such as chain, single crochet stitch, and double crochet stitch. Here is a list of basic crochet stitches used for this easy crochet pattern:
- chain stitch,
- double crochet stitches,
- treble crochet stitches.
If you are not familiar with treble crochet, check out our video tutorial for this stitch as well as a perfect project to practice it. It is great for crocheting fast modern rectangle wraps.
Stitches (in US crochet terms)
- ch – chain
- dc – double
- tr- treble
- st – stitch
- ch-sp – chain space
List of Materials
- 2 skeins of yarn ~ weight (1) or (2), skein weight: 3.5 oz. / 100 g; yardage: 678 yd. / 620 m
Note: Woolike by Loops and Threads was used for this shawl. As this particular yarn has been discontinued, you can substitute it for any yarn of similar weight.
Here are some suggestions for the yarn:
- crochet hook B-1 / 2.25 mm (refer to your yarn label)
- scissors
- tapestry needle
- stitch markers (optional)
Ready to crochet this cozy wrap? Let’s get started!
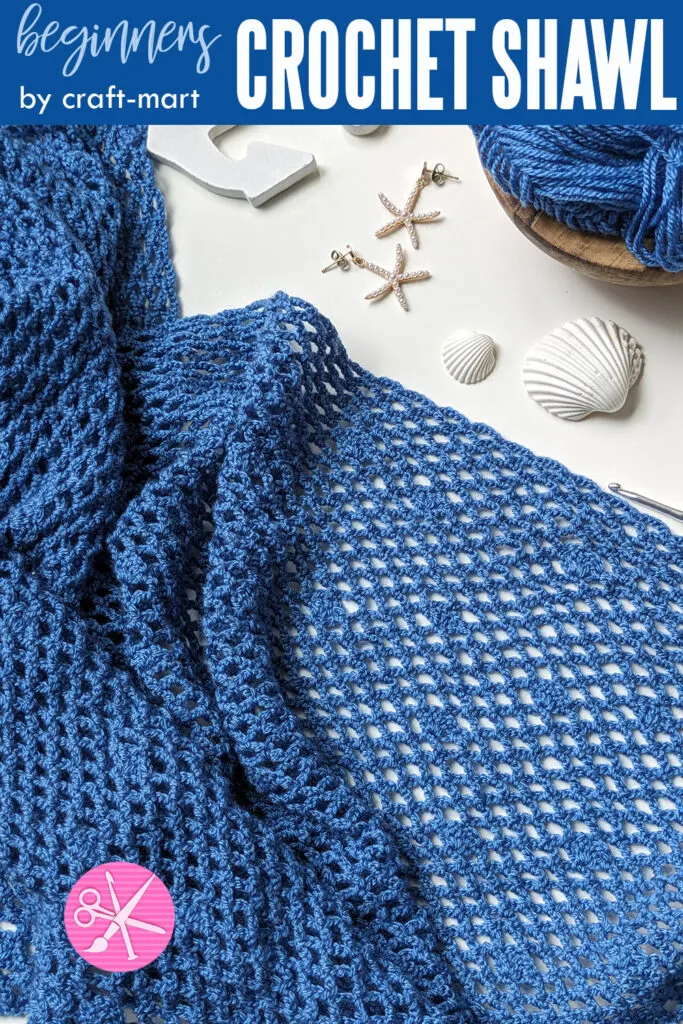
Shawl Crochet Pattern
Row 1
Chain 5 (4 chains represent the first treble crochet). Next, TR in the very first CH (5th CH from the hook). Now you have made 2 TR stitches.
CH 5, 2 TR in the same first CH.
As a result, you have created the triangle foundation for your perfect crochet shawl pattern. From now on, you’ll do a one-row repeat to make your shawl ‘grow’.
Row 2
CH 4 (represents the first TR, you’ll do it at the beginning of each row). TR in the last st of the previous row. CH 5, SC in the CH-SP of the previous row. CH 5. 2 TR in the last two st.
Row 3
3rd row and all the rows will be the same repeat. The only difference would be the number of CH 5 open stitches in every row. As an illustration, the 1st row has one, the 2nd row has 2, the 3rd row has 3, and so on.
CH 4, TR in the last st of the previous row. CH 5, SC in the next CH, CH 5, SC in the next CH, CH 5. 2 TR in the last ST of the previous row.
Row 4
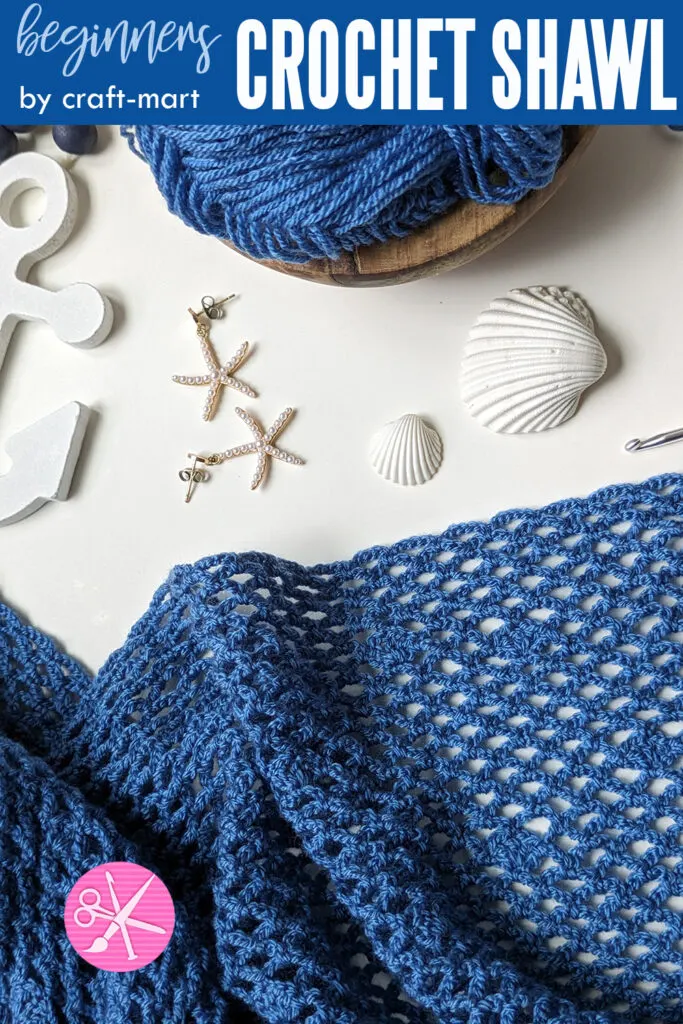
To make this perfect crochet pattern even more interesting, you can add a random stitch variation. As a result, one CH 5 is replaced by a cluster stitch.
The cluster consists of 2 different stitches: DC and CH: DC+CH+DC+CH+DC. As a result, you will have 3DC and 2CH in each cluster. Spread them out randomly throughout the whole shawl as you increase rows.
It just adds some visual interest to the pattern. As an example, here is the row 4 sequence of stitches.
CH 4, TR in the last st of the previous row. CH 5, SC in the next CH. Cluster stitch: DC+CH+DC+CH+DC into the next SC (of the previous row), SC in the next CH-SP, CH 5, SC in the next CH-SP, CH 5, 2 TR in the last ST of the previous row.
Continue to increase rows until your shawl is the desired size. For a more professional finish, you can add 3 tassels to all 3 corners of the shawl.
More Free Shawl Patterns to try:
- Capri Summer Crochet Triangle Scarf – FREE CROCHET PATTERN
- Modern Crochet Shawl Summer Nights
- Virus Crochet Shawl Pattern
- How to Crochet a Triangle Shawl Using a Granny Stitch
- Virus Crochet Shawl Pattern
List of Free Crochet Shawl Patterns (in basic shapes) from crochet designers:
- Shawl Crochet & Knitting Patterns by MamaInAStitch
- 25 Free Crochet Shawl and Wrap Patterns by SarahMaker
More Great Crochet Projects to Try for Beginners
When you are a beginner, simple shapes are the easiest to work with. You may also want to check out our other favorite things to crochet such as blankets, wraps, and throws.
- Free Crochet Blanket Pattern for Beginners ‘Spring Showers’
- Crochet Velvet Baby Blanket “Charlotte”
- Half Double Crochet Blanket Tutorial
Common Mistakes to Avoid Crocheting Your First Shawl
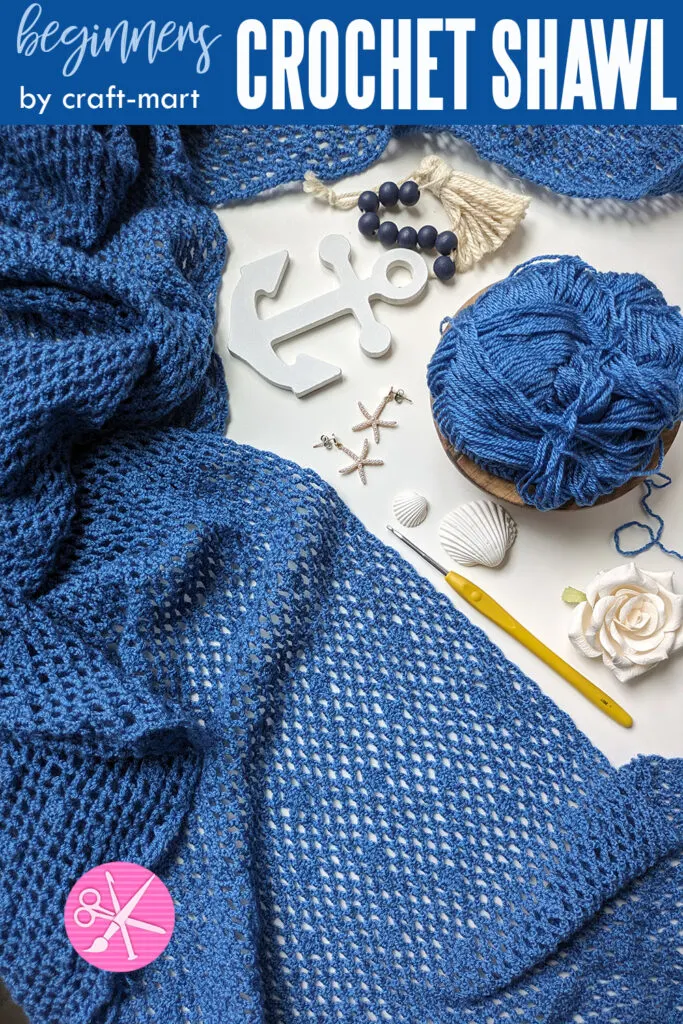
Are you ready to dive into the world of crocheting your first beginners crochet shawl? Before you grab your yarn and hook, learn how to avoid these common mistakes that can trip up beginners.
From choosing the right yarn to understanding shawl construction, we will guide you through the essential steps to ensure your project turns out beautifully.
So, grab a cup of tea or coffee, settle in, and let’s unravel the secrets to creating a stunning shawl that you’ll be proud to show off.
Choosing the Right Yarn
Choosing the right yarn is crucial when crocheting your first shawl. The type of yarn you select can greatly impact the overall look and feel of your finished project. Consider the weight, texture, and color of the yarn to ensure it is soft and drapes perfectly.
Experiment with different yarns to see which ones work best for the style you’re aiming for. Once you’ve found the perfect yarn, you’ll be one step closer to creating a beautiful shawl that you’ll love to wear or gift to a friend.
Picking the Correct Hook Size
When it comes to picking the correct hook size for your shawl project, it’s important to refer to the yarn label. As a rule, you will find the suggested hook size there.
It’s important to remember, that it is only a suggestion as everyone’s style and tension is different. Crochet a small swatch (triangle in this case) to see how it looks.
You may decide to go one crochet hook size up or down to make it look perfect. Using the wrong hook size can result in a shawl fabric that is too tight or too loose, affecting the overall look and drape of the finished piece.
Understanding Shawl Construction: Basic Shapes
When you are creating a shawl, it’s important to grasp the basic structure of crochet wrap patterns. Triangular shawls typically start at the tip of the triangle or the middle of the longest side, with increases worked along the edges to create a triangular shape.
With an easy rectangular shawl pattern, you start at the small side of the rectangle and increase rows until your wrap reaches its desired size.
In this beginner’s crochet shawl pattern, we start at the tip of the triangle and continue until the triangle is a desired size to drape over your shoulders and you’ve used up all the yarn. What makes this particular pattern beginner-friendly, is that there are no stitch counts or complicated instructions. Just a one-row repeat!
By familiarizing yourself with shawl construction, you’ll be better equipped to tackle the next step: making all your stitches look the same to maintain a consistent and balanced design.
Blocking Your Finished Shawl
After you have completed crocheting this beginners crochet shawl, the next important step is blocking. Blocking is the process of gently shaping and stretching your finished creation to ensure that it lays flat and looks its best.
Furthermore, this step can make a significant difference in the overall appearance of your project, giving it a polished and professional finish. To block your shawl, you will need to gently soak it in lukewarm water, remove any excess water, and then pin it out on a blocking mat or towel to dry.
Taking the time to block your finished shawl will not only enhance its aesthetic appeal but also help to set the stitches and improve the drape of the fabric. So don’t skip this crucial step in the final stages of your crocheting process.
So, blocking your shawl will give it that perfect finishing touch that will make all your hard work truly shine.
In conclusion, mastering the art of crocheting your first beginners crochet shawl requires attention to detail and a willingness to learn from mistakes. By carefully selecting the right yarn and hook size, understanding traditional wrap style construction, crocheting your stitches accurately, and blocking your finished piece, you can create a stunning shawl that reflects your improved crochet skills.
Remember, patience and practice make your project go smoothly. So take your time, enjoy the process, and revel in the satisfaction of crafting something truly special.
Furthermore, don’t forget a wise Japanese concept of wabi-sabi: it signifies an acceptance of imperfection. As we embark on a journey of handmade crafts, we appreciate that any art is imperfect in its nature.
So, if you make a slight mistake, just let it be. Embracing wabi-sabi is appreciating the beauty that is “imperfect, impermanent, and incomplete” and moving forward.
Happy crocheting!

