Do you want to know the best acrylic pouring recipes? More and more people are creating amazingly colorful artwork by simply pouring paint on canvas, using special yet simple techniques.
Many of those passionate DIY crafters call themselves pour painting or fluid artists and successfully sell their fluid art on Etsy, while others are just switching from coloring pages to something a bit more creative yet still relaxing and don’t care much about an art career.
Either way, both groups are constantly looking for new interesting acrylic pouring recipes, techniques, and pour painting tutorials thus pushing acrylic pouring art into the new territory of popular DIY projects.
Danny Clark
Low-Cost Acrylic Pouring Recipe with Lots of cells
Danny Clark
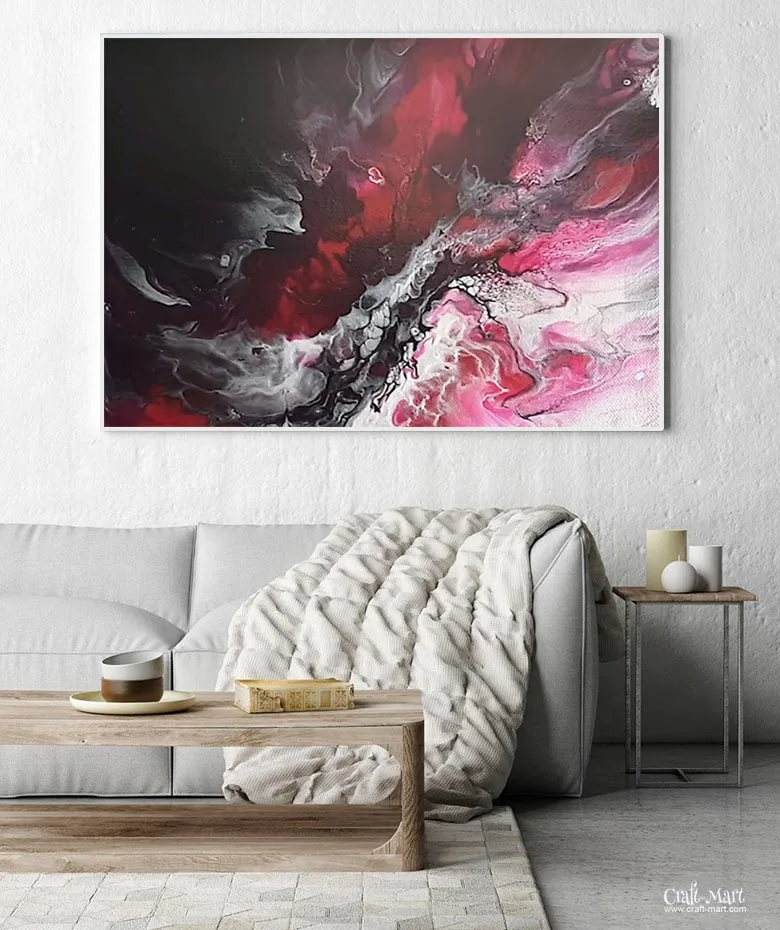
Artwork by MelyD.artist
We collected a few pour painting tutorials right here for you to master resin pouring techniques and learn about some alternative art materials.
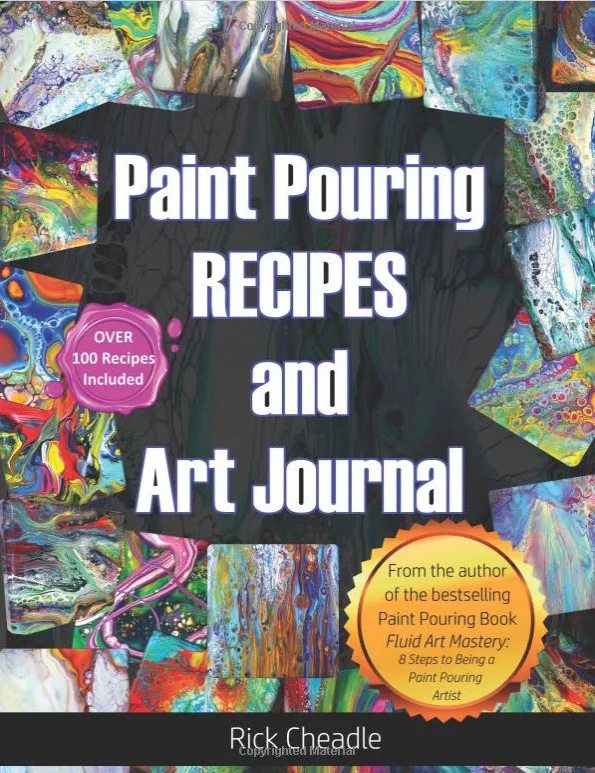
Acrylic Pouring Recipes Book: “Fluid Art Recipes and Art Journal: Over 100 Paint Pouring Mixtures” (2018)
This is a really good book for fluid art beginners. The recipes are formulated for an 8″ x 11″ or 9″ x 9″ size canvas and provide the exact amounts of paints and other components needed for each pour.
BEST OCEAN WAVE Acrylic Pour EVER!!!
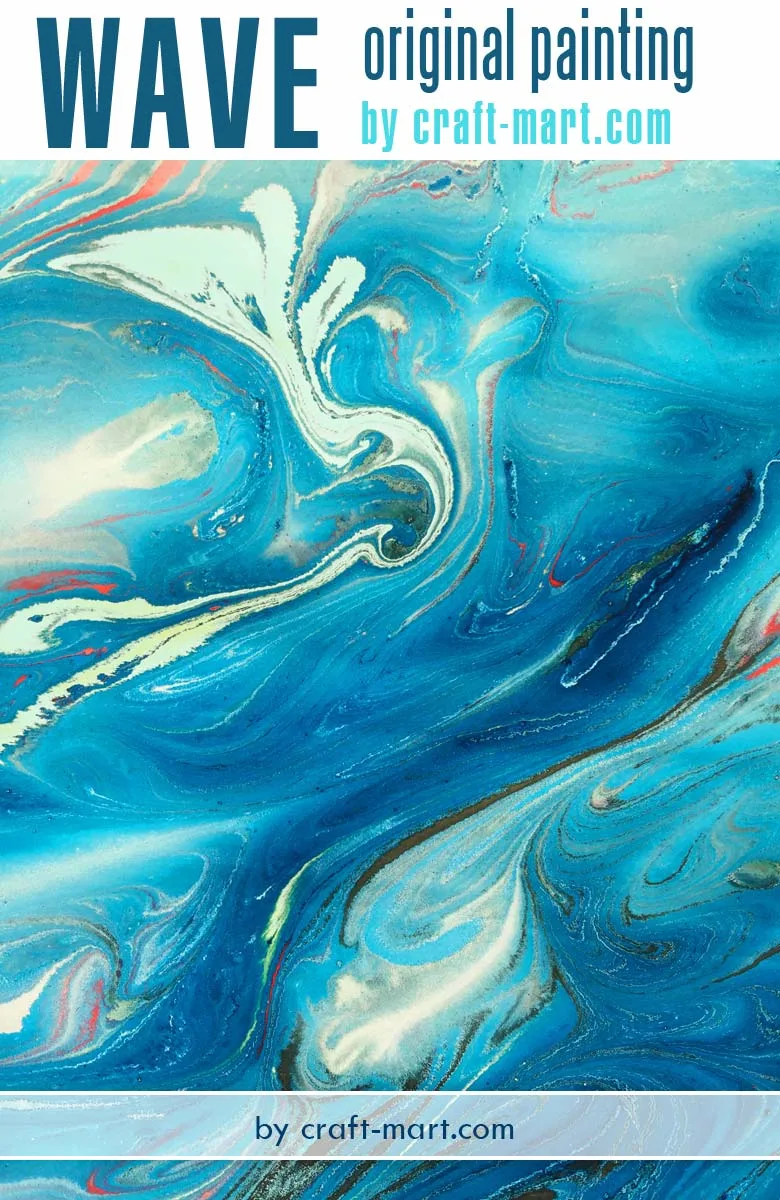
CraftyJen has seen others doing the wave paintings using acrylic pouring techniques on canvas and attempted to create one of her own.
Pour painting recipe and directions:
- mix up a deep blue-black;
- take metallic cobalt blue and a mixed combination of silver/metallic white-grey;
- add Floetrol to the last mix;
- add water and silicone;
- mix up the white with just Floetrol and water;
It turned out to be really artsy! There can be no precise acrylic pouring recipe for each painting – this is the beauty of the pouring technique. Every time the paint mix touches canvas you will get a different result and will create something unique.
How to Make Museum Quality Acrylic Pouring Paintings
This is an interesting pour painting experiment to watch which will create a complex symphony of colors on canvas using flip-and-drag technique plus a swiping acrylic pour medium technique. Fascinating!
Pouring recipe advice – add 2-3 drops of silicone oil to each color:
- Perylene Maroon;
- Pink;
- Cadmium red light;
- Phthalo Turquoise;
- Cadmium Lemon;
- Quinacridone Magenta;
- Winsor and Newton Professional Iridescent gold;
- Iridescent medium from Golden;
- Pearl Yellow from DeSerres;
Well, for creating a museum-quality painting using acrylic pouring techniques on canvas, you definitely need to think about your color scheme and all the steps in the video. You would also need to do your research and use fine art professionals’ expertise to learn if including silicone oil into any of your acrylic pouring recipes is compatible in any way with this museum-quality label.
Below are a few art oils that artists can purchase at any art supplies store. The most common is linseed oil, stand oil (a less liquid version not suitable for acrylic pouring), and walnut oil (not shown).
Acrylic pouring authority figures do not recommend using organic oils stating that they will go rancid upon drying, will smell bad, and rot. If this was true that all art museums with oil paintings would be smelling like dumpsters.
What’s the solution then? Just add a few drops of Spike Lavender essential oil (sold in art stores) to linseed or walnut oil like thousands of fine artists have been doing over 100s of years.
And, please, don’t use your cooking oils.
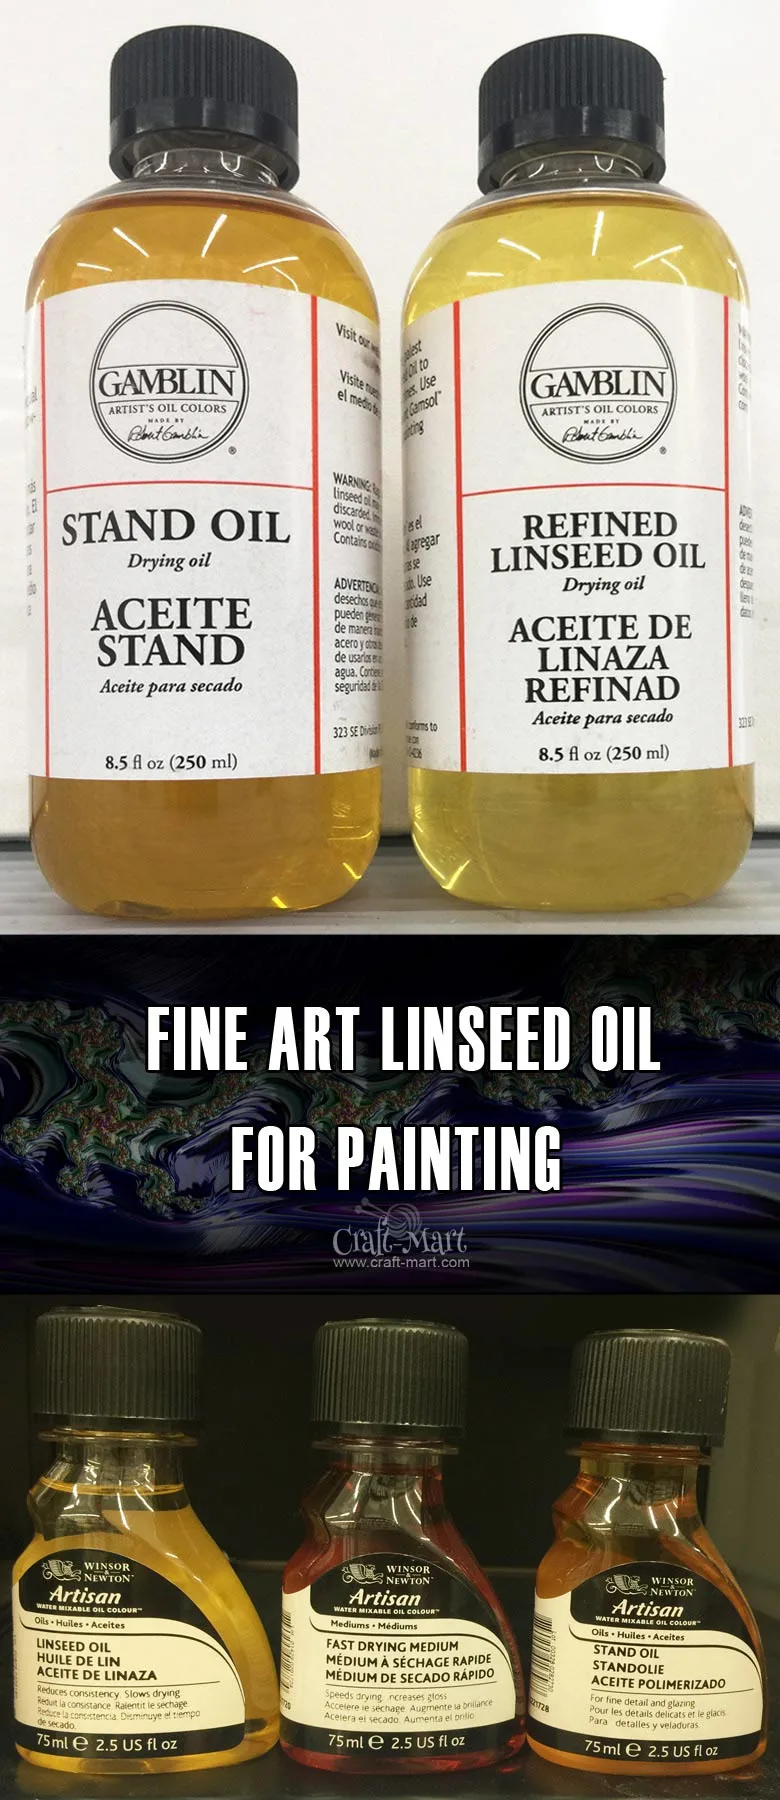
Yes, acrylic pouring for beginners often starts with recipes featuring Silicone oil. But…
…Silicone oil is a non-drying lubricant that works wonders on squeaky wheels but may produce unpredictable results inside the acrylic polymer and absorb dust particles over long periods of time.
Acrylic Pouring Recipe on Dry Resin
Mely starts by showing some of her new pour paintings and explaining what techniques were used in each case. After that, she demonstrates some of her techniques using Golden Fluid & High Flow acrylics and Liquitex Pouring Medium (GAC800).
She adds a few drops of water in the Golden Fluid and then pours the paint on 26″x48″ cradled wood. Using a hair dryer for pushing the paint she creates some remarkable expressionistic effects.
This informational demo is one of the best showcases of acrylic pouring medium techniques you can find online.
The beautiful effects of Golden paint and a simple blow dryer
What do art & hair have in common? The blow dryer! Here is another demo of using a hairdryer for creating an expressionistic fluid artwork. You may like it or not but it shows that there are many ways fluid acrylics can be poured and spread around the canvas creating a mesmerizing effect.
Fluid art materials and pouring mediums used:
- GOLDEN High-Flow;
- GOLDEN Fluid acrylics colors;
- GOLDEN GAC800 Liquitex pouring medium;
- Dish soap diluted with alcohol;
Effects with Golden Products & Blow Dryer
A true piece of art should always arouse some level of emotions, otherwise, it is just a decorative craft panel. In this pour painting tutorial, Mely shows how black, magenta, and white colors can be used for creating quite a dramatic artwork. No amorphic cells here! In her artistic endeavor, she really extends acrylic pouring techniques on canvas beyond the common “pour and hope” approach.
Pouring Recipe and materials:
- Golden fluid mars black;
- Golden fluid magenta;
- Golden high flow in iridescent pearl;
- Liquitex Pouring Medium -GAC800
Paints were poured on a 10″x10″ canvas and moved around by slanting the canvas. Then a hairdryer on a low setting was used to push the paint around.
A nice result which you can repeat at home on your own DIY canvas!
Fluid Painting with DecoArt – 2 Puddle Pour on 36″×12″ Canvas
Do you have a modern interior? Do you have a pair of hands and a will to learn? This easy pour painting tutorial video will show you how to make something cool and modern out of a very limited set of colors.
Acrylic Pouring art materials:
- All paints are the DecoArt brand;
- Liquitex Pouring Medium was added to every cup, then diluted with water;
- 2 puddle pouring on a 36″x12″ canvas leaving some black white and black space on each end;
- Simple but elegant!
Acrylic Flip & Drag Pouring Recipe with Negative Space
Acrylic Paints and art materials:
- Wilko UK Satin White interior house paint,
- Winsor and Newton Galeria Ultramarine,
- Liquitex Basics Primary Yellow and Deep Violet,
- Pebeo Studio Iridescent Blue Green,
- DecoArt Metallics Ice Blue, with about 30% Liquitex Pouring Medium,
- Tap water (for achieving desired viscosity),
* Floetrol is not always needed if the original paint has enough binder in it - 2 drops of silicone oil added to each color except the white,
- A torch was used at the end to heat the silicone for creates the cells
3 compulsory colors: metallic blue, purple, and yellow.
The Black Hole technique – Acrylic fluid art painting
You can easily do it and you will be rewarded with a fascinating result, let yourself be surprised! So that the white canvas does not show through anywhere, you should first coat it with black paint. Only then pour your black base layer followed by the colors of your choice.
The recipe for the Black Hole pouring example is here:
Acrylic pouring recipes for beginners – Step by Step – Chakra colors
Advanced alternative pouring medium techniques
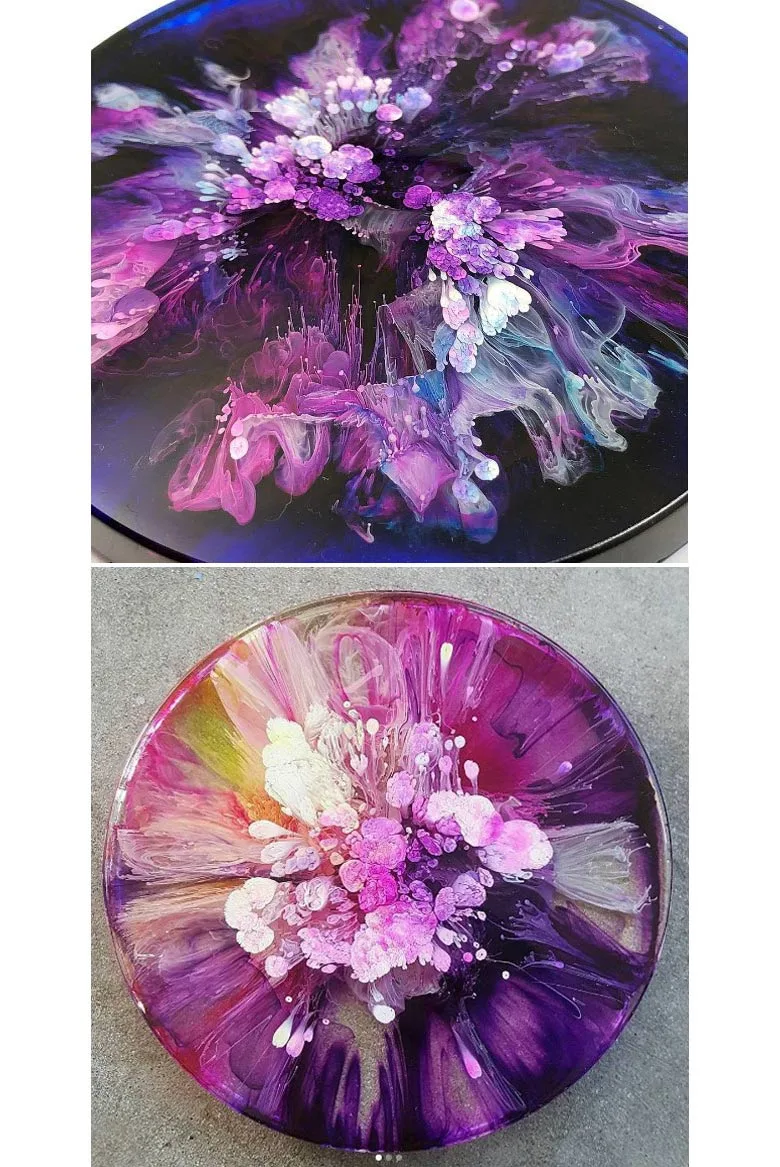
Acrylic pouring by fluidart
Source: Instagram
Pour painting can be done with any liquid paints such as alcohol inks (see example above). FluidArt experiments should inspire fluid artists to go beyond standard acrylic pouring recipes.
How To Make SKINS from FLUID ART into PINs and MAGNETS with Acrylic Pouring
After looking at these acrylic pouring recipes and techniques, let’s mention one fun crafty DIY project that a growing number of “pour painting” art enthusiasts are doing now – making pendants, pins, earrings, and some other jewelry-type trinkets with pour paint leftovers. Quick and easy craft projects to ‘wet your toes’ and try exciting new easy acrylic pour painting recipes and techniques!
Are you wondering how will your DIY abstract art look in the interior? There is only one way to find out – try one of these amazing acrylic pouring techniques and then proudly transform your home decor with your own amazing artwork!

Helpful pour painting tips
Paint Cracks (Crazing)
One of the most common problems that fluid art beginners face is cracking of the paint layer after it dried out. There is a special painting term for this called “crazing.”
Crazing acrylic occurs when the top layer of the acrylic pour painting dries faster than the bottom layer. During this process, the top layer begins shrinking in size while the underlying layer stays expanded.
Why does this crazing happen and how to prevent it?
- Make sure your drying pour painting is not exposed to direct sunlight;
- In some southern states in summertime running an air conditioner can take out a lot of moisture out of the air inside the studio. Try using a humidifier and see if it helps to keep the top acrylic layer moist.
- Don’t over-dilute your paint with Floetrol and water. Conduct a test using a very well mixed paint straight from the container. If it dries without cracking then start adding Floetrol by small amounts. If adding Floetrol is enough to reach the desired fluidity then you don’t need to add water at all.
To summarize, acrylic paint crazing can happen when your thick paint layer dries unevenly due to the lack of moisture in the air. If your acrylic pouring color mix was over-diluted with Floetrol and/or water, then crazing may happen even if you have enough humidity in your studio.
Very, very rarely, it could be the fault of the paint company. Remember, all paints have a nasty habit of separating into weight fractions over time. The heavy pigments and the fillers sink to the bottom and the binding resin goes to the top.
Our final word about acrylic pouring recipes an tips to avoid crazing
- Mix your acrylic paints really well before each use;
- Find the right balance of the paint, Floetrol, and humidity for your studio!
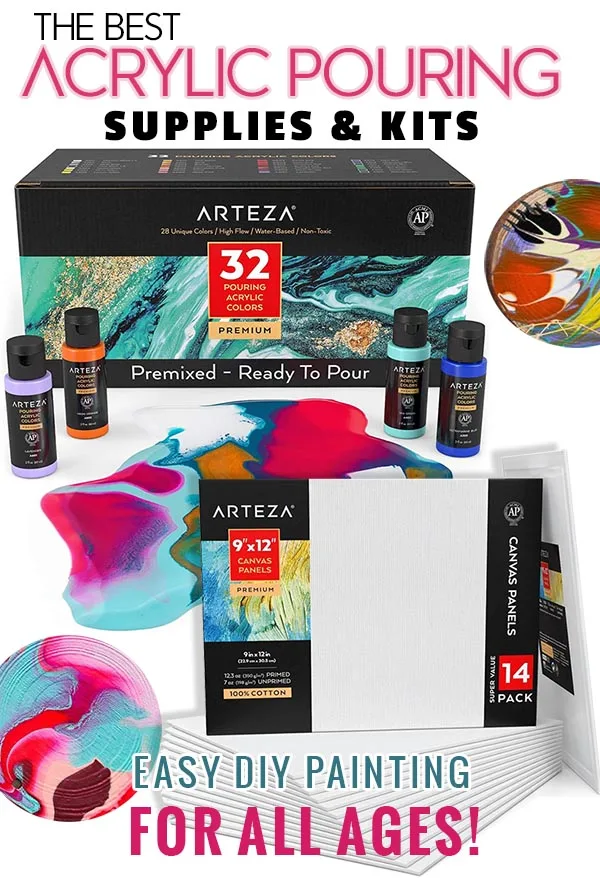
…or get these acrylic pouring kits from Arteza with specially formulated paints…

