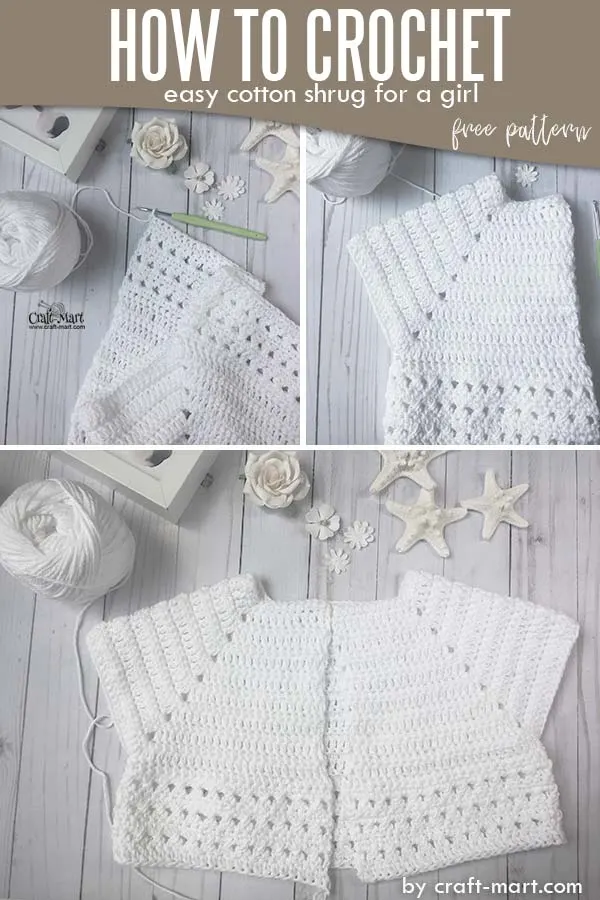
Easy cotton crochet shrug may not be on your list if you are a beginner. On the other hand, it is a pretty easy project if you are familiar with a few basic crochet stitches.
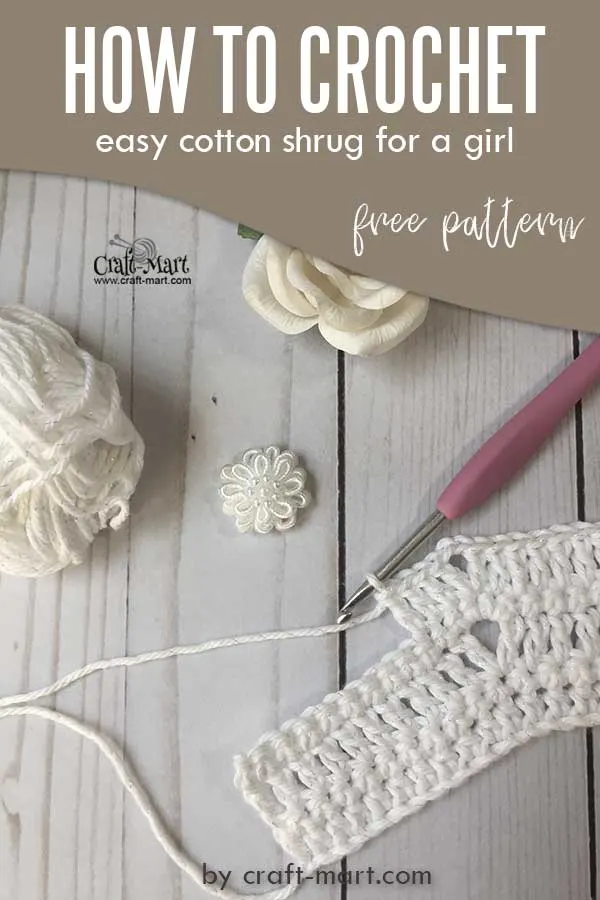
As an illustration, here are the stitches that are used for this crochet shrug:
- chain;
- half double crochet;
- single crochet;
- double crochet.
As you can see, these are very easy basic crochet stitches. In fact, there are just a few easy modifications to basic crochet stitches. Consequently, you will easily master this free pattern for a crochet shrug.
If you are not familiar with the crossed double crochet stitch, check out this tutorial for step-by-step instructions: Crossed Double Crochet Stitch.
How do you crochet a simple yoke for the shrug? In that case, I would suggest taking a dress or a simple T-shirt that fits well and modeling it accordingly.
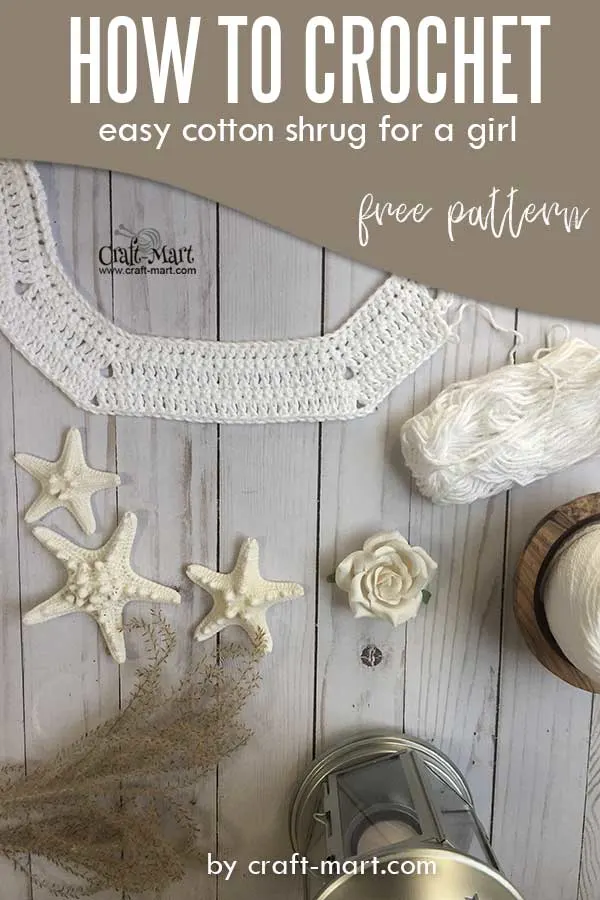
First, chain as many stitches as you would need to go around the neck opening of a dress or T-shirt.
Second, you’d need to divide your shrug into the front 2 panels, back, and 2 sleeves. You would crochet the whole piece going back and forth until it is big enough to connect the sleeves.
As an illustration, you’ll have 4 lines separating front, back, and sleeves and those will be where all the increases happen.
The crochet shrug pattern consists of 2 alternating rows of double crochet and single crochet. How do you increase to create a yoke?
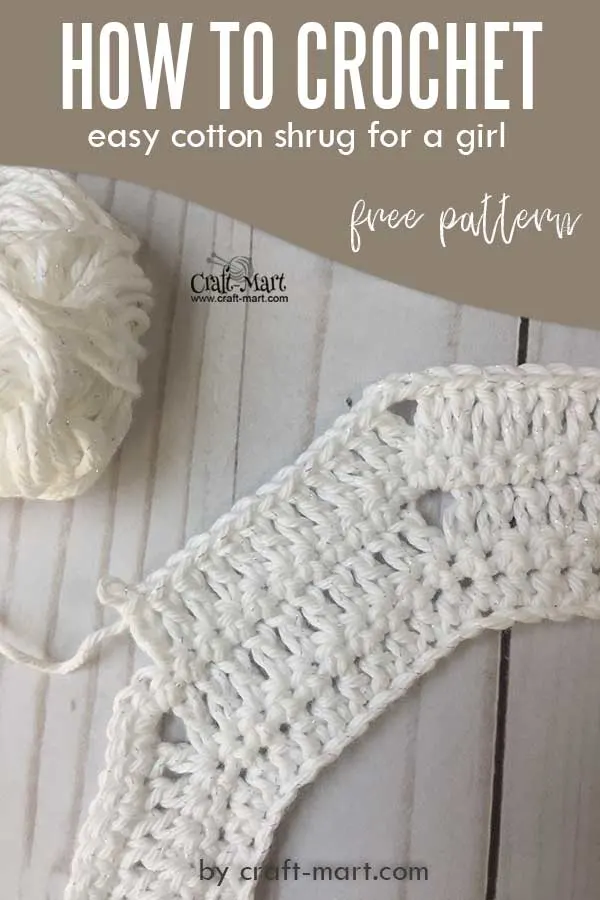
Accordingly, the double crochet rows will create a foundation for an increase: you’ll crochet dc+ch+dc (V-stitch). Consequently, on single crochet rows, you’ll crochet 3 sc into each 1ch space four times.
Third, you would need to form sleeves when your yoke is big enough. I would suggest using pins or stitch markers to close the sleeves.
Another key point is to ask your model to try it on to make sure it fits perfectly. At that time you may have to adjust the opening for your sleeves or the size of the front or back panels.
Consequently, you may realize that the yoke is not big enough yet to start the sleeves and you’d need to add a couple more rows. It is all normal – you want your shrug to fit perfectly.
Materials for crochet shrug
- “I Love This Cotton” yarn in White by Hobby Lobby
- Crochet Hook: 5.5mm (USA Size: I-9 – UK Size: 5)
- Scissors
- Tapestry needle
Truly, the name of this yarn correctly describes its quality. This cotton is so soft, durable, and just perfect for a crochet shrug.
Surprisingly, one of the skeins I bought had a slight defect but I was able to exchange it effortlessly. Generally speaking, Hobby Lobby’s yarn is of great quality for all your crochet projects.
Most importantly, the cotton yarn comes in 75 colors! AS you can imagine, you can pick any color to match the dress for which your crochet shrug is intended.
I’ve also loved crocheting cotton shrugs with ‘I Love This Cotton’ Sparkle yarn from Hobby Lobby. It is not scratchy and gives just enough sparkle for a more festive shrug.
Crochet Abbreviations
- ch – chain
- hdc – half double crochet
- sc – single crochet
- dc – double crochet
- ch sp – chain space
- sk – skip
The crochet shrug pattern for a 5- year-old
Ch 60.
Row 1
First, hdc into 3rd ch from the hook and every chain to the end of the row (59 hdc). Ch 2 in the beginning, represents 1st hdc, so we have 60 hdc total.
Row 2
Ch 1, sc into every stitch (60 sc)
We are going to divide all the stitches into 5 panels:
- 2 front panels – 10 stitches each
- 2 sleeves – 8 stitches each
- 1 back panel – 20 stitches
This makes 56 stitches, so 4 stitches will be the ones that separate the panels and where all the increases happen.
Row 3
Ch 3, dc into next 9 stitches (10 dc); dc into the next stitch, ch 1, dc into the same stitch. This V-stitch divides the panels and creates a foundation for the future increase.
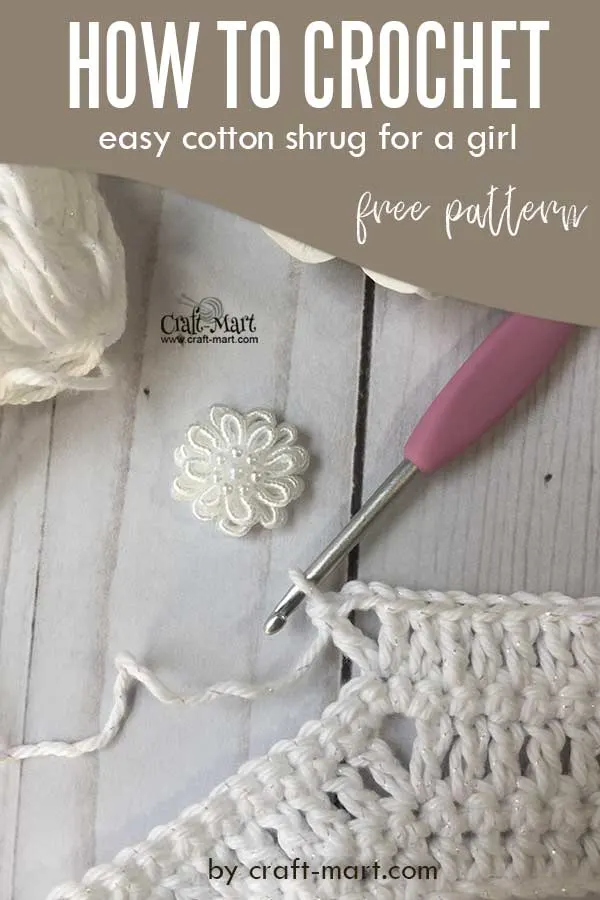
Continue with dc into the next 8 stitches (first future sleeve); dc into the next stitch, ch 1, dc into the same stitch.
20 dc into next 20 stitches (back panel); dc into the next stitch, ch 1, dc into the same stitch.
Crochet 8 dc into next 8 stitches (second sleeve); dc into the next stitch, ch 1, dc into the same stitch.
Make 10 dc into the last 10 stitches (second front panel).
Row 4
Ch 1, turn; sc into next 11 stitches, 3 sc into ch space. Continue to sc into each stitch while adding 3 sc into chain spaces (creates the increase) to the end of the row.
Row 5
Ch 3, turn; dc until you reach the middle sc stitch made into ch sp; dc Into that middle stitch, ch 1, dc into the same stitch. Continue to dc into each stitch while making dc+ch1+dc into the 3 remaining middle sc stitches of chain spaces.
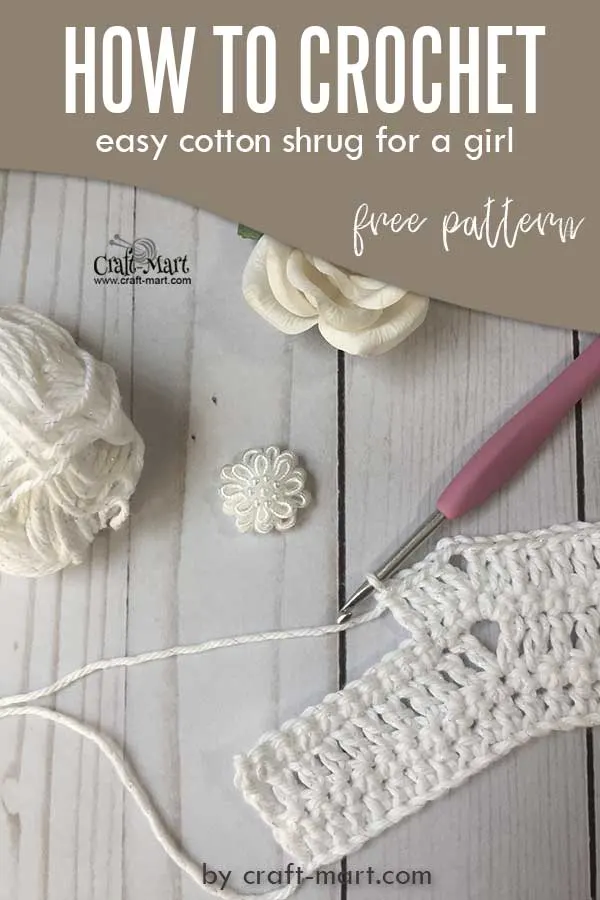
Continue to alternate row 4 & 5 until your crochet shrug reaches the desired size. Use stitch markers to separate sleeves, catch your model, and ask her to try it on.
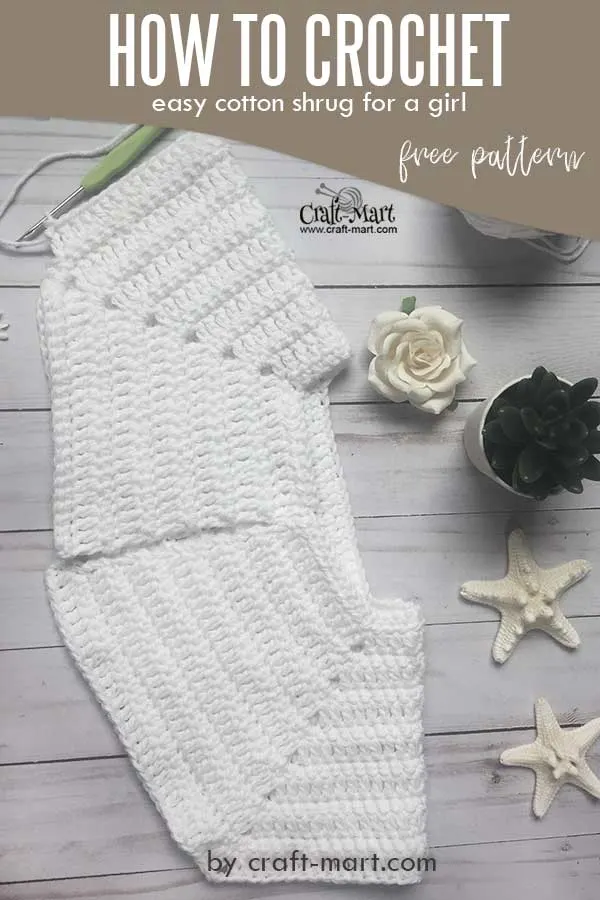
In case it fits perfectly, you can connect the sleeves now. If you see that the yoke part needs to be slightly bigger, add a couple of rows ending on dc row.
Important to realize, we’d be connecting the sleeves with a single crochet row.
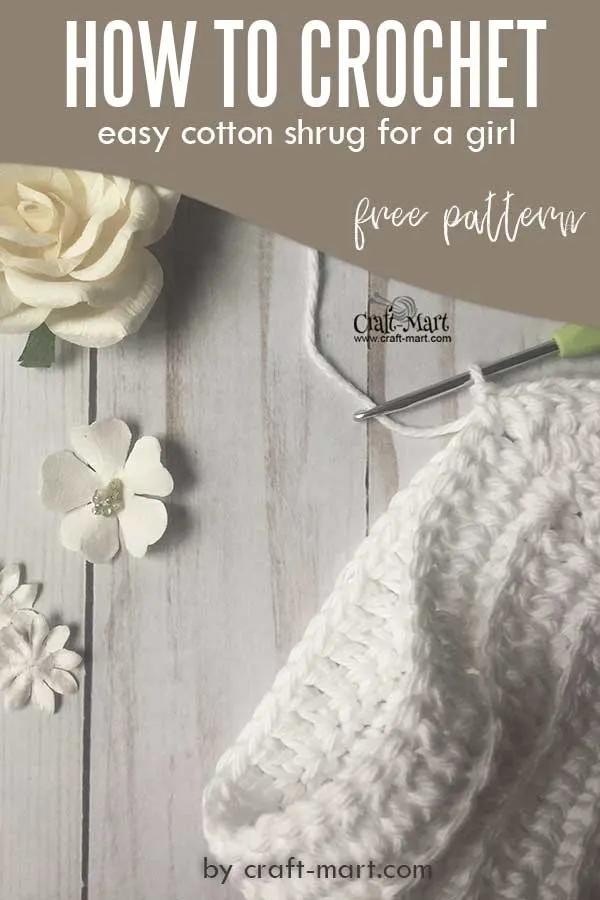
To clarify, just fold the sleeve in half, insert your hook through both panels, and connect them with a single crochet stitch. After that, skip the whole sleeve and continue to make sc into the back panel.
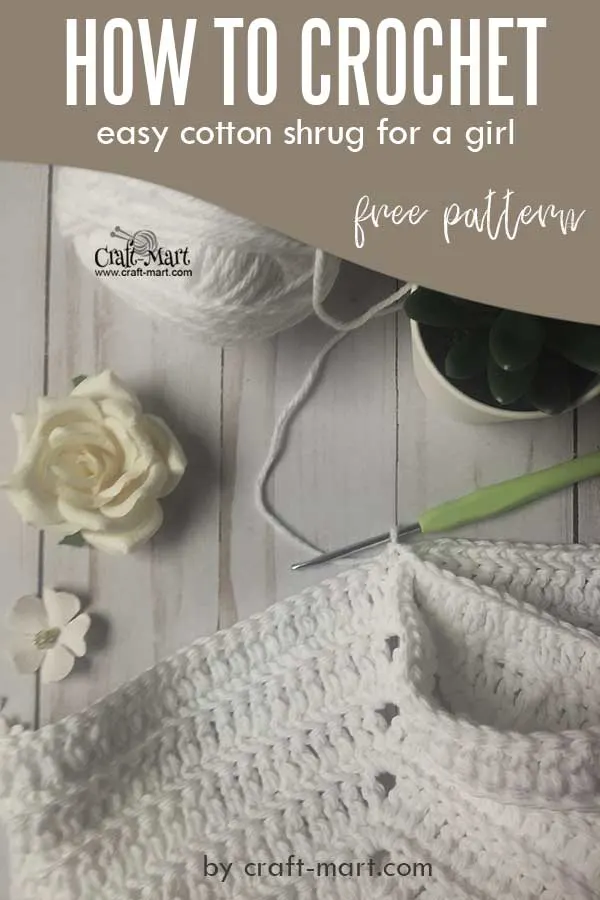
Continue with sc until you reach the second sleeve opening and do the same thing. Finish the row with sc.
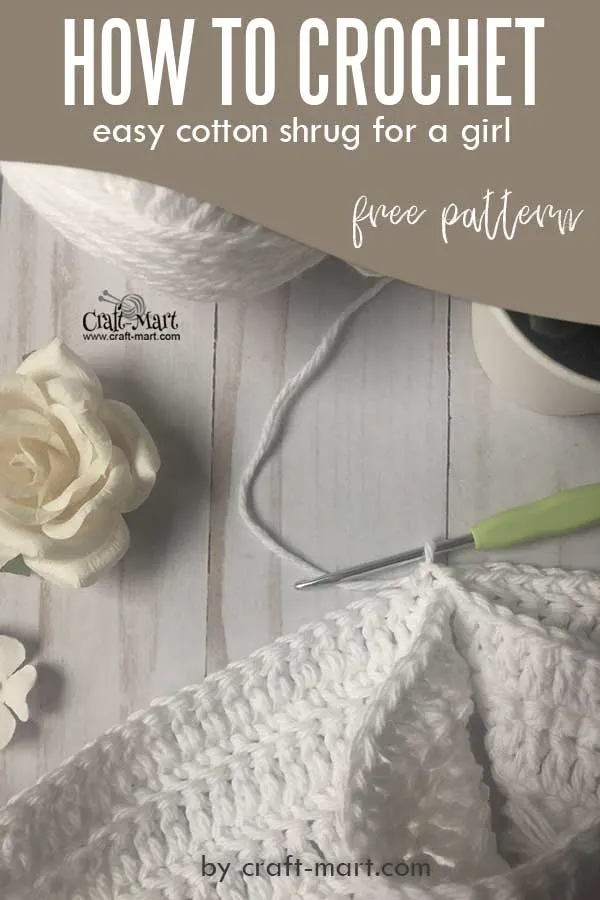
Ch 1, turn. Crochet another row with sc and count your stitches. Add 1 stitch under the sleeve, if necessary to have an even number of stitches.
Now we’ll do a row of crossed double crochet to add some texture to our shrug. As you are confident with double crochet, you won’t have any problems with a slight modification that creates crossed double crochet.
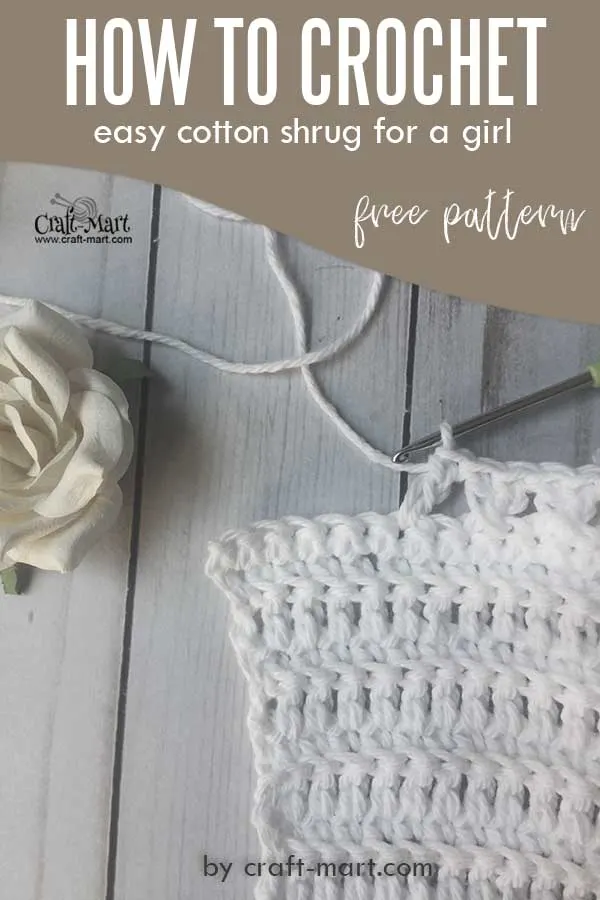
Continue alternating single crochet and crossed double crochet rows until your shrug is desired length. We’ve added 3 more crossed double crochet rows and 3 single crochet rows.
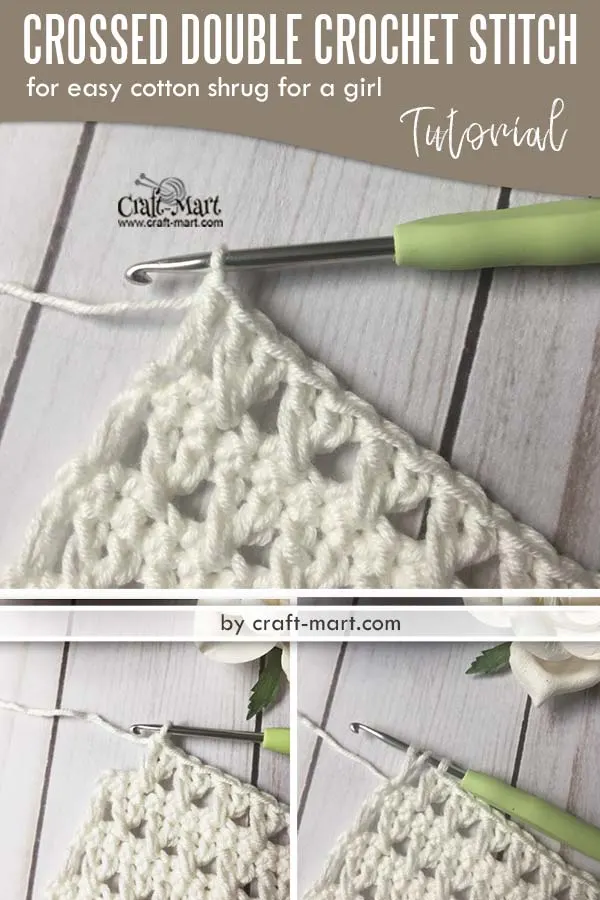
Important to realize that you can continue with regular double crochet if you wish. Consequently, you’ll be alternating double crochet and single crochet rows.
Finish the edging with a row of hdc. Done!
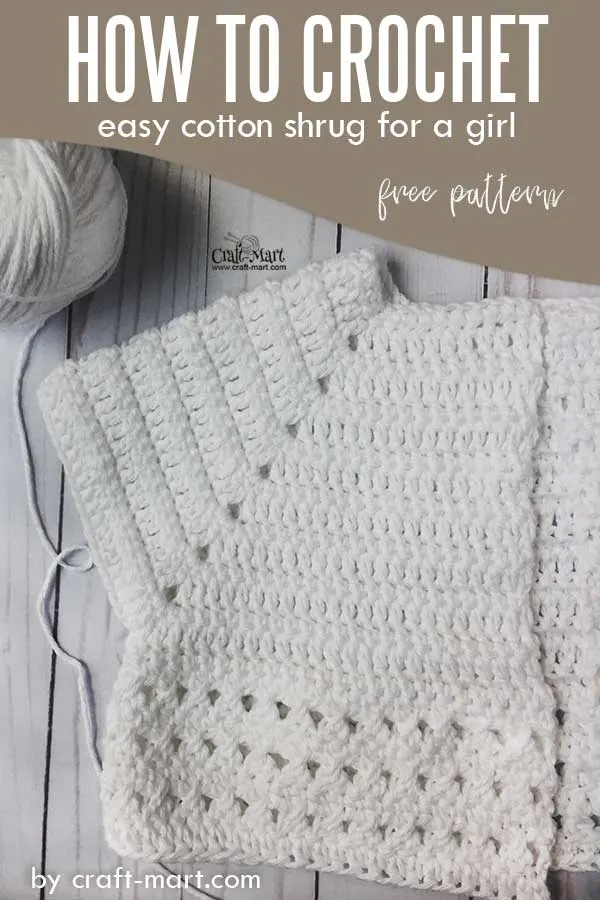
To put finishing touches, cut the yarn, secure the last stitch, and weave in the ends. Block the shrug while laying it flat on a surface.
To summarize, this easy cotton crochet shrug is a breeze. Generally, you can crochet it in a weekend. If you like this crochet shrug pattern, save it as your next project.
