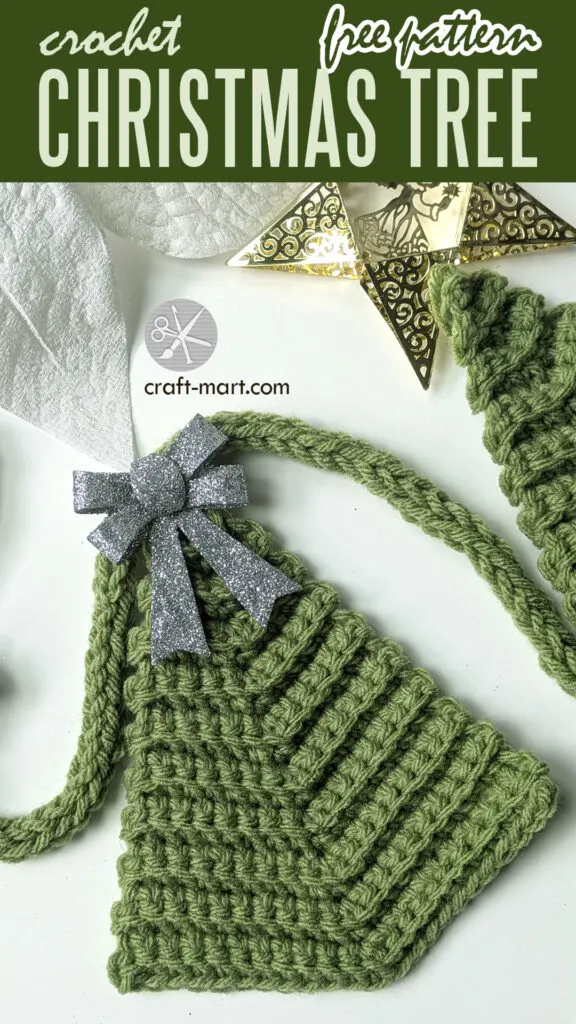
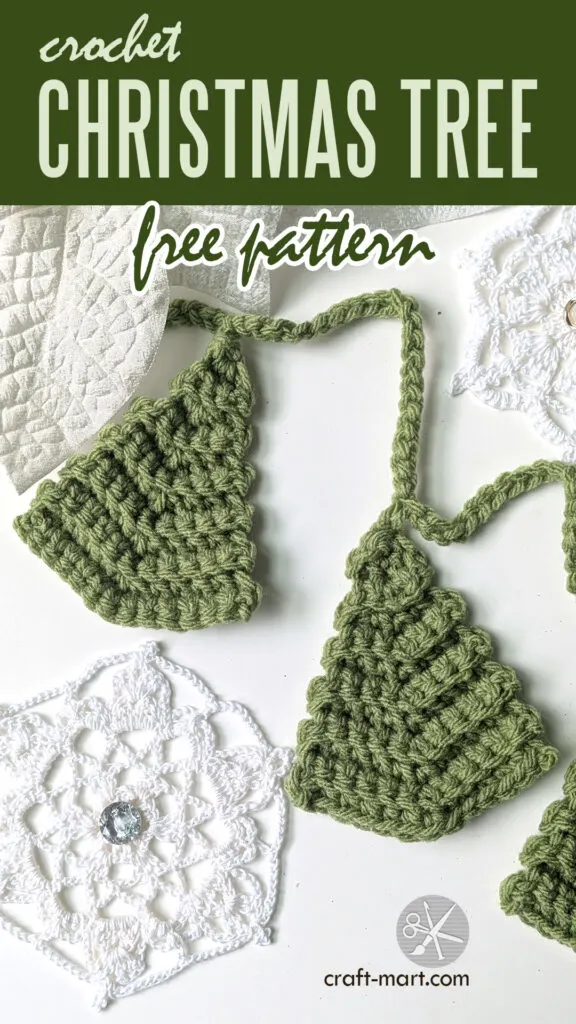
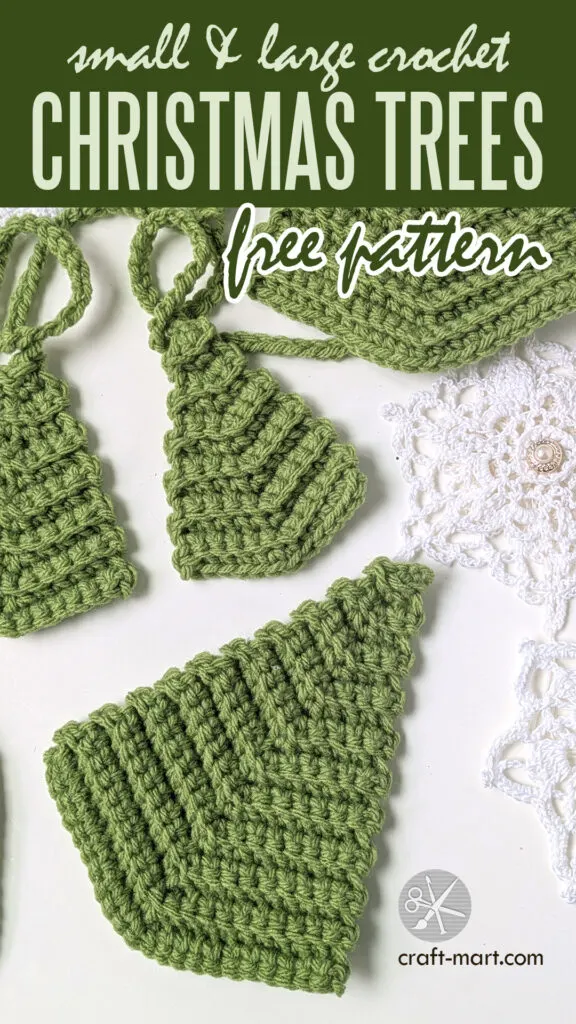
This crochet Christmas tree pattern is a perfect quick project for beginners. If you have a few minutes this Holiday season and want something relaxing for your hands, try this easy Christmas tree pattern. It is free!

Most importantly, it is a great way to use your leftover yarn. You can crochet a tiny Christmas tree in any color you want or have: green, white, or even pink (trendy!).
Furthermore, once you start, you won’t be able to stop. Soon, you will have not just one Christmas tree but several cute little hand-crafted decorations. They are so cute and easy to crochet!
Next, it is time to put them on a simple crochet chain (or I-Cord). Thus, you have a perfect crochet Christmas garland!
Skill Level
Crochet Christmas Tree is a 15-minute project perfect for beginners who want a crochet pattern they can start and finish. You will need the knowledge of these crochet stitches:
- slip knot
- chain
- single crochet
- single crochet into back loops only (BLO)

Materials and Tools
- yarn (any leftover) – 4 (medium) weight yarn used for this sample
- crochet hook – 4.25 mm (crochet hook for your yarn weight)
- scissors, tapestry needle
- bows, buttons, beads, etc for decoration
Abbreviations
- ch – chain
- sc – single crochet
- sc BLO – single crochet into back loops only
- st – stitch
- sts – stitches
Pattern for a Small Crochet Christmas Tree
- Make a slip knot, ch 2.
- Sc into the first ch, ch 1, sc into the same st (3 sts).
- Ch 1, turn; sc BLO into the next 3 sts (3 sts).
- Ch 1, turn; sc BLO into the next st, sc+ch1+sc, into BLO of the 2nd (middle) st, sc BLO into the last st (5 sts).
- Ch 1, turn; sc BLO into all 5 sts (5 sts).
- Ch 1, turn; sc BLO into the next 2 sts, sc+ch1+sc, into BLO of the 3rd (middle) st, sc BLO into the last 2 sts (7 sts).
- Ch 1, turn; sc BLO into all 7 sts (7 sts).
- Ch 1, turn; sc BLO into the next 3 sts, sc+ch1+sc, into BLO of the 4th (middle) st, sc BLO into the last 3 sts (9 sts).
- Ch 1, turn; sc BLO into all 9 sts (9 sts).
- Ch 1, turn; sc BLO into the next 4 sts, sc+ch1+sc, into the BLO of the 5th (middle) st, sc BLO into the last 4 sts (11 sts).
- Ch 1, turn; sc BLO into all 11 sts (11 sts).
- Ch 1, turn; sc BLO into the next 5 sts, sc+ch1+sc, into BLO of the 6th (middle) st, sc BLO into the last 5 sts (13 sts).
- Ch 1, turn; sc BLO into all 13 sts (13 sts).
- Pull through and cut the yarn leaving approximately ~10 inches long tail.
- The small tree is done! Finished size 3.5″ tall, 2.5″ wide.

Let’s discuss a few tips for the pattern. As illustrated, all the increases are done in the middle of the tree by a simple sequence (sc+ch1+sc). Next, the increase row is followed by a simple single crochet into back loops only when you can breathe and relax.
Pattern for a Large Crochet Christmas Tree
In like manner, the first 12 steps for the larger crochet tree are the same. Similarly, you continue the pattern for a few more rows to reach the desired size (23 sts).

- Make a slip knot, ch 2.
- Sc into the first ch, ch 1, sc into the same st (3 sts).
- Ch 1, turn; sc BLO into the next 3 sts (3 sts).
- Ch 1, turn; sc BLO into the next st, sc+ch1+sc, into BLO of the 2nd (middle) st, sc BLO into the last st (5 sts).
- Ch 1, turn; sc BLO into all 5 sts (5 sts).
- Ch 1, turn; sc BLO into the next 2 sts, sc+ch1+sc, into BLO of the 3rd (middle) st, sc BLO into the last 2 sts (7 sts).
- Ch 1, turn; sc BLO into all 7 sts (7 sts).
- Ch 1, turn; sc BLO into the next 3 sts, sc+ch1+sc, into BLO of the 4th (middle) st, sc BLO into the last 3 sts (9 sts).
- Ch 1, turn; sc BLO into all 9 sts (9 sts).
- Ch 1, turn; sc BLO into the next 4 sts, sc+ch1+sc, into the BLO of the 5th (middle) st, sc BLO into the last 4 sts (11 sts).
- Ch 1, turn; sc BLO into all 11 sts (11 sts).
- Ch 1, turn; sc BLO into the next 5 sts, sc+ch1+sc, into BLO of the 6th (middle) st, sc BLO into the last 5 sts (13 sts).
- Ch 1, turn; sc BLO into all 13 sts (13 sts).
- Ch 1, turn; sc BLO into the next 6 sts, sc+ch1+sc, into BLO of the 7th (middle) st, sc BLO into the last 6 sts (15 sts).
- Ch 1, turn; sc BLO into all 15 sts (15 sts).
- Ch 1, turn; sc BLO into the next 7 sts, sc+ch1+sc, into BLO of the 8th (middle) st, sc BLO into the last 7 sts (17 sts).
- Ch 1, turn; sc BLO into all 17 sts (17 sts).
- Ch 1, turn; sc BLO into the next 8 sts, sc+ch1+sc, into BLO of the 9th (middle) st, sc BLO into the last 8 sts (19 sts).
- Ch 1, turn; sc BLO into all 19 sts (19 sts).
- Ch 1, turn; sc BLO into the next 9 sts, sc+ch1+sc, into BLO of the 10th (middle) st, sc BLO into the last 9 sts (21 sts).
- Ch 1, turn; sc BLO into all 21 sts (21 sts).
- Ch 1, turn; sc BLO into the next 10 sts, sc+ch1+sc, into BLO of the 11th (middle) st, sc BLO into the last 10 sts (23 sts).
- Ch 1, turn; sc BLO into all 23 sts (23 sts).
- The large tree is done! Finished size 6″ tall, 5″ wide.
Christmas Tree Garlands
As illustrated, this free pattern comes in 2 sizes: small and large. However, you can customize them to be smaller or larger. Of course, once you understand the basic structure of this pattern, you can crochet any size tree.
First, crochet 5-7 trees. Once you have them all finished, you can make a garland. Next, arrange them on a simple chain or more sophisticated I-Cord. Lastly, decorate your little trees with bows, beads, or buttons.
More DIY Christmas Projects
Furthermore, check out these unique DIY Christmas decor ideas for your home:
