When you are done mastering casting on stitches, it is time to learn two more knitting stitches: the knit & purl stitches. There are to basic stitches in knitting: knit stitch & purl stitch. To learn them is similar to learning notes in music so by combining them in different knit stitch patterns you can create a beautiful melody.
The first step will be learning how to do the knit stitch (its abbreviation in knitting stitch patterns is K). A lot of beginner knitting projects such as baby blankets, scarves, hats, ear warmers, headbands, and messy bun hats can be done using just the knit stitch.
The opposite side of the knit stitch is the purl stitch so if you are using just the knit stitch and knitting flat, your stitches will be alternating knit & purl stitches on both sides while creating a stretchy fabric, with horizontal ribbon-like texture known as garter stitch.
Let’s get started!
How to Do a Knit Stitch?
There is no wrapping of yarn around the needle with your right hand (as in English/American style) so it makes it very speedy and easy to learn. As an added benefit, it is better for your wrists in the long run and won’t strain your joints.
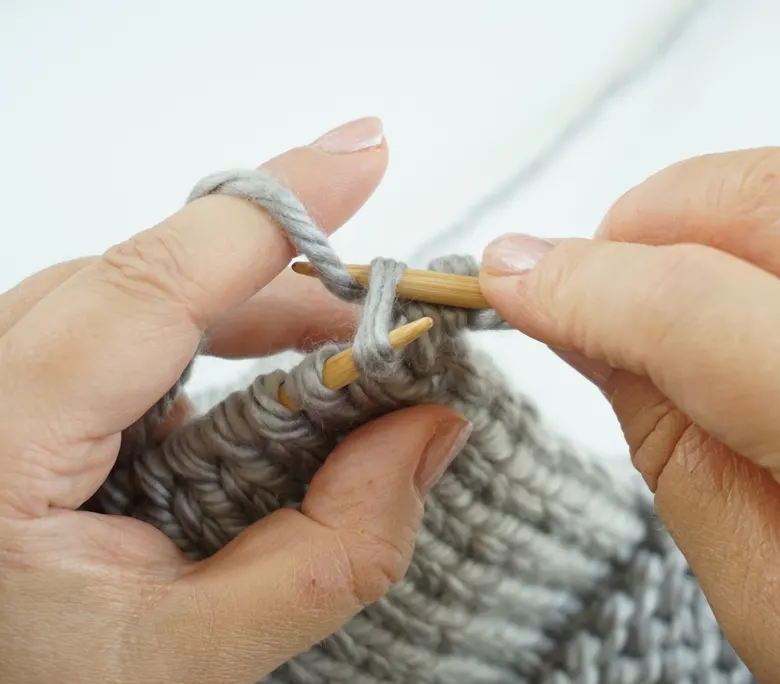
Hold the needle with your cast-on stitches in your left hand and your working needle in your right hand (it is empty). The yarn is wrapped around your index finger and you are gently controlling it with 3 fingers of your left hand to create some slight tension.
The first stitch of each row is a slip stitch which creates this beautiful chain on the edge (selvage). You simply move the first stitch from your left needle to the right needle – that’s it. Note that this a different method for the first stitch and many tutorials out there will tell you to knit it.
Try doing it the right way (old style traditional knitting) and then compare results – you’ll see the difference: a beautiful straight edge in knitting!
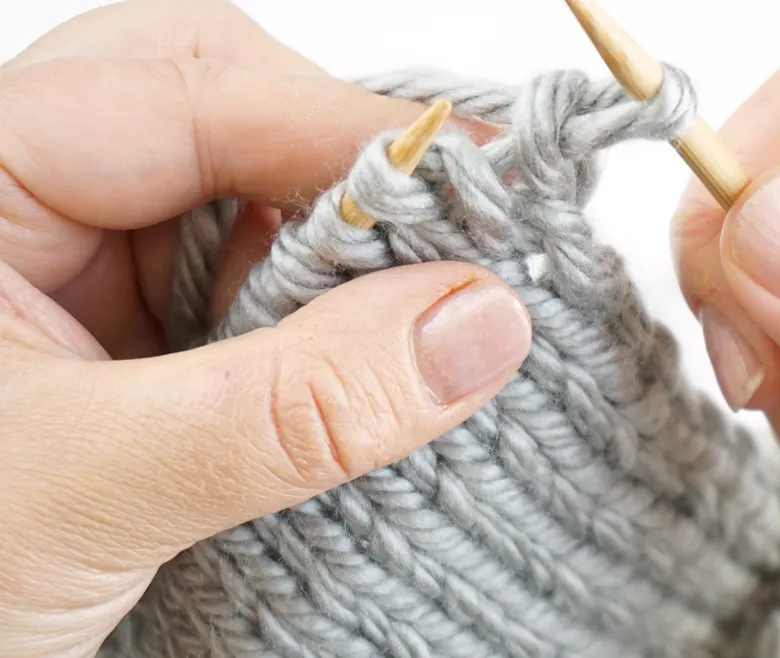
When you knit a few rows, you’ll notice that because the last stitch was a knit stitch, the yarn is in the back, so when you turn it around, the yarn is now in the front. In order to slip this stitch, you would need to move the yarn to the back, slip the first stitch and then continue with knit stitches for this row.
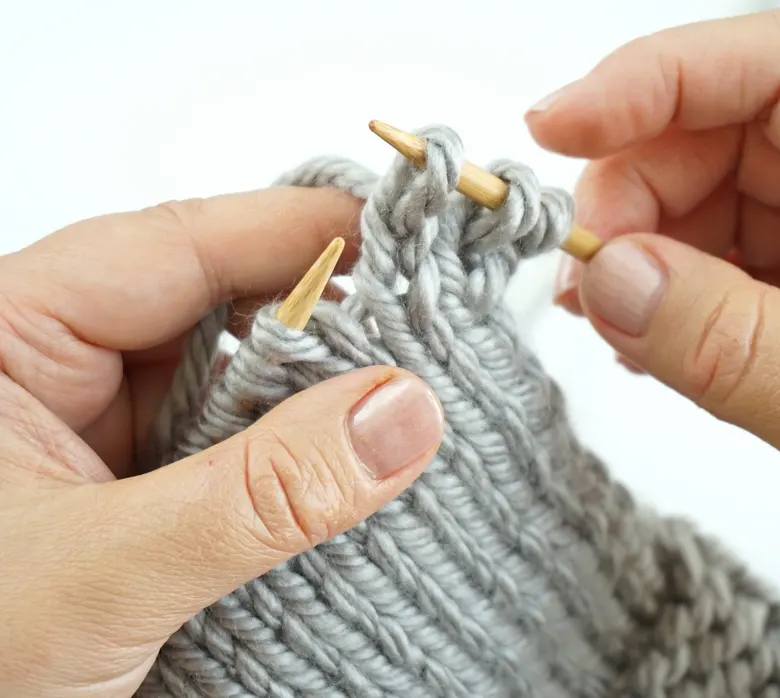
To do the second stitch, insert point of the right needle in the next loop on your left needle, draw yarn through the loop with right needlepoint and when a newly formed stitch is on your right needle, simply push the needle in your left hand with your right index finger to slip the underlying stitch off the left needle.
Continue with the rest of the stitches until you get to the end of the row. One of the common mistakes for beginners is knitting too tight. Resist this temptation and check your knitting tension to make sure all stitches are the same height and can easily slide back and forth on the needle.
The other common mistake is twisting your stitches. Check your work and make sure you grab the correct side of the loop to form your knit stitches. The position of the loop on the left needle depends on the stitches you did in a previous row. It varies for knit & purl stitches.
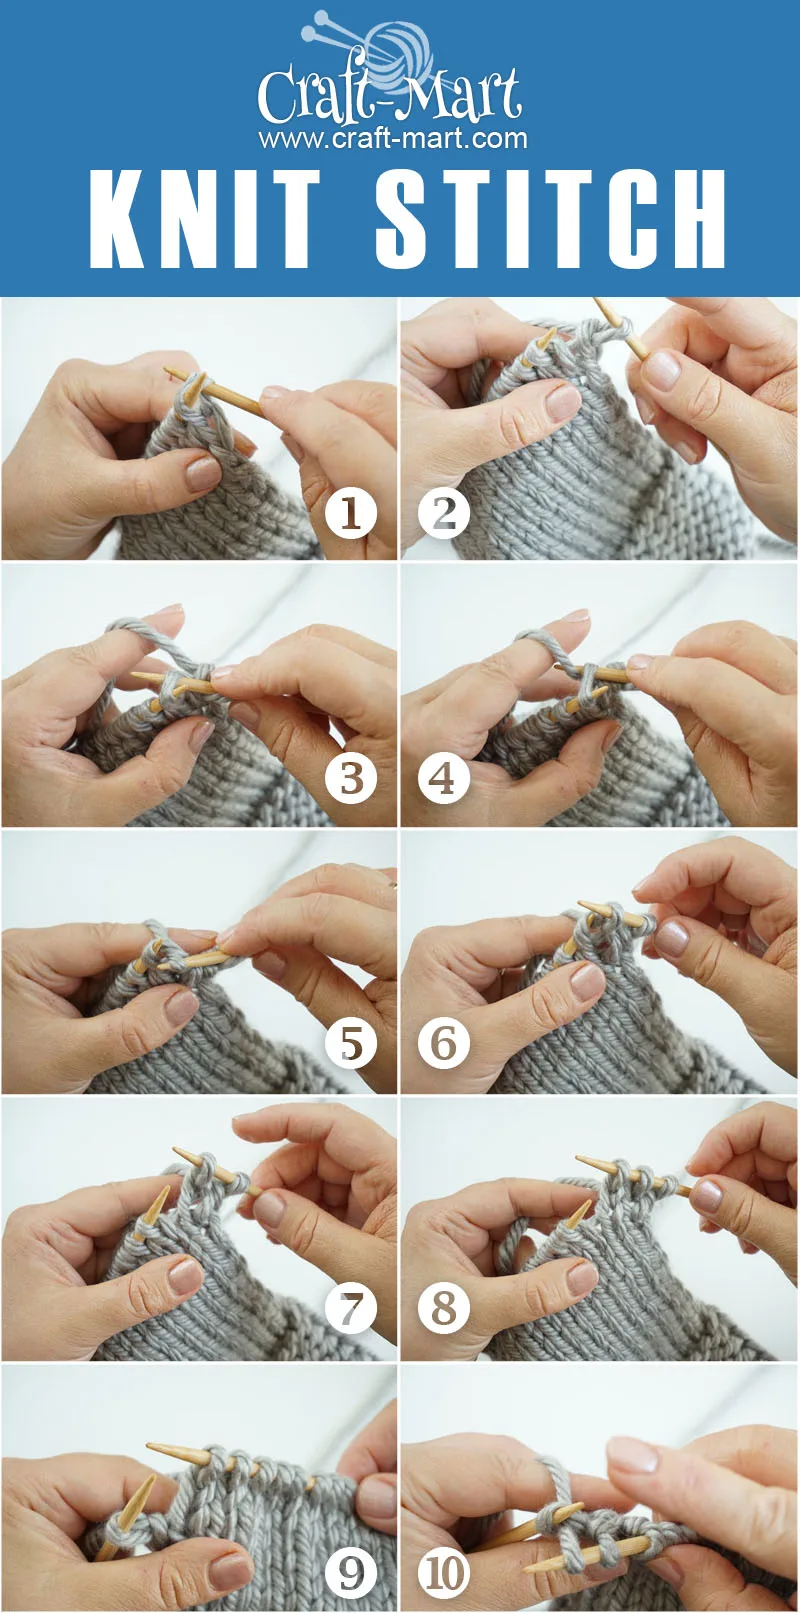
Congratulations! Now you learned 50% of simple knitting stitches (purl stitch is your next step).
If you continue just with the knit stitches knitting flat (meaning you turn your knitting from one side to the other, as opposed to knitting around in a circle with on circular needles) you’ll end up with a garter stitch which is one of the great knit stitch patterns for beginners.
What is a garter stitch?
This is a stitch that forms a flexible piece of knitting that won’t roll around the edges. In garter stitch, you only do KNIT stitches on both sides (right & wrong). Don’t forget to slip without knitting the first stitch & purl the last to create even selvage (these stitches are not counted as the part of any your pattern).
It’s ideal for numerous beginner knitting projects, such as knitted scarf patterns, bags, hats, and blankets. Regardless of what you’re making, the garter stitch is a basic stitch all beginner knitters should master by using it in their first easy knitting projects. We’ve included a simple knitted scarf pattern below so you can master the knit stitch technique.
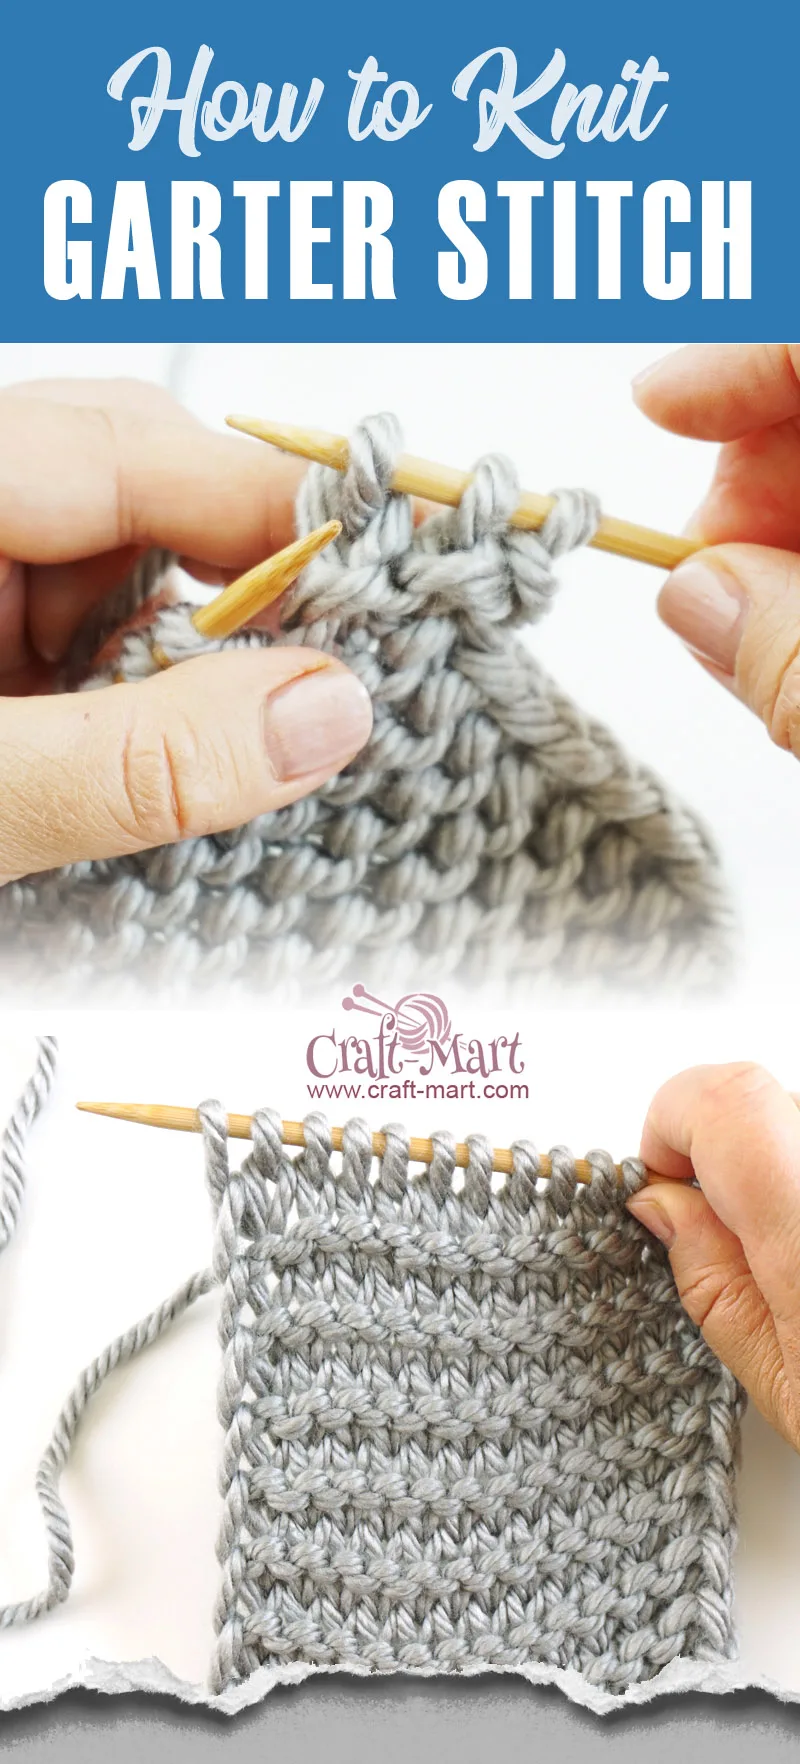
Now, when you know what a garter stitch is, get ready for more knit stitch patterns. The next step – how to do a purl stitch.
Happy knitting!
Here are some added bonuses – a few amazingly easy projects to master an easy garter stitch.
- Knitted Infinity Scarf Pattern in garter stitch
- Giant Garter Scarf by Purl Soho
- Easy Knit Colorblock Poncho in garter stitch
- Headband and scarf in garter stitch
Knitted Infinity Scarf Pattern (using only KNIT stitch)
Materials:
(4 medium) Red Heart Classic Yarn: 290 yards (265 m) or any yarn of your choice
Knitting needles: 5.5 mm [US 9] Yarn needle
Instructions:
Cast on 24 sts.
Row 1 (right side): Slip 1st stitch, Knit. (SL 1, K 23)
Row 2 and all remaining rows: Slip 1st stitch, Knit to the end of the row. (SL 1, K 23)
Continue in garter stitch (knit every row) until scarf measures ~ 65 inches, or desired length.
Bind off. Sew the ends together using the end of your yarn. Weave in ends.
Show off your work!
GIANT GARTER SCARF – KNITTED with BULKY MERINO WOOL
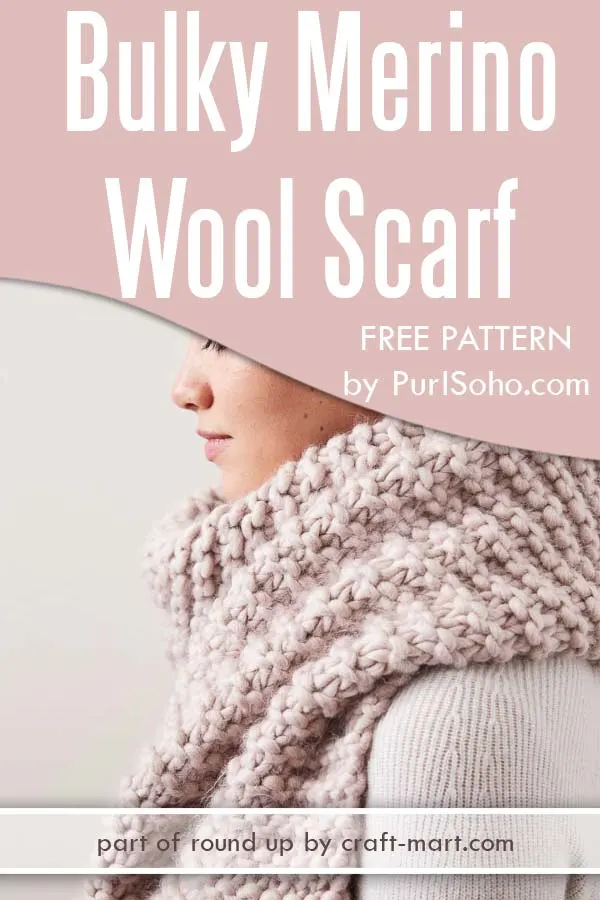
Source: Giant Bulky Merino Wool Scarf by Purl Soho (FREE PATTERN)
Love, love, love this super-cozy, bulky merino wool scarf! If you were looking for knitting chunky scarf patterns, this free pattern is a must to try. Designed by Purl Soho, this free knitting pattern is a delight to make with gorgeous bulky merino wool yarn available in so many sophisticated colors.
Shown in Silver Mauve, this bulky garter scarf pattern is a breeze to make in one evening to show off your knitting skills. This is a perfect hygge project when you don’t have to follow lengthy instructions and you just knit, knit, and knit.
To complete this fashionable and cozy bulky merino wool scarf, you would need US 19 knitting needles and 8 skeins of incredibly soft single-ply Gentle Giant bulky Merino Wool.
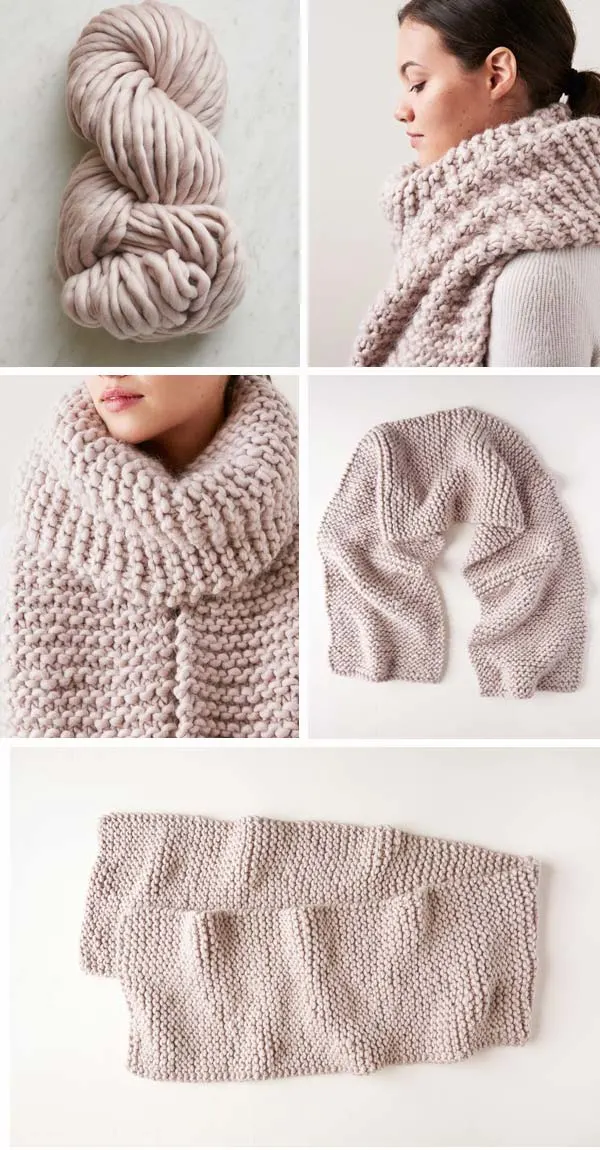
Source: Giant Bulky Merino Wool Scarf by Purl Soho (FREE PATTERN)
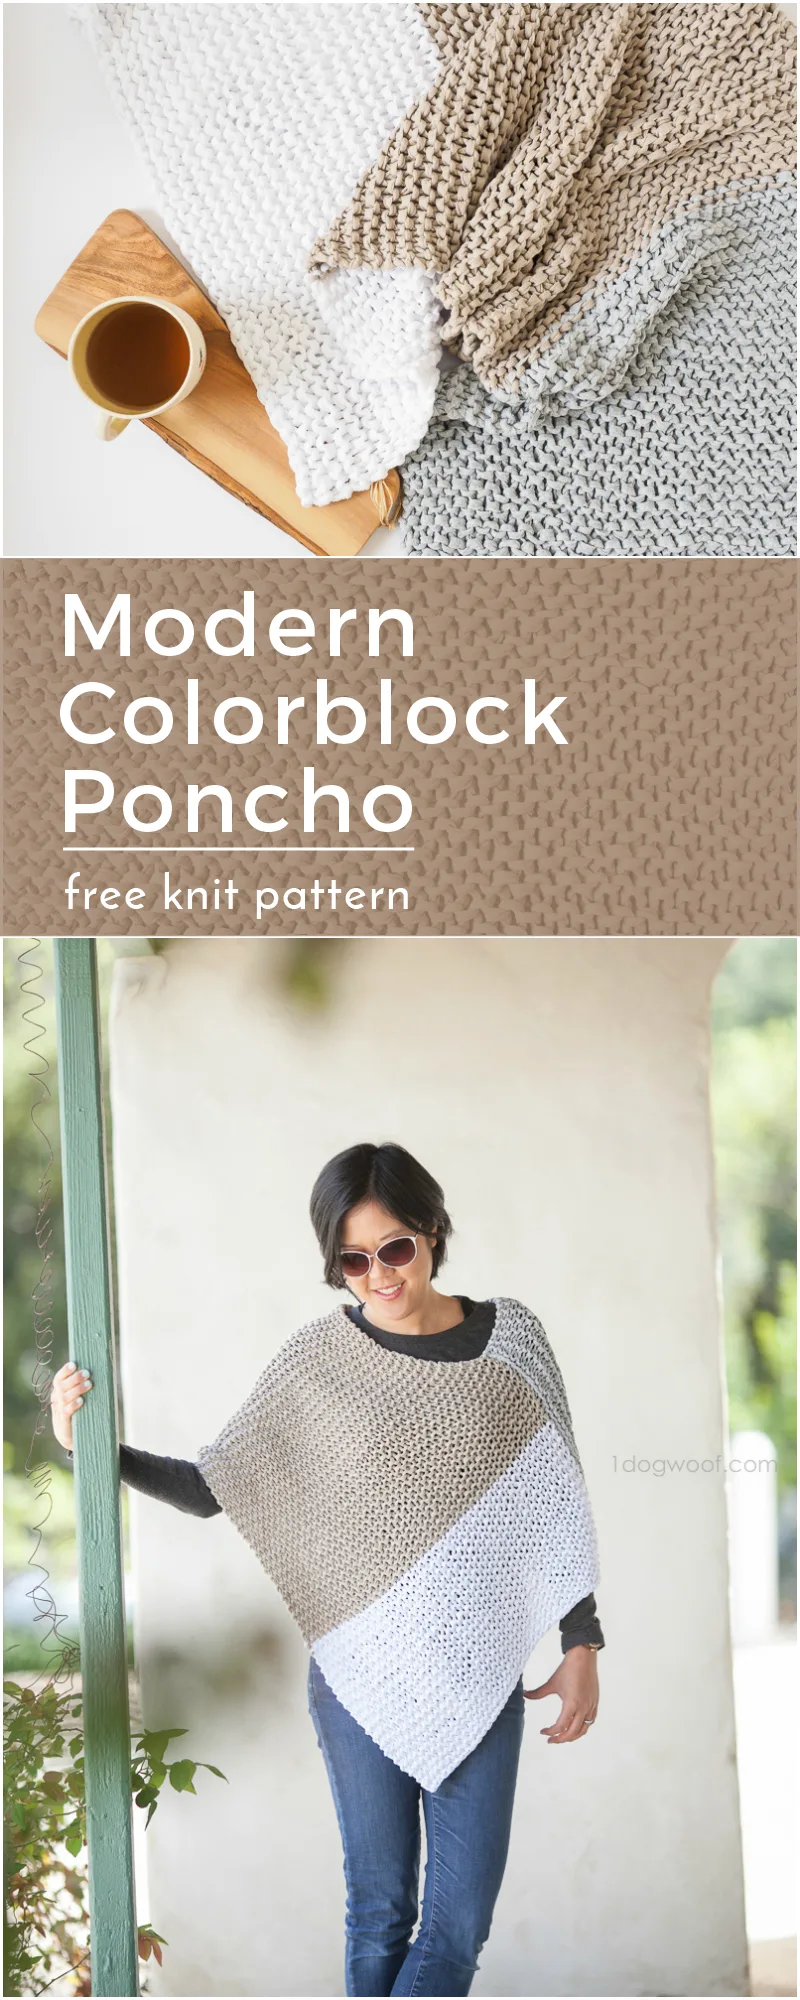
EASY KNIT CATALUNYA COLORBLOCK PONCHO
by 1dogwoof.com
Absolutely LOVE this easy knit but clever & modern color block poncho – and it is a FREE PATTERN! There is absolutely no better way to master and truly understand the garter stitch than by doing it and creating in the process something simple but so beautiful.
Now that you know how to do garter stitch (you just knit, remember?) just finish one by one 3 balls of yarn and follow step-by-step instructions to sew this rectangular piece of fabric into a fashion statement poncho. These colors are so refreshingly-soft and neutral – simply delightful!
Materials:
3 balls: Lion Brand Fast Track Yarn (227g/8oz, 149yds/136m, 6 Super Bulky) in Chopper Gray, Truckers Taupe, and Airstream White
1 Knitter’s Pride 17/12mm Dreamz Fixed Circular Needles, 40″
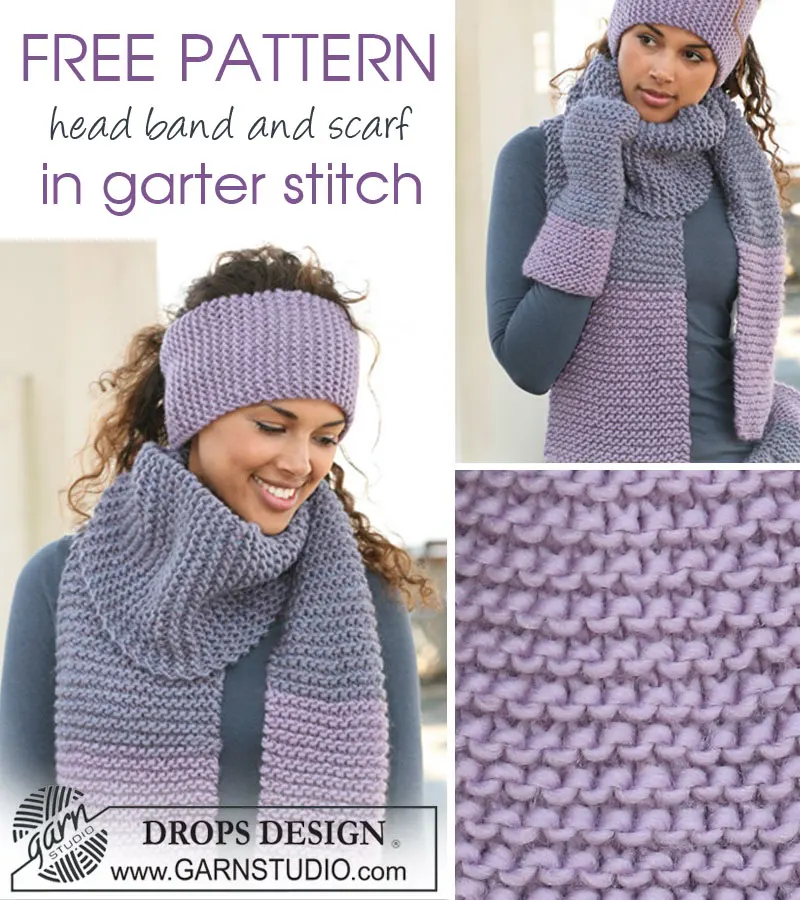
Headband and scarf in garter stitch by Drops Design
Another great project to master garter stitch: FREE PATTERN for a cozy headband and scarf set perfect for winter trip to the cabin or mountains’ ski trip. The combination of colors is modern and tasteful though you can substitute them with your favorite color scheme.
HEADBAND (messy bun hat):
Size: One-size
Materials: DROPS ESKIMO from Garnstudio
100 g color no 54, medium purple
SCARF:
Length: 166 cm / 65 1/4″
Width: 22 cm / 8 3/4”
Materials: DROPS ESKIMO from Garnstudio
200 g color no 41m, medium blue/purple mix
100 g color no 54, medium purple

