A chunky knit shawl is a surprisingly easy project, even for beginners. Have you ever marveled at the intricate, cozy warmth of a chunky knit shawl and wished you could create one yourself?
Look no further – you too can stay warm and cozy this holiday season. With this tutorial, you’ll learn how to knit like a pro and craft your masterpiece chunky knit shawl.
From choosing the perfect yarn to mastering the basic stitches, shaping your shawl, adding finishing touches, and even styling and wearing it, we have it all. Get ready to unleash your creativity and master the art of chunky knit shawls – the free pattern awaits you!
Choosing the Right Yarn for Chunky Knit
Now, before we master the basic stitches needed to create your chunky knit shawl, let’s first focus on choosing the right yarn. Yarn selection plays a crucial role in the look, feel, and durability of your finished piece.
Firstly, consider factors such as the weight, texture, and color of the yarn. Thus you ensure that it not only complements your style but also enhances the overall design of your chunky knit shawl. Remember, the right yarn can make all the difference in bringing your fashion vision to life.
Finding the Right Needles
As a knitter, there’s nothing quite as satisfying as completing a chunky knit project. That moment when you take a step back and admire your work, feeling the texture of the yarn and the intricate details of the stitches is truly magical. But the key to achieving that perfect chunky knit lies greatly in the type of needles you use.
It may seem like a small detail, but the right needles can make all the difference in your chunky knit journey. So how do you choose the right needles for your project? First, let’s take a look at the different types of needles available.
Straight Needles vs Circular Needles
Firstly, you start with straight needles, which are the traditional long, straight needles that come in pairs. They are great for knitting flat pieces, such as shawls (at the beginning of the project) and scarves.
Later, you’ll transfer your shawl on circular needles, which consist of two pointed needles connected by a flexible cable. Notably, they are a popular choice for chunky knits and large shawls. They allow you to knit in the round but also help you to work on a wide knitting project, like a shawl, safely keeping stitches on your needles.
Which Knitting Needles to Use for Chunky Knits?
Now that you know the types of needles available, how do you choose the right size? The size of your needles will depend on the thickness of your yarn and the desired tension of your final product. For chunky knits, you’ll want to use thicker needles, typically between US sizes 10-19. This will help create large, defined stitches and give your project that cozy, chunky look.
Usually, the yarn label will have a suggested knitting needle size. For example, for super bulky (6) weight yarn you might use 9 mm (#13) knitting needles.
Additionally, always make a swatch before starting your project. As a result, you will ensure the right gauge and feel comfortable about your choice of needles. We’ve chosen 8 mm knitting needles for this chunky shawl.
But why is it so important to choose the right needles for your chunky knit? Overall, it all comes down to the overall aesthetic and feel of your project. Using the wrong needles can result in a project that looks too tight or too loose.
As a result, this will affect the drape and texture of the final product. Plus, using the wrong needles can also make the knitting process more challenging and frustrating, resulting in a project that you may have trouble finishing.
So how do you know if you’ve chosen the right needles? Apart from following the recommended size for your yarn, the best way to find out is simply to experiment. Try different sizes of needles with the same yarn and compare the results. Surprisingly, it makes a lot of difference.

Mastering the Basic Stitches for Chunky Knit Shawl
Rejoice, there are only a few stitches to master so you can start and finish this chunky shawl. These abbreviations are from the list developed by the Craft Yarn Council reflecting US Knitting Terminology.
- CO – cast on
- BO – bind off
- k – knit
- yo – yarn over
- sl – slip
- wyif – with yarn in front
- k2tog – knit 2 stitches together
- tbl – through back loop
Firstly, don’t worry about the terminology. To emphasize, you knit this whole chunky knit shawl with one main stitch: knit. So, the little ‘bumps’ that you see are the same knit stitches, just on the ‘wrong side’ of the fabric.
Second, for all the increases to form a perfect triangle knitted shawl you will use a simple yarn-over technique. You will increase using the second stitch and the next to the last stitch on every other row. It adds some texture and interest to a classical triangle shawl.
If you want to refresh what is a garter stitch, check out our tutorial. In reality, you will knit using just a simple KNIT stitch.
Here are quick video tutorials for you:
Next, simple slip stitches at the beginning of each row form the beautiful selvage (or self-forming edge). Interestingly, that is my Grandma’s gift to me. She always taught me that the first stitch for all your knitting projects should be slipped to form a beautiful edge.
Lastly, we will go over a simple bind-off technique. It is so simple, that you’ll have no trouble finishing your chunky knit shawl.
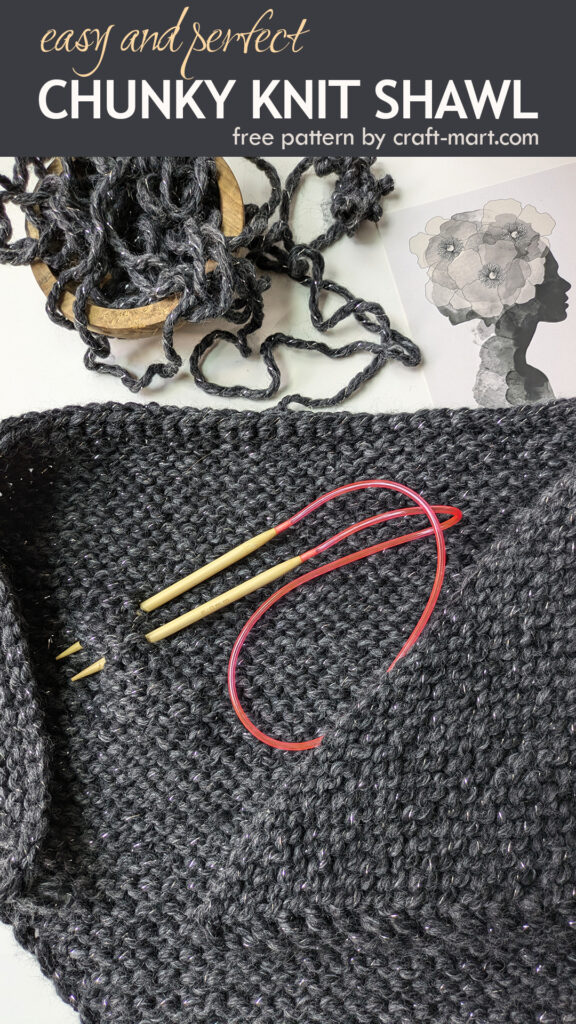
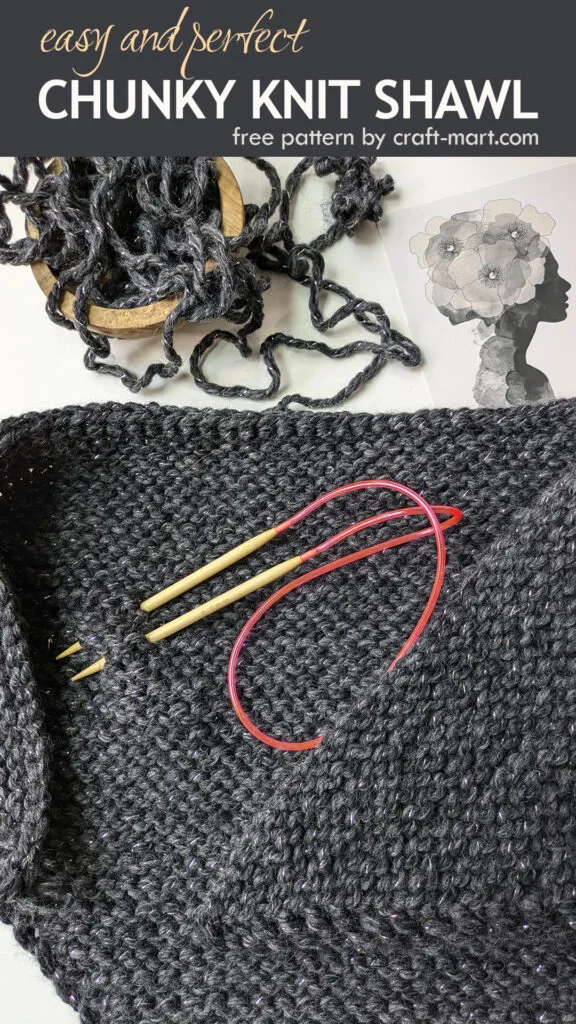
Tools and Materials for the Chunky Shawl
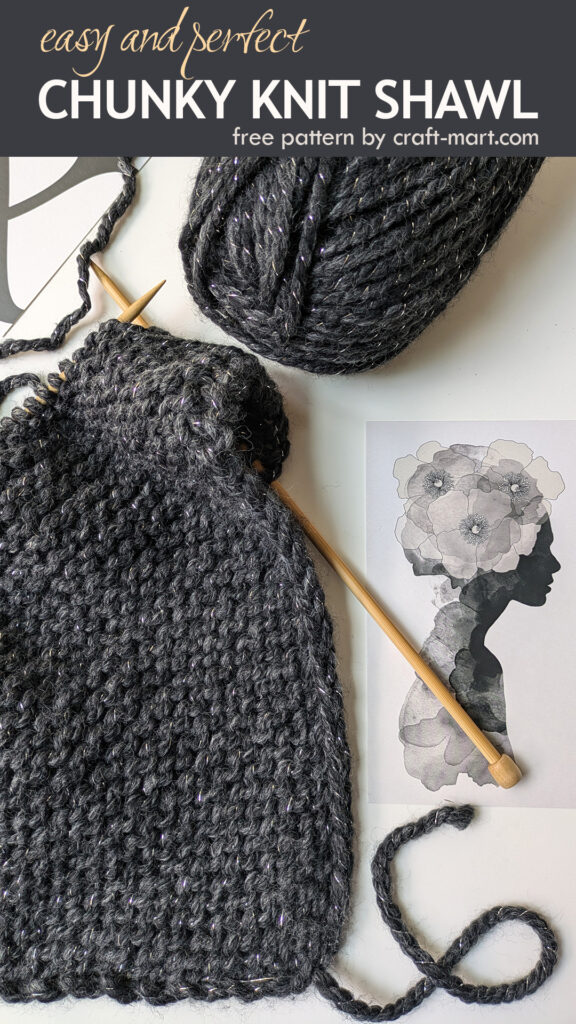
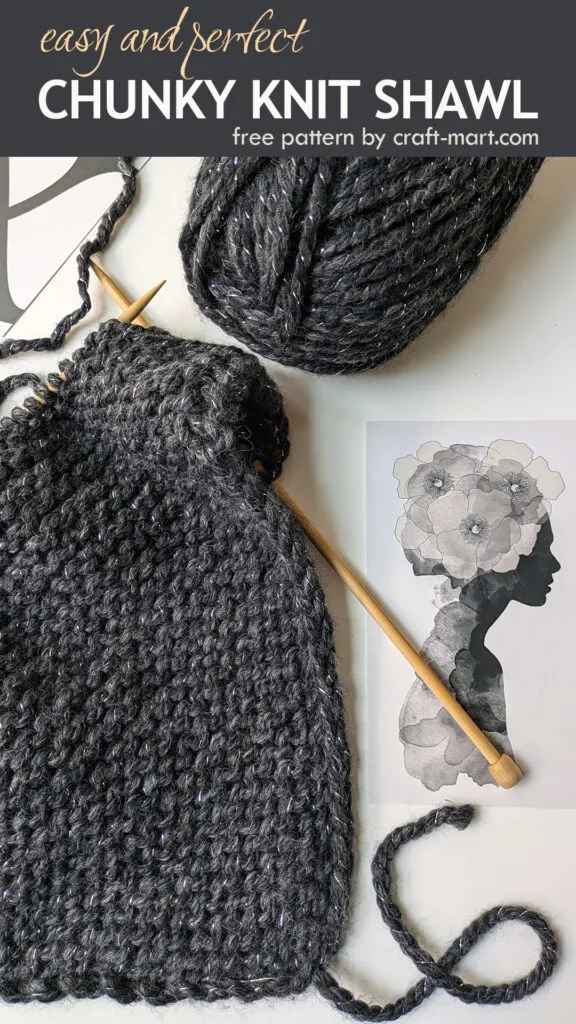
- Lion Brand® Wool-Ease® Thick & Quick® Metallics Yarn in Galaxy – 3-4 skeins
- Straight needles – size L, 8 mm
- Circular knitting needles – size 8 mm
- Knitting needle stoppers
If you choose this knitting needles set, it already has everything you need, including straight needles, stoppers, and circular needles.
Circular needles, which consist of two pointed needles connected by a flexible cable, are popular for chunky knits. They allow you to knit in the round, eliminating the need for seams and creating a seamless finish.
Another option is straight needles, that come in pairs. They are great for knitting flat pieces, such as scarves or blankets.
Finally, there are double-pointed needles, which are shorter than circular needles and have points at both ends. These are ideal for knitting smaller, circular pieces, such as hats or socks.
In the words of knitting expert Clara Parkes, “Choosing the right needles is all about creating an enjoyable experience as you knit. When you have the right tool in your hand, it’s like magic.”
So, don’t underestimate the power of the humble needle in your chunky knit journey. With the right needles, you’ll not only create a beautiful and satisfying project, but you’ll also enjoy the process every step of the way.
Yarn for the Chunky Shawl
Surprisingly, Lion Brand® Wool-Ease® Thick & Quick® Yarn comes in 74 shades! Surely, you can pick the color that best suits you.
Lion Brand® Wool-Ease® Thick & Quick® Yarn is in 6 Super Bulky Weight and has a fiber content of 80% acrylic and 20% wool. Metallic yarns have a thin metallic strand.
This yarn has been a favorite of crafters for many years thanks to its versatility, warmth, and texture. Most importantly, its weight makes it perfect for beginner-friendly knitting projects.
In brief, this yarn is pretty soft for knitting a shawl. A metallic strand (in the color we used – ‘Constellation’) doesn’t make it scratchy but adds a sparkle of sophistication to your finished garment. Also, you can dry clean it or wash it in cold water.

Chunky Knit Shawl – Free Pattern
Finished Size:
- small ~ 30″ x 30″ x 42″ (2 skeins)
- medium ~ 33″ x 33″ x 54″ (3 skeins)
- large ~ 38″ 38″ x 65″ (4 skeins)
Knitting Gauge:
10 sts – 16 rows = 4″ (10 cm)
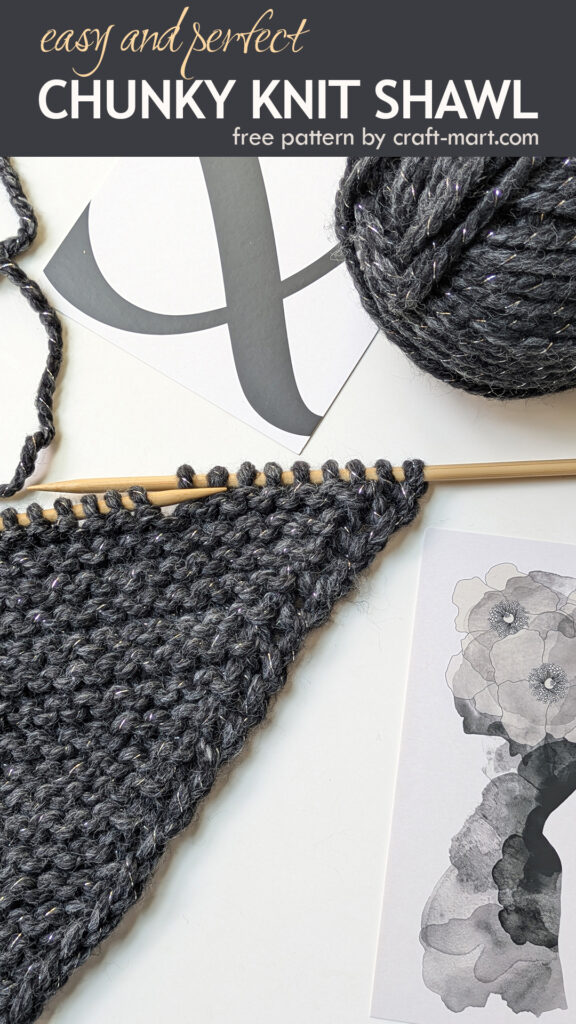
In summary, the shawl is worked from the bottom up, in the flat. You will increase every other row (odd rows). Knit all stitches for even rows.
First, cast on 2 stitches with straight needles (STEP 1 below).
Row 1: wyif sl – with yarn in front, slip the first stitch by moving it from the left needle to the right one; yo – put the yarn over your right needle, k – knit the last stitch – 3 stitches (STEP 2 on the photo).
Row 2: wyif sl, k to the end of the row (including yo stitches – 3 stitches) – STEP 3.
Row 3: wyif sl, yo, k to the end of the row until there is 1 stitch on the left needle. yo, k the last stitch – 5 stitches, STEP 4.
Row 4: wyif sl, k to the end of the row – 5 stitches, STEP 5.
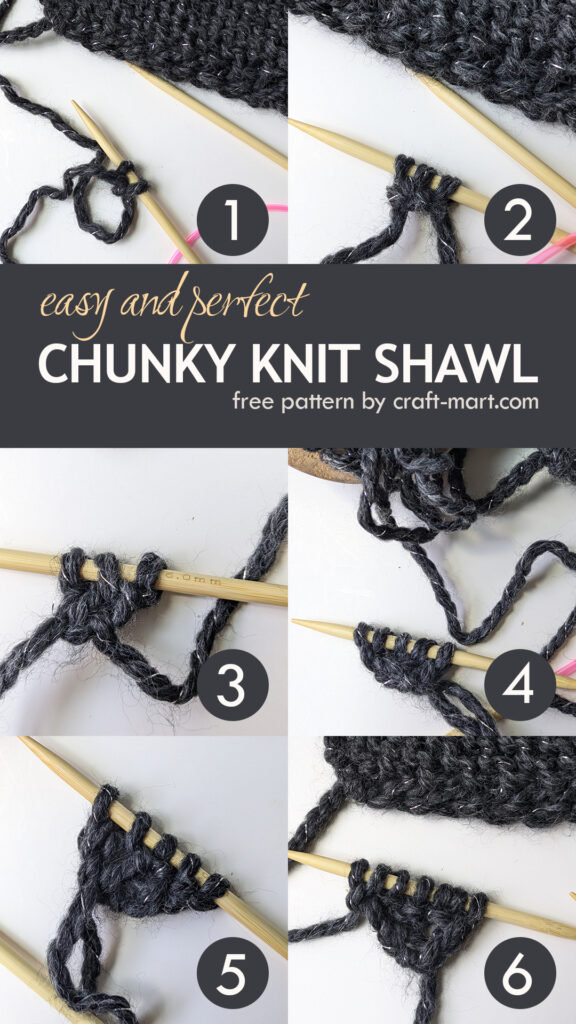
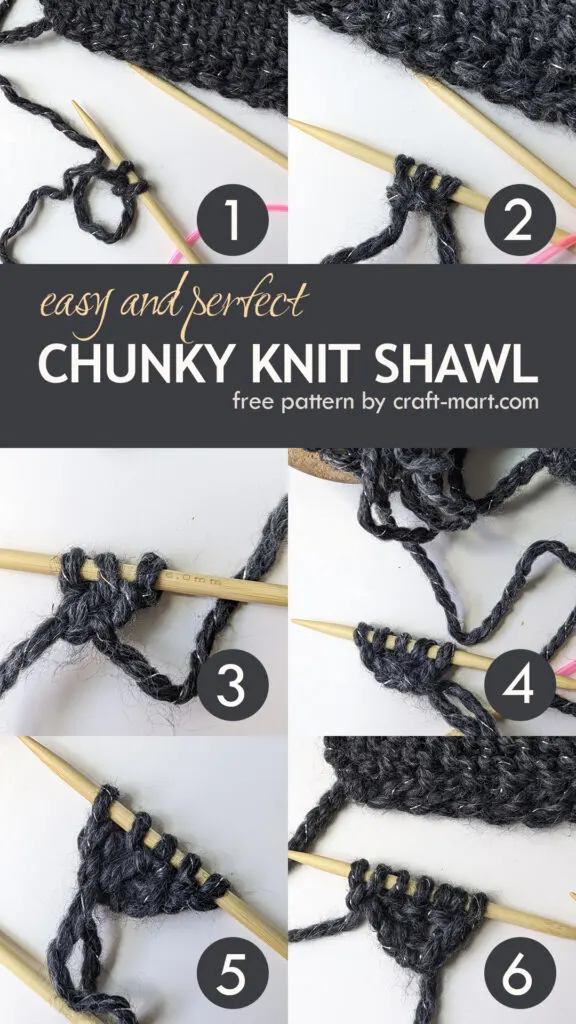
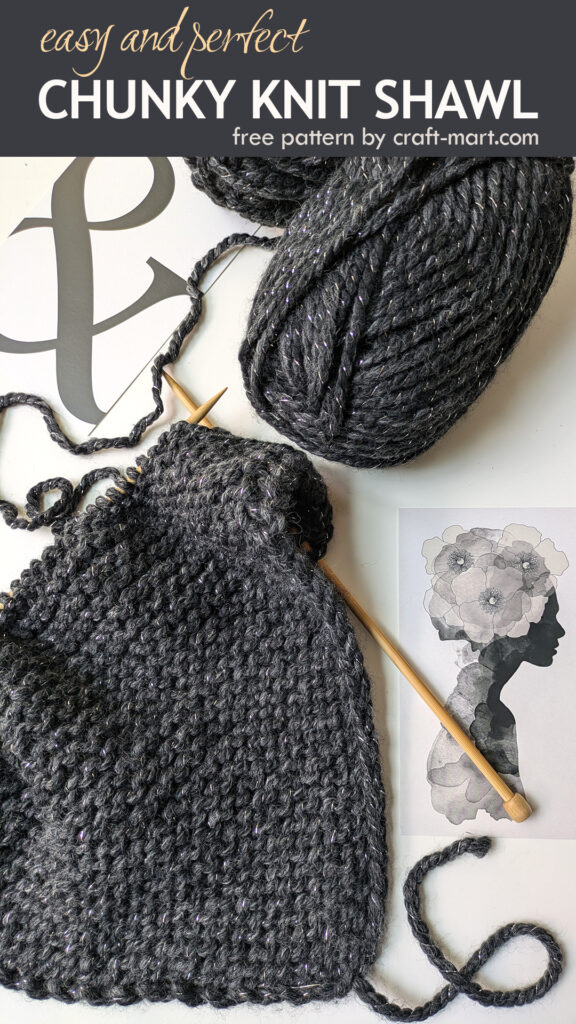
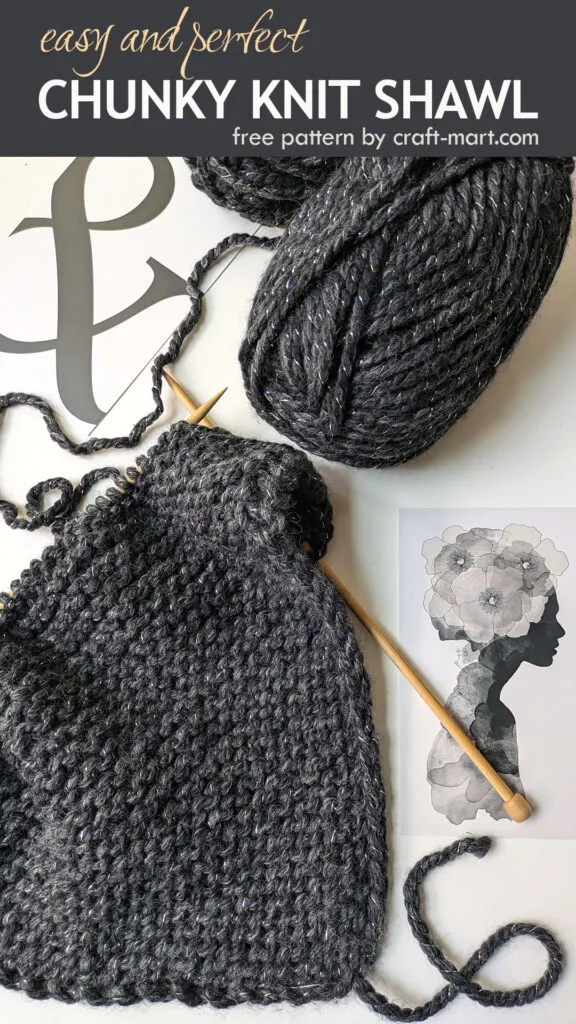
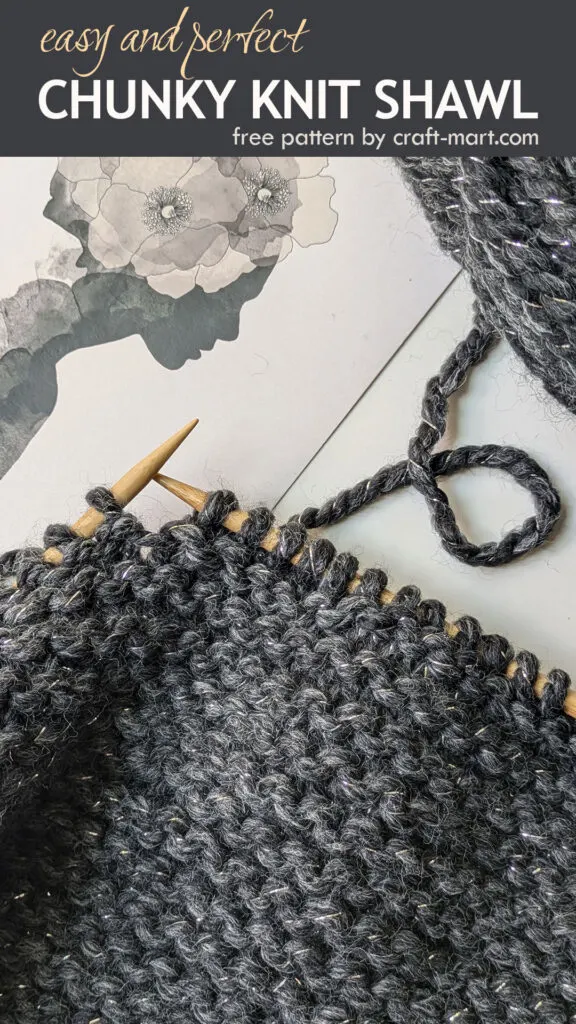
Keep repeating rows 3 and 4 – STEP 6. Also, when your straight needles become too short to hold all the stitches, switch to circular needles.
As illustrated, you will see a beautiful selvage (self-forming edge) on the side of your shawl. Significantly, it gives your shawl a polished look.

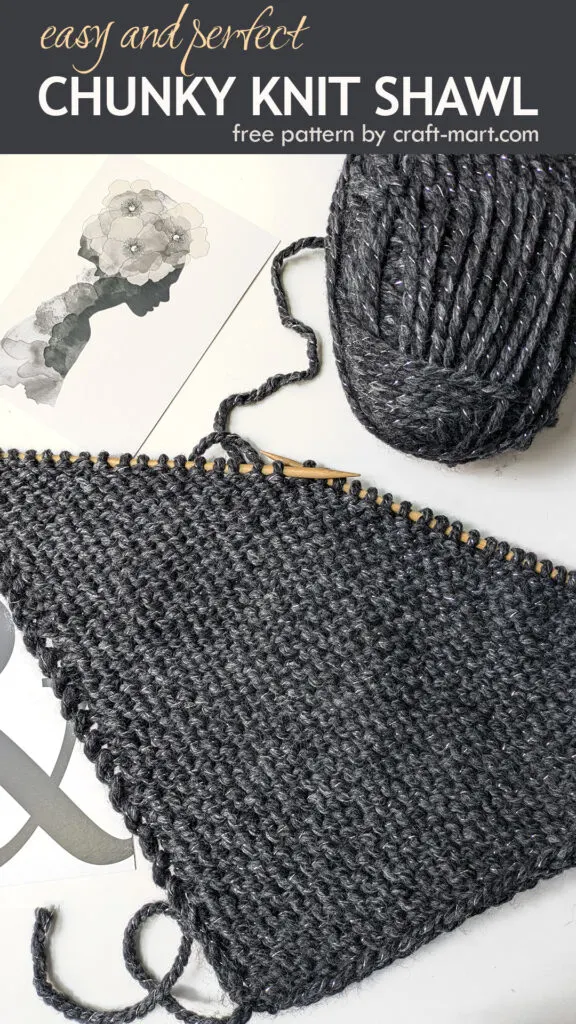
Continue with garter stitch until you use almost all the yarn. Now it is time to close all the stitches with a bind-off technique.
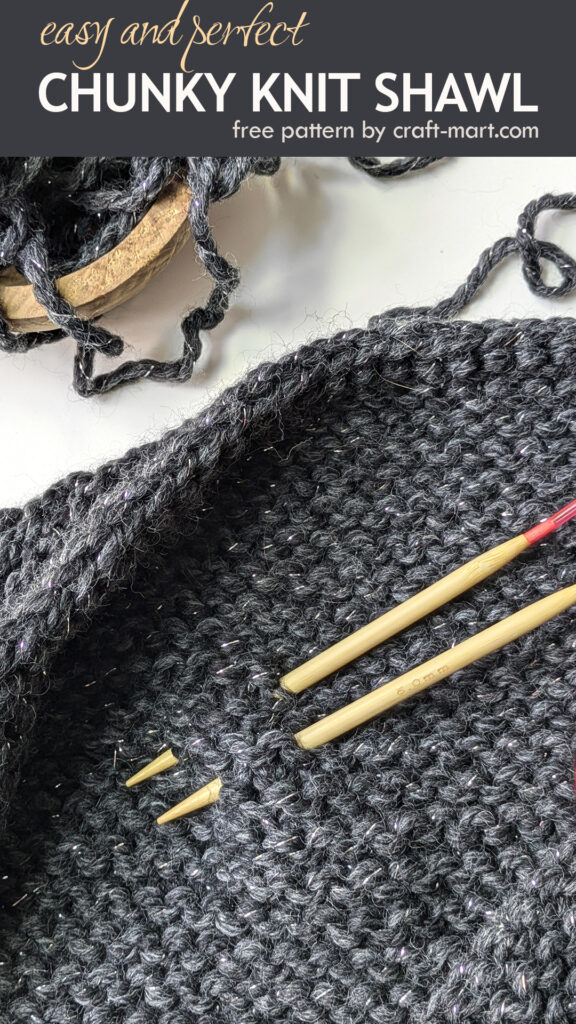
Bind-Off Technique for Chunky Knit Shawl
Our easiest bind-off technique is much simpler than any tutorial I’ve seen. Honestly, I don’t understand why some knitters make it so complicated. Maybe, you were taught to bind off this way when learning how to knit. In this case, you are ‘stuck’ with it forever.
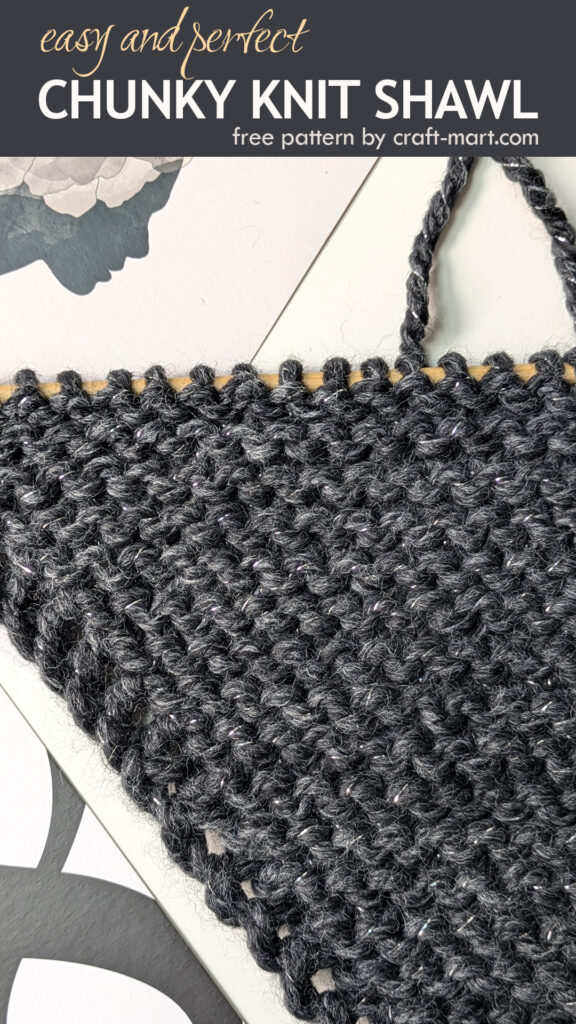
Practice it and you can use it for any knitting project. Once you understand the technique, it becomes very easy to remember and implement. As illustrated, this is the finished edge after you are done binding off.

So, you have done your last row and are ready to bind off. In this case, all the stitches are on the left needle and you are holding the empty knitting needle with your right hand.
Firstly, insert your empty needle through the back posts of the first 2 stitches, grab the yarn, and pull it through (knit 2 stitches together through the back loop – k2tog tbl).
As a result, you’ll have one stitch on your right needle. Slip it back to the left needle and repeat the same step until all the stitches are closed.
Tips and Hacks
- Put a pin on the side of your knitting where you are doing increases (yo). This way you don’t have to guess which row you are knitting. Certainly, it will make it error-free as the other side (without the pin) will be just a pure knit row.
- Make your last stitches and the first stitches of the row a little tighter. As a result, you’ll have a very neat selvage.
- Connect a new skein to the tail end of the previous one using a black sewing thread. In this case, using your thumbs, overlap loosely the yarn ends. Next, tightly secure them with a thin thread by wrapping the thread around the yarn approximately 10-20 times. Lastly, secure it with the knot. Also, this technique will illuminate the need to weave in the tail ends and you’ll use your yarn wisely.
Finishing Touches
When adding the finishing touches to your chunky knit shawl, consider incorporating unique embellishments such as fringe, tassels, or decorative buttons to add a touch of personality and flair. These extra details can elevate your shawl from a simple accessory to a true fashion statement.
Don’t be afraid to get creative and experiment with different textures and colors to make your shawl truly one-of-a-kind. Once you have put the final touches on your masterpiece, you’ll be ready to explore different ways to style and wear your triangle shawl, showcasing your knitting skills with pride.
How to Style Your Shawl
Chunky knits are a timeless trend and they become more relevant as the weather cools down. Many designers turn to chunky scarves, sweaters, and shawls to create one-of-a-kind stylish look.
As you explore the various ways to style and wear your triangle shawl, consider draping it over your shoulders for a classic and elegant look. You can also wrap it around your neck and secure it with a brooch for a cozy and sophisticated touch.
For a more casual vibe, try tying the shawl around your waist as a trendy belt alternative. Experiment with different draping techniques and find the style that best suits your personal taste and outfit. With your chunky knit shawl as the focal point, you’ll exude confidence and style wherever you go.
In conclusion, mastering the art of chunky knit shawls starts with choosing the right yarn, mastering basic stitches, shaping your shawl, and adding those finishing touches. With these steps in mind, you can create a beautiful piece that is not only cozy but also stylish.
And remember, the journey doesn’t end with just finishing the shawl – learning how to style and wear it is just as important. So grab your knitting needles and dive into this new project with excitement.
As you begin this creative journey, keep in mind that every stitch tells a story and every shawl carries a piece of your heart. Happy knitting!