In this tutorial, we don’t want to share just a free crochet sweater pattern. In essence, we want to teach you how to design a simple crochet sweater for a perfect fit with any yarn and for any size.
There is a simple formula to create a perfect sweater that any crocheter should know. As a result, you will be able to design a garment that fits perfectly and reflects your style.
As an example, you can follow along with the simple crochet sweater pattern (free) and learn how to adjust it and design your own. At the end of this tutorial, the crochet sweater pattern won’t be a mystery any longer.
From gathering supplies to adding personalized embellishments, we will show you how to bring your vision to life. So, stop buying crochet patterns and start crafting your custom sweater today!
Gather Supplies and Choose Yarn
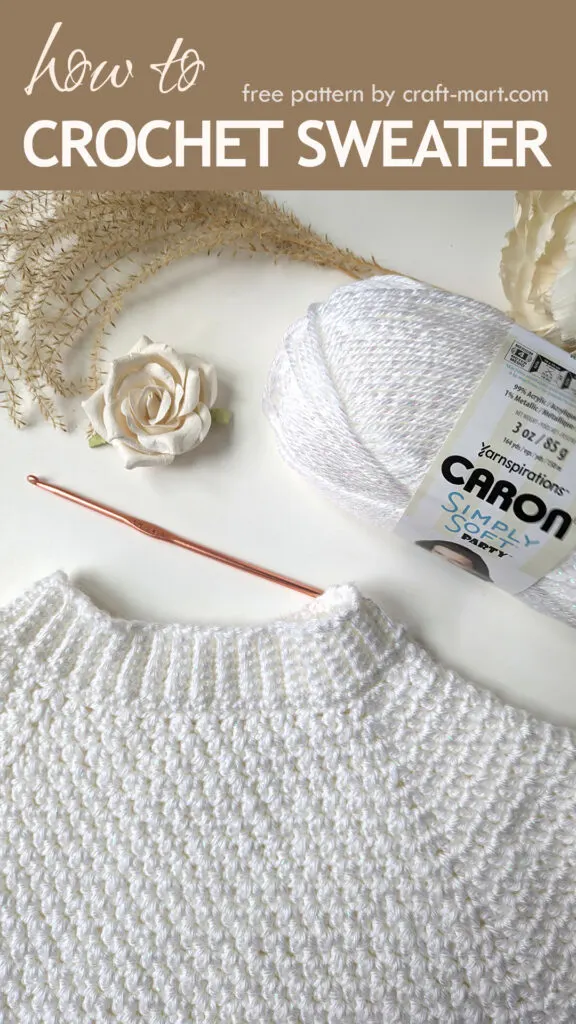
Your yarn selection will greatly impact the look and feel of your finished garment, so take your time to explore different options. Consider the weight, texture, and color of the yarn to match your desired style and functionality.
If you are a beginner and this is your first crochet sweater, pick medium or bulky yarn. Certainly, it will be easier to work with and more durable than any lightweight yarn.
For example, we use Caron Simply Soft Party Yarn (in Snow Sparkle) for this project. It is very soft and perfect for a cozy sweater. Additionally, a metallic thread weaved into the yarn adds a little holiday sparkle.
Some facts about this yarn:
- Content: 99% acrylic, 1% polyester
- Ball Size: 85g / 3 oz, 150 meters / 164 yards
- Care: Machine wash and dry
- Weight: 4 – Medium
- Recommended crochet hook: 5 mm, US H-8
On a positive note, every yarn label has instructions on which crochet hook is recommended for this particular yarn weight. Consequently, you should use a US H8/5 mm crochet hook for the Caron Simply Soft Party Yarn.
Note, for this sweater I used 4.25 mm crochet hook to create a more dense warmer texture.
Also, another great option is Red Heart® Super Saver® Metallic™ yarn. It is a more generous skein and feels slightly bulkier than Caron Simply Soft.
Here are the highlights for Red Heart Super Saver:
- Weight: 4 – Medium
- Ball Size: 141g / 5 oz, 233 meters / 255 yards
- Care: Machine wash and dry
- Recommended crochet hook: 5.5 mm, US I-9
List of Supplies
- yarn (any) – check this guide to estimate how much yarn you’d need
- crochet hook (according to yarn label)
- measuring tape
- stitch markers
- scissors
- tapestry needle
Crochet Sweater Construction
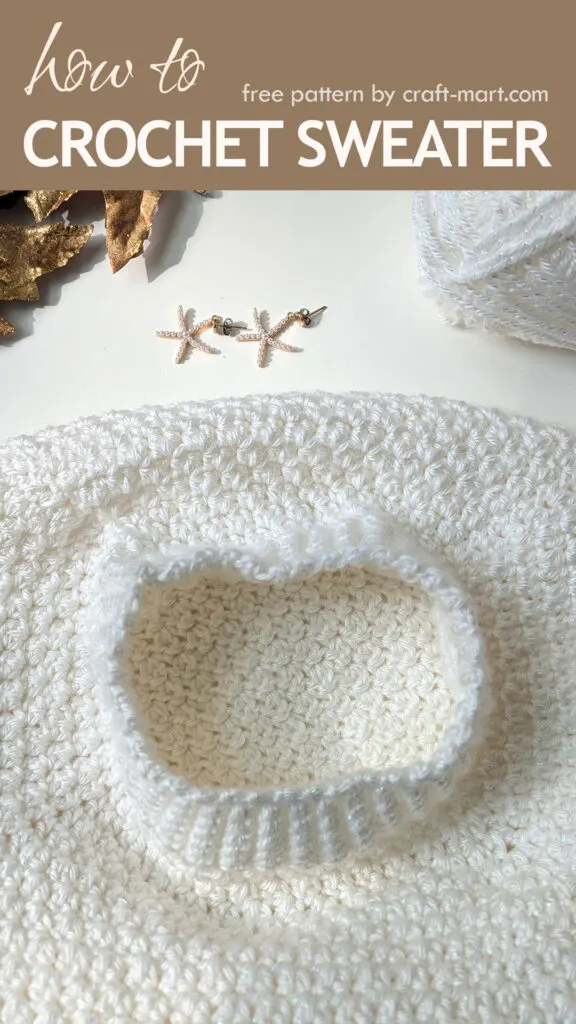
First, you start with the top ribbing for the neck opening. Next, you work on the simple raglan to form a basic yoke of your sweater.
After forming sleeves, you work on the body of the sweater in the round and add ribbing on the bottom. Lastly, you complete the sleeves and add finishing touches.
As a result, you’ll have a no-seam top-to-bottom sweater that is a breeze to crochet!
Abbreviations (in US terms)
- ch – chain
- sc – single crochet
- st – stitch
- sl st – slip stitch
- BLO – back loop only
- DC – double crochet
- HDC – half double crochet
- SK – skip
- CL – cluster
Special Stitches
CL (cluster): DC and HDC into the same stitch, SK one stitch.
Part 1 – Neck Ribbing for Crochet Sweater
No matter what size sweater you are going to crochet, you’ll start with a slip knot and chain 8.
Row 1: sc into the 2nd ch from the hook and the rest of the chains (7 sts), ch1, turn.
Row 2: sc BLO 6 st, sc the last stitch (7 sts), ch1, turn. Note, that you’ll have a cleaner-looking edge if you make a regular single crochet stitch into the last stitch of each row.
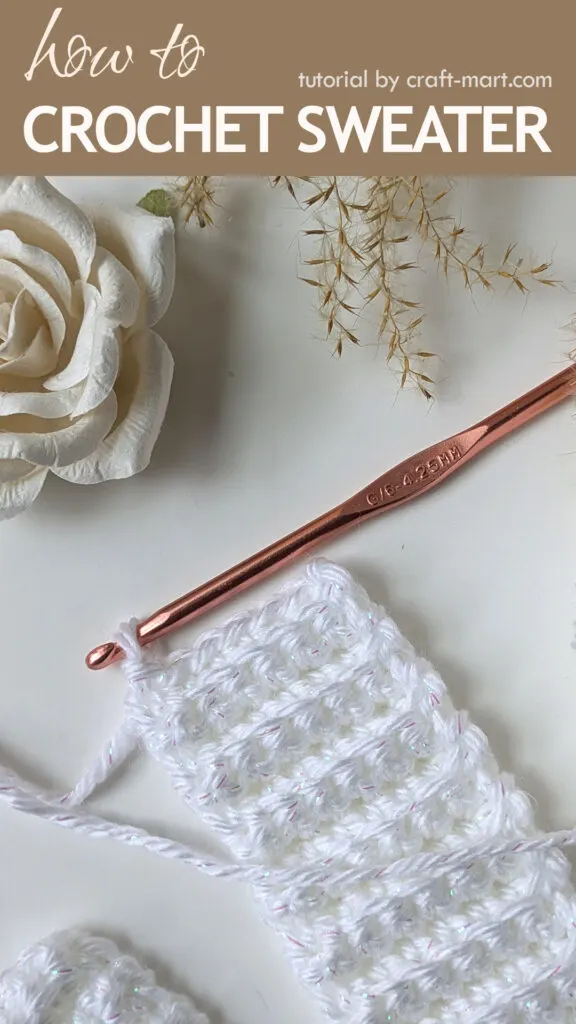
Continue repeating row 2 until your rib is long enough to fit the head of your model. Next, count how many rows you have. So, no matter what yarn and crochet hook you use, you’ll just have the perfect fit for you.
In our example (for a 7-year-old), there were 66 stitches. If your number is not a multiple of 3, adjust it upwards. For example, if you have 68 rows, make it 69 (72, 75, etc).
The Formula for Basic Raglan
Now, the magic formula: divide your number by 3 (22 stitches in our example). Consequently, to have a basic raglan, 1/3 will be the front of the garment, 1/3 will be the back, and the last 1/3 will be divided in half to make 2 sleeves.
Note, that you can adjust the numbers slightly (1-2 stitches) to meet the requirements of a certain stitch. For example, we are using a cluster stitch (with multiples of 2), so instead of 11, we will have 11+1=12 stitches for each sleeve:
- 22 stitches – front (1/3)
- 12 stitches – sleeve (1/6)
- 22 stitches – back (1/3)
- 12 stitches – sleeve (1/6)
If you decide to use simple double crochet (or single crochet) stitches for the whole sweater, then you can have any odd or even number of stitches for the front, the back, or the sleeves.
Lastly, we need to add 4 stitches to our final count for raglan increase lines. As illustrated in our example, we need 72 rows of ribbing: (22×2)+(12×2)+4=44+24+4=68+4=72.
No-Sew Ribbing for the Sweater
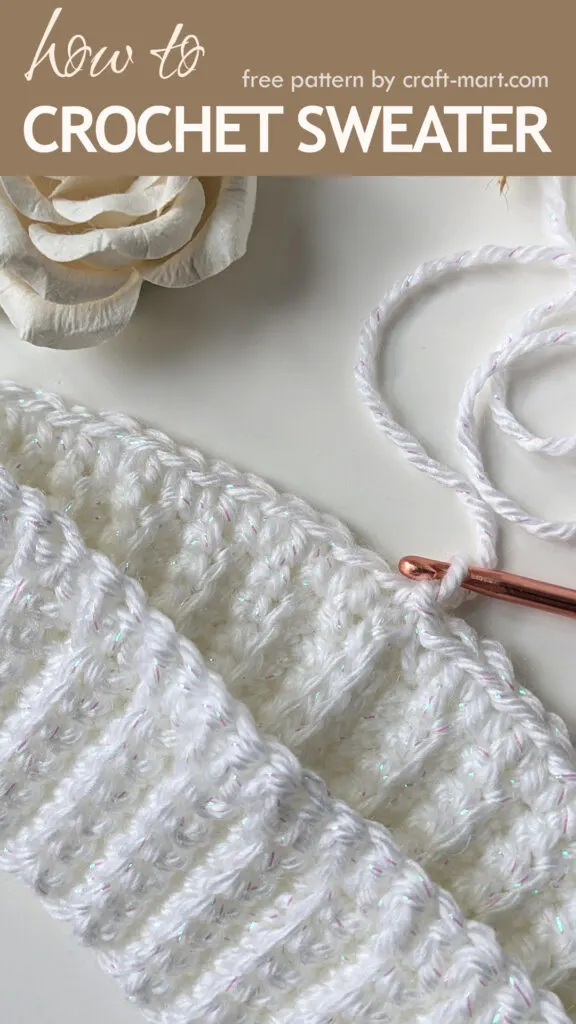
In the final step, ch 1 and slip stitch the first and last rows together, working through BLO-back loops only. As a result, you connect the ribbing to complete the first part of the sweater.
Lastly, check the final width of your rib to make sure your head (or your model’s head) fits through it easily. It has a lovely texture and is very stretchy.
Part 2 – Raglan
What is a raglan sleeve, you may wonder? In ancient Greece, a tunic worn by men and women had a sleeve that extended in one piece to the collar. Notably, it had a diagonal seam going from the underarm to the collarbone.
Interestingly, it made its way into modern garment and crochet terminology. Raglan got its name thanks to FitzRoy Somerset, 1st Baron Raglan. Sadly, he lost his arm in the battle of Waterloo and has been wearing a coat with this style of sleeve.
To make a setup row for raglan, ch 1 and sc into every stitch around the rib, sl st into the first sc (72 sts). Next, we will divide the round into the front, the back, and 2 sleeves.
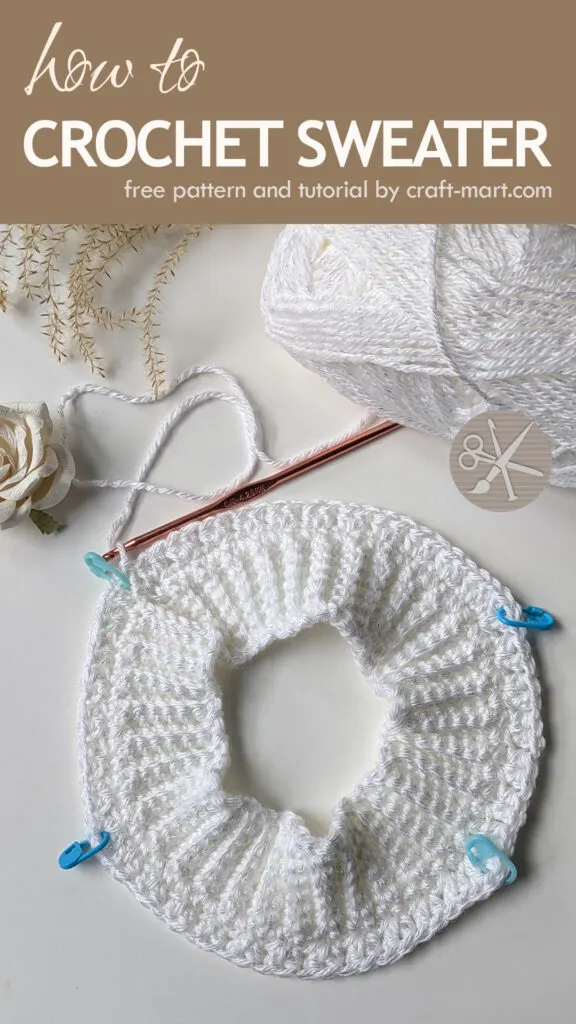
Tip: use stitch markers for the four lines of your raglan increases. Ultimately, it will help you to stay on track.
Round 1 of the Raglan
Ch3, DC into the same st (the first V-stitch of 4 raglan lines). Place a st marker. (DC, HDC into the same st, SK 1st) 6 times – sleeve (12 sts, 6 CL). DC+CH1+DC – 2nd V-stitch, place st marker. (DC, HDC into the same st, SK 1st) 11 times – front (22 sts, 11 CL). DC+CH1+DC – 3rd V-stitch, place st marker. (DC, HDC into the same st, SK 1st) 6 times – sleeve (12 sts, 6 CL). DC+CH1+DC – 4th V-stitch, place st marker. (DC, HDC into the same st, SK 1st) 11 times – back (22 sts, 11 CL). SL st into the 1st V-st.
Tip: don’t make that slip stitch too tight as you will be making a cluster stitch increase into it on the next round.
Round 2 of the Raglan
Repeat round 1, but you will increase with 1 CL for each sleeve (7 CL), the front (12 CL), and the back (12 CL). Tip: the last cluster (CL) is made into the last stitch before each V-stitch of the raglan. So, make sure you don’t miss it! Count your clusters to make sure the count is correct.
Rounds 3 – X (X=17 rows in our example)
Continue with raglan rounds until your raglan line is the desired length. In brief, if you clip 2 V-stitches together, they will fit perfectly under the arm. When this is the case, you are ready to separate the sleeves. In our example, it took 17 rounds to achieve the perfect fit.
Tip: make sure you try it on before proceeding to the next step to ensure a perfect fit.
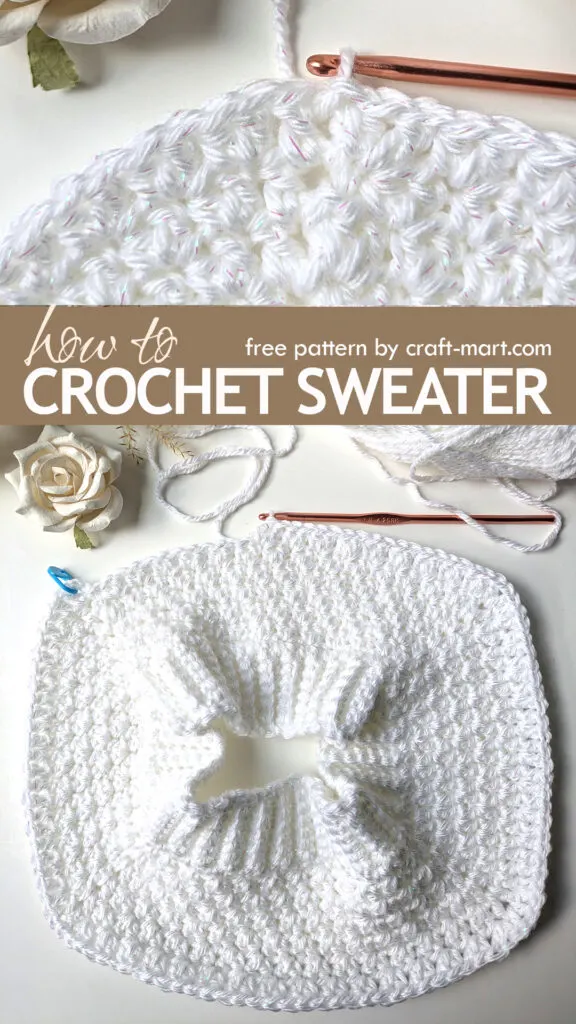
Part 3 – the Body of the Sweater
Next, it is time to separate the sleeves – we will work on them later. From now on we will crochet the body of the sweater in the round until the sweater is the desired length.
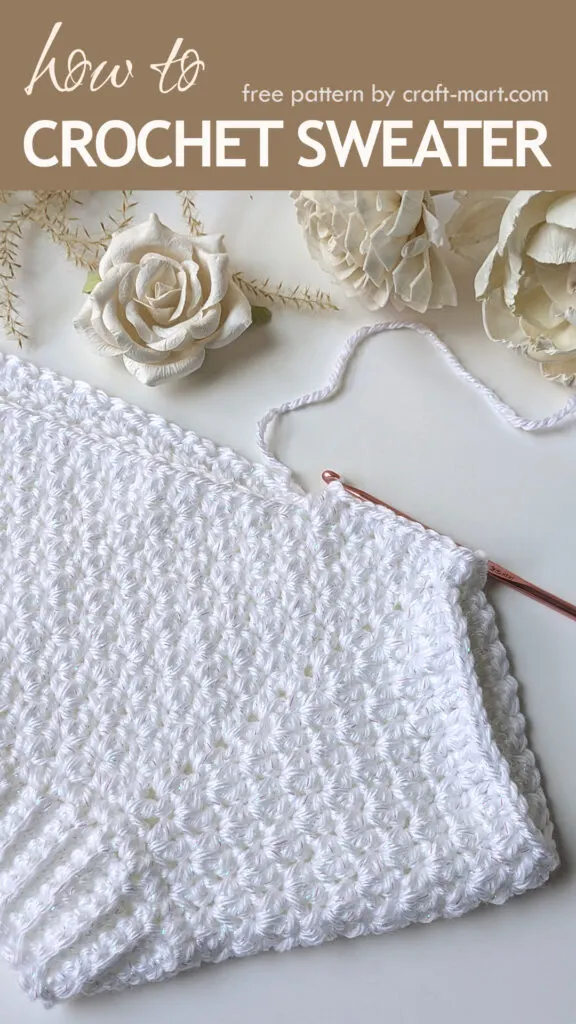
Row 1 of the body of the sweater
On the last row of raglan, you’ve slip-stitched into the V-Stitch. So, CH3 (represents DC of the CL), HDC into CH-SP – you made the first cluster. Next, skip all the stitches of the sleeve, and make another CL into the next V-Stitch. *Another CL in the first st after the V-st. SK one st, next CL into the next st.* Continue with CLs until you reach the next V-st (front of the sweater).
CL into the V-st, skip all the stitches of the sleeve, and CL into the last (4th V-st). *Another CL in the first st after the V-st. SK one st, next CL into the next st.* Continue with CLs until you reach the beginning CH3 (back of the sweater). SL ST into beg CH3. You’ve finished the first row of the body of the sweater.
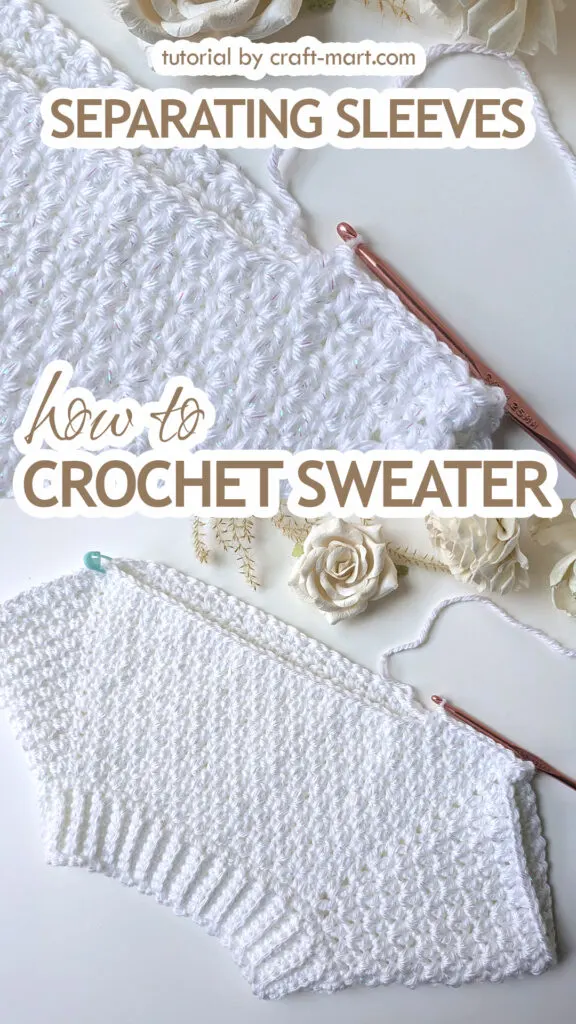
Now repeat the same row of cluster stitches (without increases) until the body of your sweater reaches the desired length. Finally, it is time to add a bottom ribbing for the sweater.
Part 4 – Bottom Ribbing of Crochet Sweater
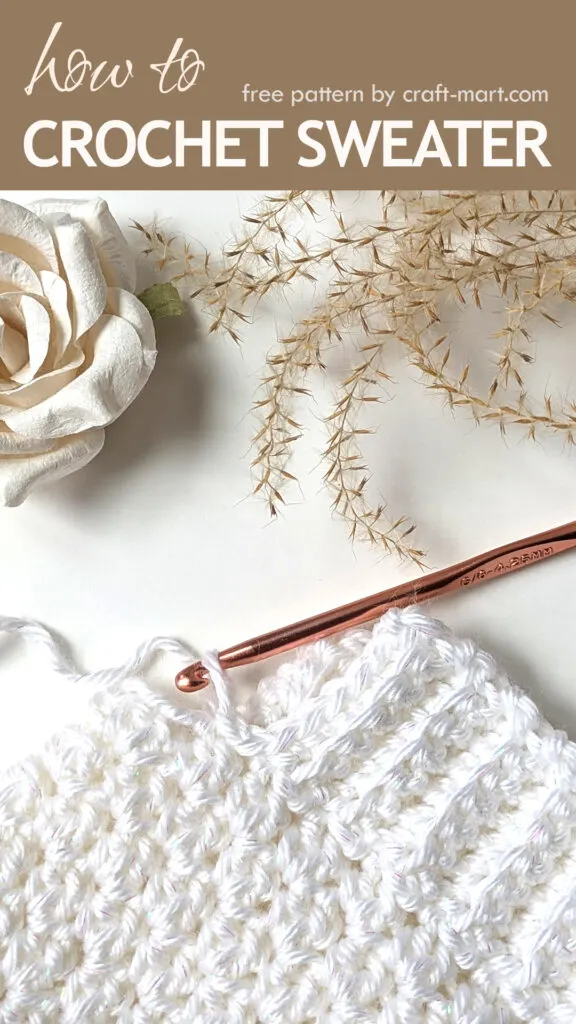
So, you made the last slip stitch for the body of the sweater. Also, try it on to check to length and to make sure it is what you need. Overall, the bottom rib will add a couple of inches to your sweater.
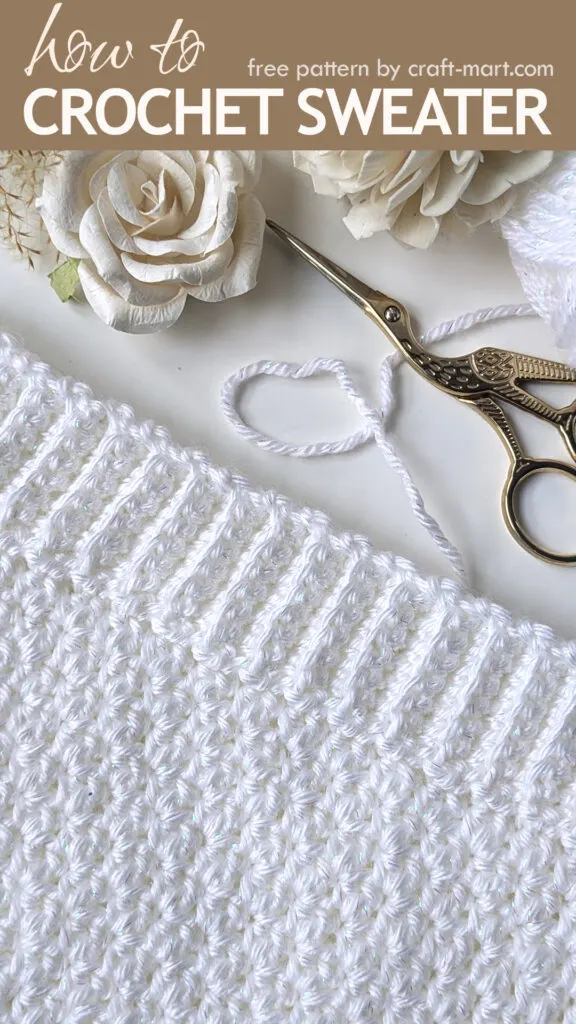
Check out our tutorial to add an easy bottom rib to your sweater. It is done with simple single crochet stitches into back loops only, with one exception to keep the neat edge.
Row 1 of the bottom rib
Next, CH 7, SC into the 2nd stitch from the hook, SC into the next 5 stitches. As a result, the rib will have 6 stitches. SL ST into next 2 st of the edge, turn.
Row 2 of the bottom rib
SK 2 sl sts, 1 SC in BLO of 5 sts, 1 sc into the last st – 6 sts. Note, that the last single srochet stitch is not done into the back loop. As a result, you’ll have a neat edge.
Row 3 of the bottom rib
CH1, turn, 1 SC in BLO of 6 sts – 6 sts. SL ST into next 2 st of the edge, turn.
So, keep repeating rows 2 & 3 until you go around the whole bottom edge. Finally, slip stitch in BLO to close the ribbing.
Part 5 – Sleeves
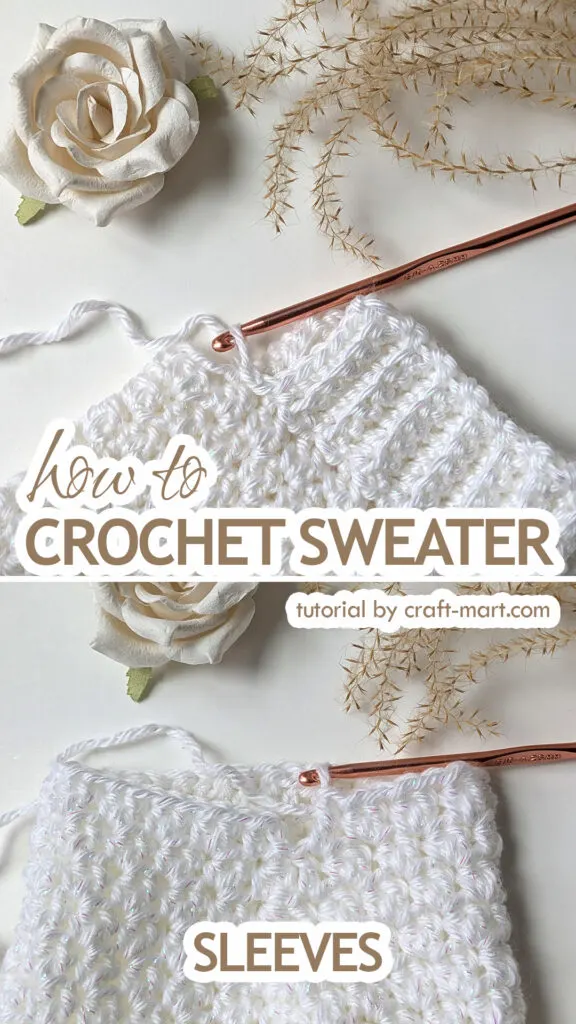
Finally, it is time to add sleeves. In essence, you can work on both sleeves at the same time to ensure you do the same decreases. Also, try your garment on to ensure the right length of the sleeves. Of course, you can customize your decreases to make the sleeve opening wider or smaller.
Row 1 – Sleeve
With a slip knot on your hook, CH 3, HDC into the same stitch (first CL) sk one st, CL into the next st. Go around the whole sleeve, sl st into the first ch. For our size, it was 28 clusters.
Row 2 – 23* (*customize)
Repeat row 1, spreading decreases evenly. For example, I’ve decreased to 20 clusters making 23 rows total for the sleeve.
Rib for the Sleeve
Finish up with the same ribbing technique as for the bottom of the sweater.
Finally, try on your finished sweater to make sure it fits well, the length of the sleeves is good, and you are satisfied with the overall length.
Also, secure and weave in all the yarn tails. If you have any leftover yarn, you can make a quick headband, messy bun, or a scarf.
Video tutorials are coming up so you can follow along on your crochet sweater journey. Happy crocheting and please share your creations. We’d love to see them!
