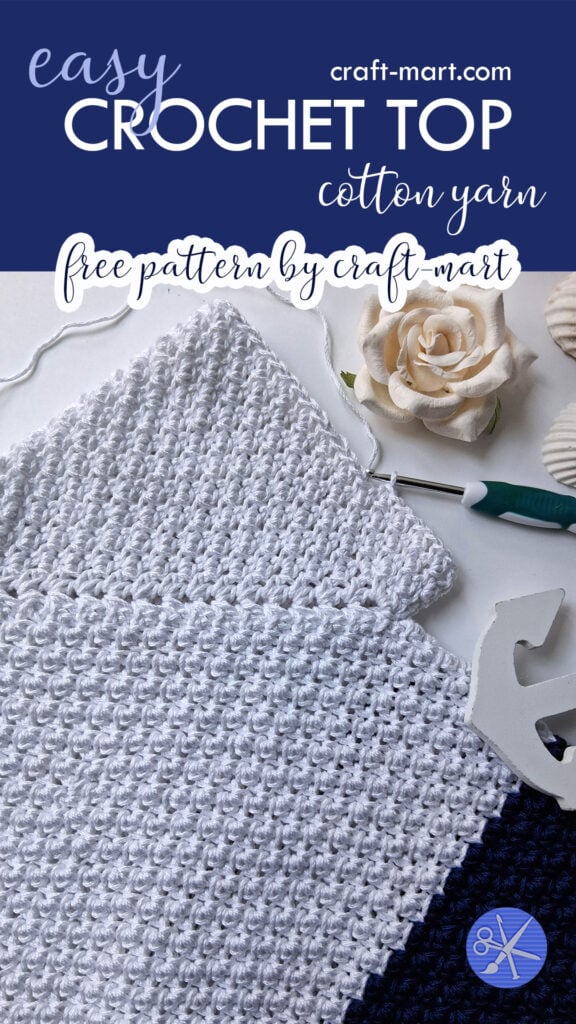
This crochet top is perfect for beginners, as it has a straightforward construction, uses easy stitches, and follows principles that make sizing really simple. A lot of beginner crochet projects get abandoned for one simple reason: they promise “easy,” but then turn into a tangle of confusing steps.
If you’ve ever started a crochet top with good intentions only to end up with a half-finished piece in a basket, rejoice. After all, this is a cotton crochet top that feels manageable from the first chain to the final row. This is a summer top pattern that is lightweight, wearable, and realistic for a beginner.
Construction
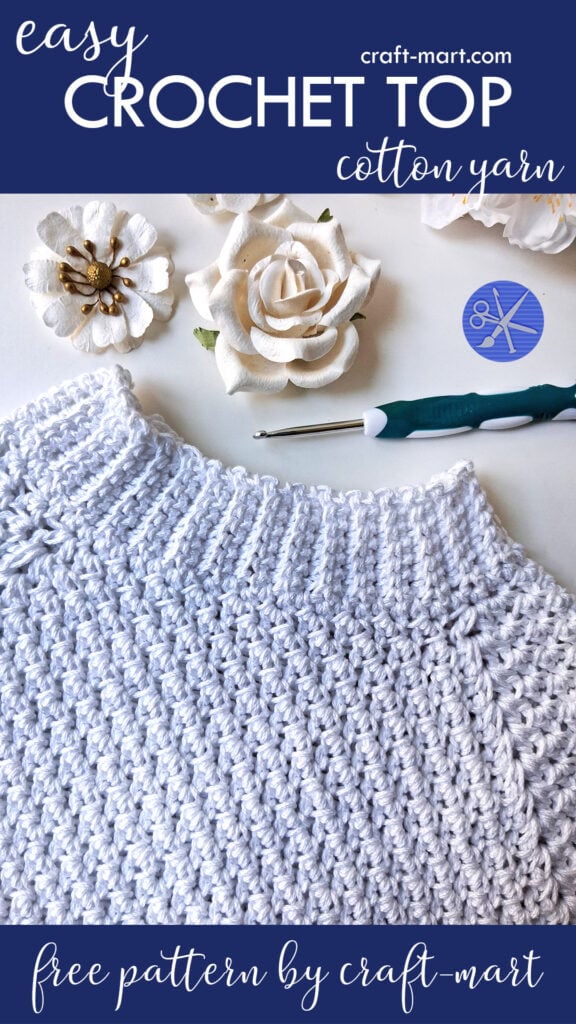
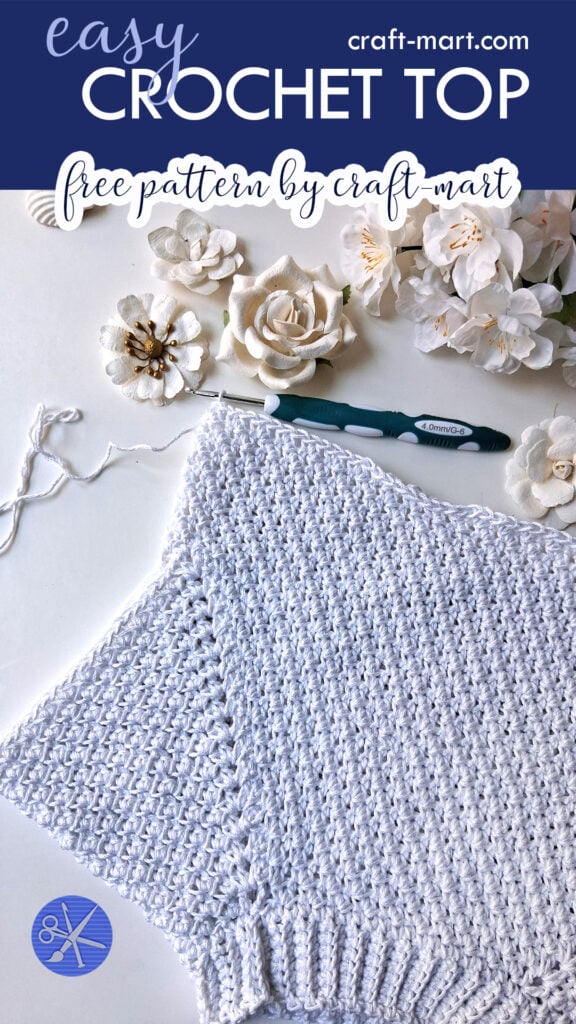
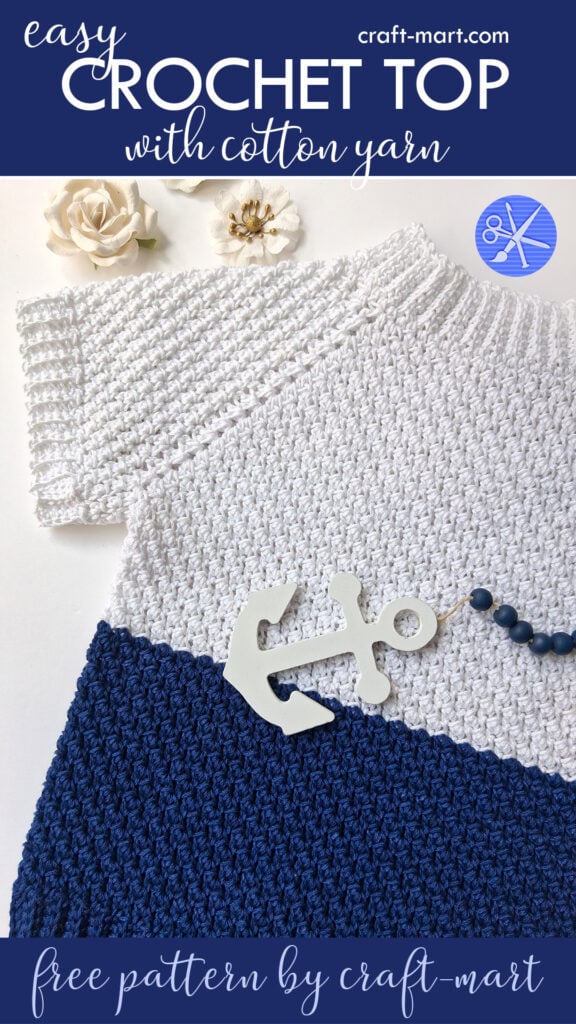
This crochet top is a seamless top-down garment featuring a crew neck, raglan yoke, and an easy textured stitch for the body. The sample was done for a child size 8-10, but you can easily adjust it to your perfect fit.
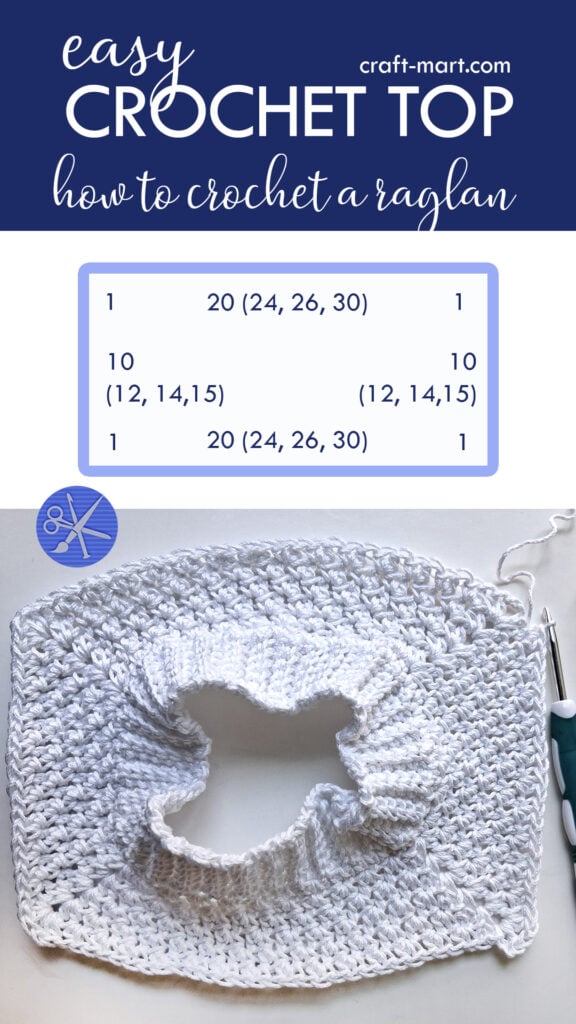
Firstly, as the sweater starts with a stretchable ribbing, just make sure that the opening is big enough for your head or your model’s head. Below is a scheme that guides you on how many stitches (approximately) you would need for larger sizes.
As in our basic sweater magic raglan formula, it is the same math. Consequently, to create a basic raglan, 1/3 goes to the front of the garment, 1/3 to the back, and the remaining 1/3 is divided in half to make 2 sleeves. Also, you need 1 stitch in each corner (4 total).
So, in this sample, we have 64 stitches for the head opening (youth size 8-10):
- 20 (front)
- 20 (back)
- 20 = 10 x 2 (sleeves)
- 4 = 1 x 4 (corners)
So, depending on the head size and your personal crochet tension, you may need to adjust these numbers. But knowing the basic formula, it is easy to adjust it to fit any size.
As illustrated, here are suggested stitch counts for bigger sizes. You should always add 4 corner stitches for the raglan design. Also, you can make a ribbing section slightly smaller: 4 sts instead of 7.
Materials
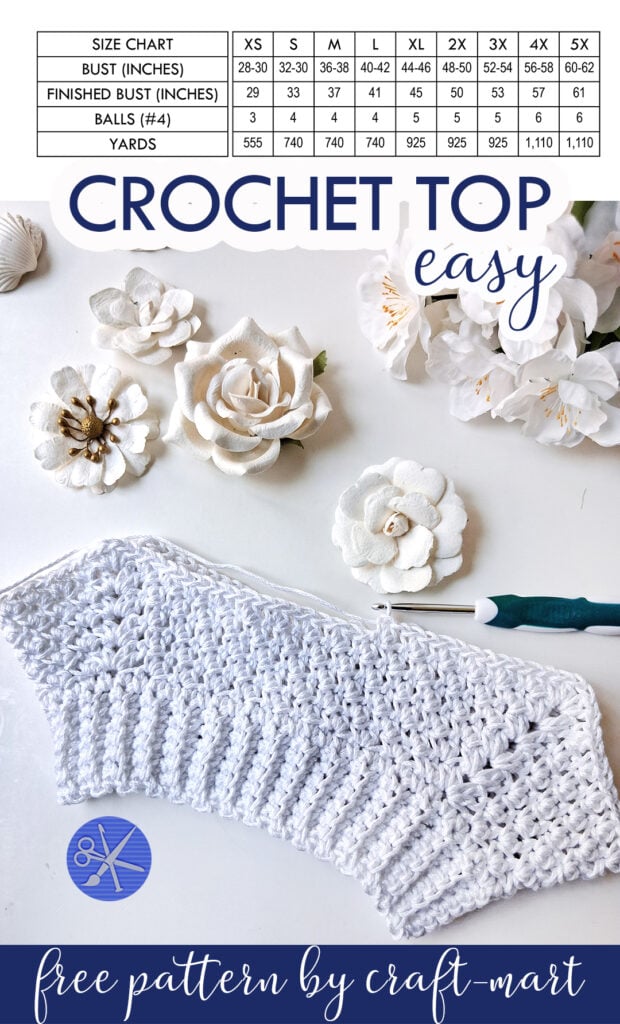
- Lion Brand Yarn, 24/7 Cotton Mercerized Lightweight Yarn in White, 100 g – 3-pack
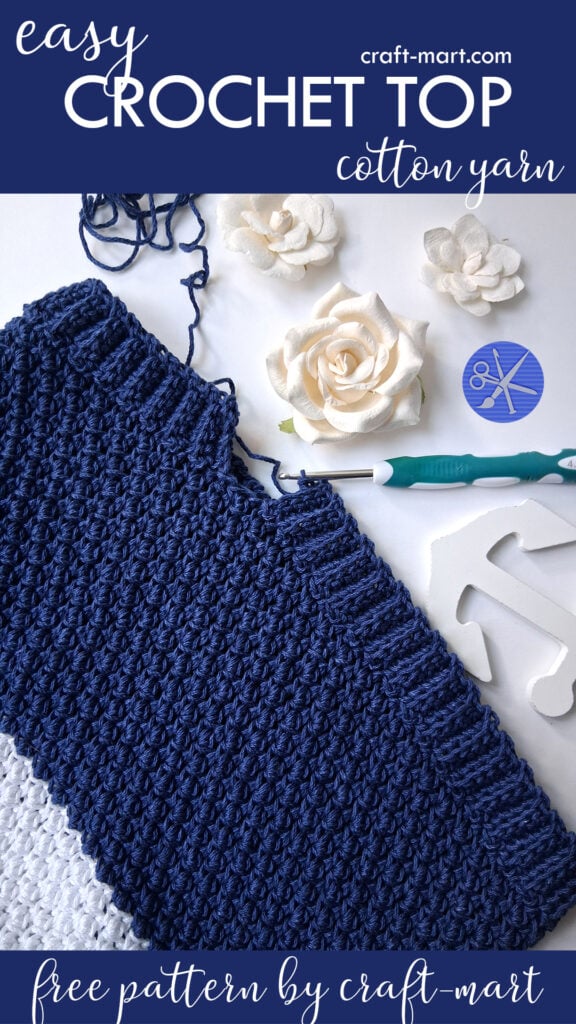
- Lion Brand Yarn, 24/7 Cotton Mercerized Lightweight Yarn in Navy, 100 g – 1 skein
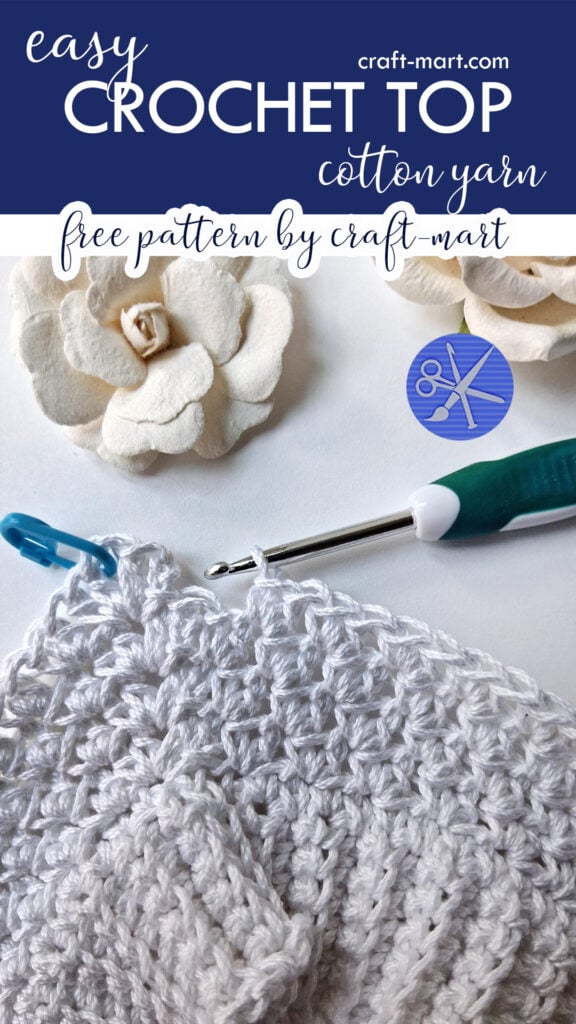
- G-6 (4 mm) crochet hook
- Tapestry needle
- Scissors
What is mercerized cotton? It is a treated cotton fiber that is stronger, smoother, and shinier than regular cotton yarn. It undergoes a specialized process that alters the fiber’s cellular structure, resulting in yarn that doesn’t shrink or pile.
Please note that for a more relaxed fit, you should always consider going up one size. Of course, yarn amounts are always approximate and depend on your personal crochet tension. It is wise to buy slightly more yarn and use leftovers for small crochet projects.
Abbreviations (in US terms)
- ch – chain
- SC – single crochet
- st – stitch
- sl st – slip stitch
- BLO – back loop only
- HDC – half double crochet
- SK – skip
- CL – cluster
Special Stitch for This Crochet Top
Throughout this project, we’ll use the same simple cluster stitch: HDC and SC made into the same stitch. It is very easy, though it helps to bring texture and interest to this basic crochet garment.
CL (cluster): HDC and SC into the same stitch, SK one stitch.
Summer Crochet Top Pattern
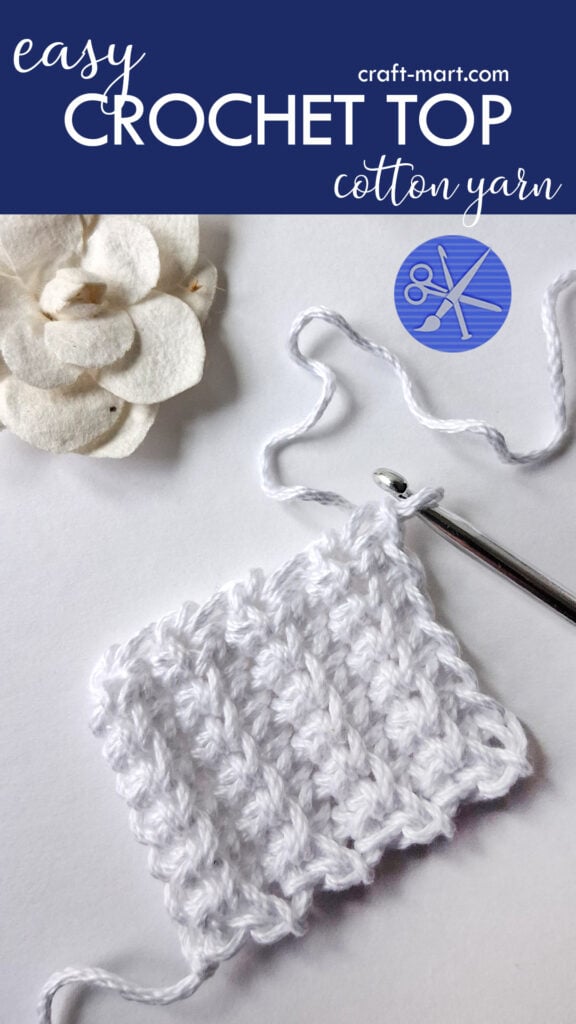
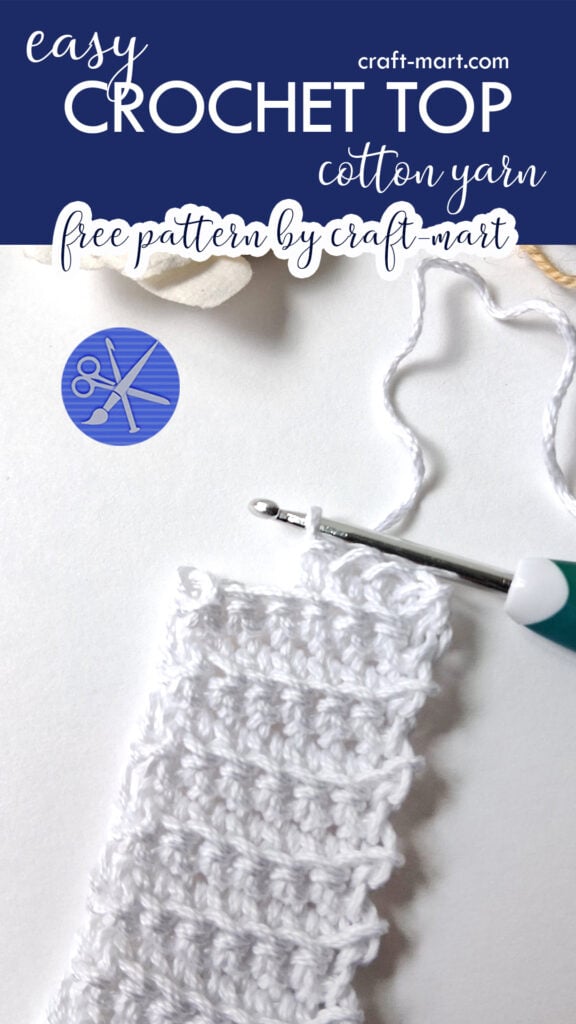
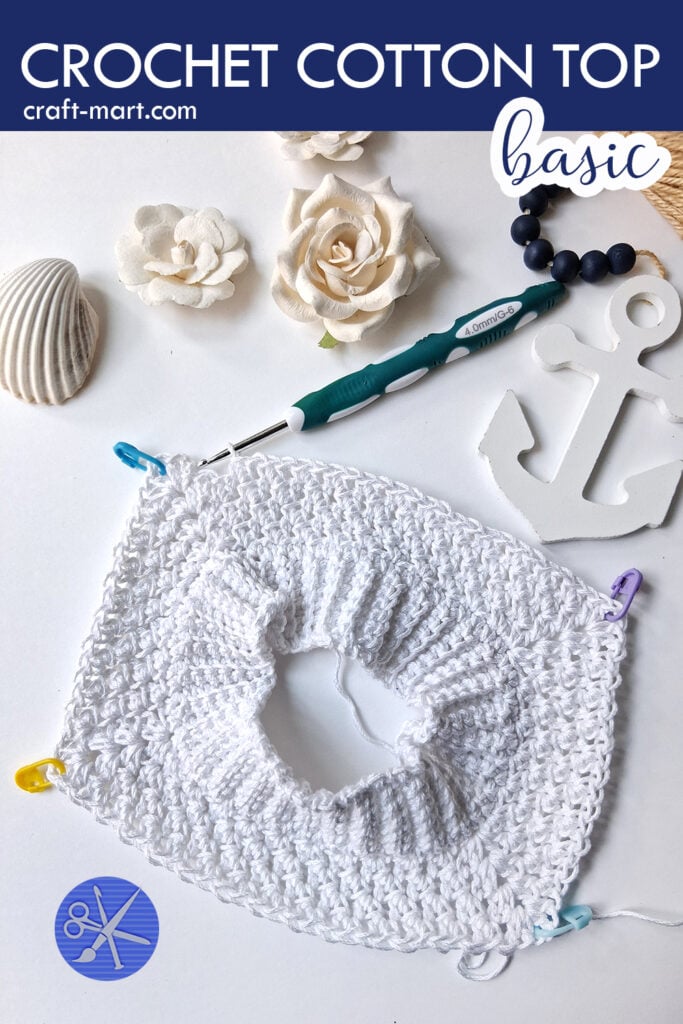
Step 1 (Ribbing)
No matter what size sweater you are going to crochet, you’ll start with a slip knot and chain 8.
Row 1: SC into the 2nd ch from the hook and the rest of the chains (7 sts), ch1, turn.
Row 2: SC BLO 6 st, sc the last stitch (7 sts), ch1, turn. Note that you’ll have a cleaner-looking edge if you make a regular single crochet stitch into the last stitch of each row.
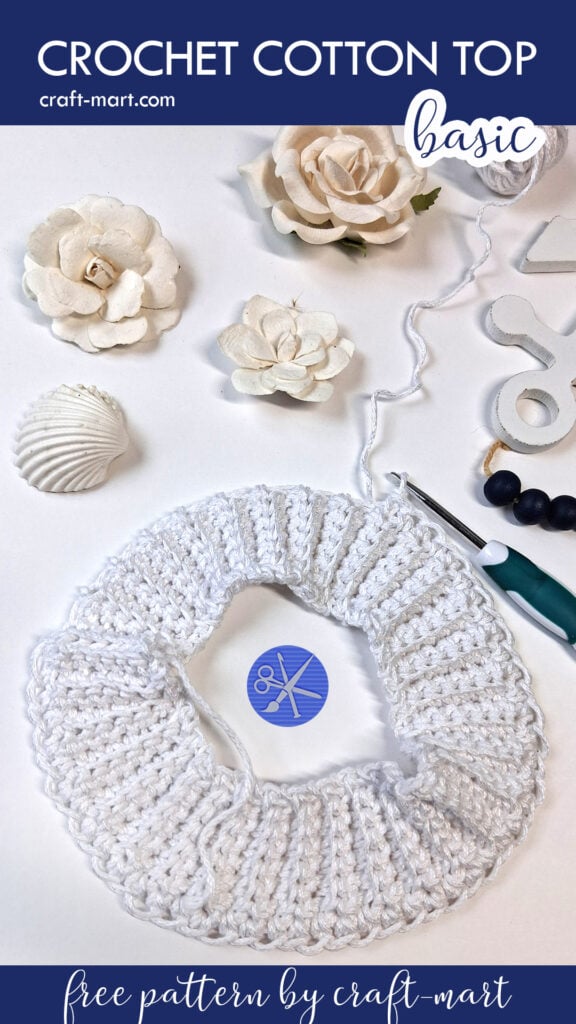
Continue repeating row 2 until your rib is long enough to fit comfortably around the head. In our example (size XS), it will be 64 stitches. In the final step, ch 1 and sl st the first and last rows together, working through BLO (back loops only). As a result, you connect the ribbing to complete the first part of this crochet top.
Lastly, to make a setup row for the raglan yoke, ch 1 and SC into every stitch around the rib, sl st into the first sc (64 sts). Next, we will divide the round into the front, the back, and 2 sleeves.
So, in this sample, we have 64 stitches for the head opening (youth size 8-10): 20 stitches (front), 1 st (corner), 10 stitches (sleeve), 1 st (corner), 20 stitches (front), 1 st (corner), 10 stitches (sleeve).
Step 2: Raglan
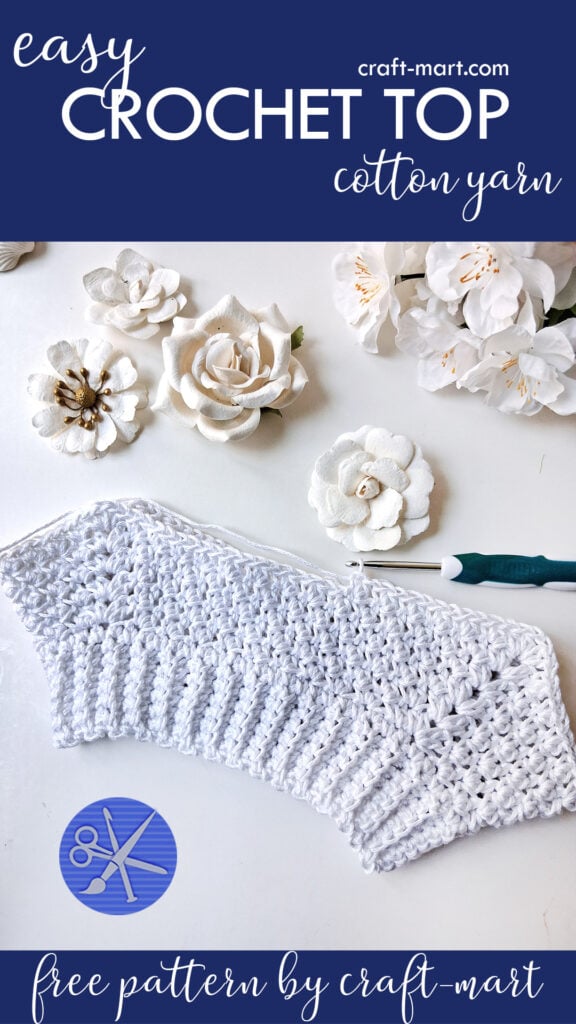
Row 1 of the Raglan
Ch2, HDC into the same st (the first V-stitch of 4 raglan lines). Place a st marker in the middle of each raglan line.
(CL: HDC+SC into the same st, SK 1st) 5 times – sleeve (10 sts, 5 CL). HDC+CH1+HDC – 2nd V-stitch, place st marker. (CL (HDC+SC) into the same st, SK 1st) 10 times – front (20 sts, 10 CL). HDC+CH1+HDC – 3rd V-stitch, place st marker. (CL into the same st, SK 1st) 6 times – sleeve (10 sts, 5 CL). HDC+CH1+HDC – 4th V-stitch, place st marker. (HDC+SC into the same st, SK 1st) 10 times – back part (20 sts, 10 CL). SL st into the 1st V-st.
Tip: Don’t make that slip stitch too tight, as you will be making a cluster stitch increase into it on the next round.
Round 2 of the Raglan
Repeat round 1, but you will increase by 1 CL for each sleeve (6 CL), the front (11 CL), and the back (11 CL). Tip: the last cluster (CL) is made into the last stitch before each V-stitch of the raglan. So, make sure you don’t miss it! Also, it is easy to count your clusters to make sure everything is correct.
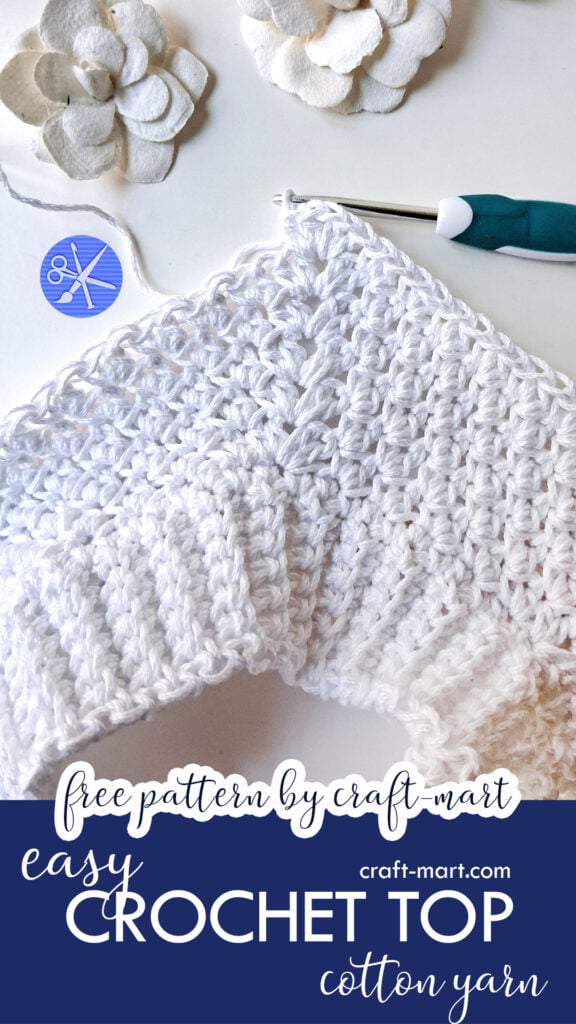
Rounds 3 – 16 (in our example)
Continue with raglan rounds until your raglan line is the desired length. In brief, if you clip 2 V-stitches together, they will fit perfectly under the arm. When this is the case, you are ready to separate the sleeves. In our example, it took 16 rounds to achieve the perfect fit.
Tip: Always try it on your model before proceeding to the next step to ensure the right fit.
Step 3: Body
Next, it is time to separate the sleeves – we will work on them later. From now on, we will crochet the body in a spiral until your garment reaches the desired length.
Row 1 of the body of the top
On the last row of raglan, you’ve slip-stitched into the V-Stitch. So, CH2 (represents HDC of the CL), SC into CH-SP – you made the first cluster. Next, skip all the stitches of the sleeve, and make another CL into the next V-Stitch. *Another CL in the first st after the V-st. SK one st, next CL into the next st.* Continue with CLs until you reach the next V-st (front of the top).
CL into the V-st, skip all the stitches of the sleeve, and CL into the last (4th V-st). *Another CL in the first st after the V-st. SK one st, next CL into the next st.* Continue with CLs until you reach the beginning of CH3 (back of the top). SL ST into the beginning CH3. You’ve finished the first row of the body of the crochet top.
Now repeat the same row of cluster stitches in a spiral (without increases) for 8 more rows. Finally, it is time to add a navy color block (16 rows).

Step 4: Bottom Ribbing
Row 1 of the bottom ribbing
Next, CH 6, SC into the 2nd stitch from the hook, SC into the next 4 stitches. As a result, the rib will have 5 stitches. SL ST into the next 2 st of the edge, turn.
Row 2 of the bottom ribbing
SK 2 sl sts, 1 SC in BLO of 4 sts, 1 sc into the last st – 5 sts. Note that the last single crochet stitch is not done into the back loop. As a result, you’ll have a neat-looking edge.
Row 3 of the bottom ribbing
CH1, turn, 1 SC in BLO of 6 sts – 5 sts. SL ST into the next 2 sts of the edge, turn.
So, keep repeating rows 2 & 3 until you go around the whole bottom edge. Finally, slip stitch in BLO to close the ribbing.
Step 5: Short Sleeves
As we are almost done, it is time to add short sleeves (4 cluster rows plus ribbing).
Row 1 – Sleeve
Find the center of the underarm. With a slip knot on your hook, CH2+SC (represents first HDC+SC) into the same stitch (the first CL, put marker), sk one st, CL into the next st. Go around the whole sleeve. In our example, we have 26 clusters.
When you reach the stitch marker, do not make a sl st and CH2, as you normally do when crocheting in the round. Instead, continue working in a spiral: just continue crocheting with the clusters until you have a total of 4 rows (or longer, if you have enough yarn and want longer sleeves).
Ribbing for the Sleeve
Finish up the sleeves with the same ribbing technique as for the bottom of your crochet top.
Repeat the same for the second sleeve, and you are done!
Weave in a few loose ends. Thankfully, there are not too many to worry about in this no-sew crochet top.
Finally, it is time to try it on and make sure everything fits well. Lastly, admire your work – you made a beautiful garment for the summer with your own hands!
Finished Size
With 3 balls of 24/7 cotton yarn (300g), we completed the small top for an 8-10-year-old, and there was only a tiny ball of yarn left (~ 30 inches).
- 15″ (top to bottom)
- 28″ (width)
- 10″ (sleeves)
In Conclusion
Though working with Lion Brand 24/7 Cotton Yarn was a pleasure, it feels a little stiff due to its cord-like structure. Its tight spin and subtle sheen deliver a perfect stitch definition, but you won’t use it for crochet tops that require a soft drape. On the bright side, it doesn’t pile at all.
A beginner crochet top doesn’t need complicated shaping, mystery math, or a pile of unfinished pieces to become something wearable. The real win comes from choosing the right cotton yarn, sticking to a few reliable stitches, following clear step-by-step sections, and catching small mistakes before they turn into reasons to quit.
When the project is simple, finishing becomes far more likely. As the saying goes, “Done is better than perfect.”